Page 23
BUNN
MANUFACTURED BY BUNN-O-MATIC CORPORATION
SPRINGFIELD, ILLINOIS, U.S.A.
MODEL
S/N
VOLTS A.C. AMP WATTS
PHASE WIRE HERTZ
COVERED UNDER ONE OR MOREOF THE FOLLOWING PATENTS :
ONE OR MORE OTHER PATENTS MAY BE PENDING
SERVICE (cont.)
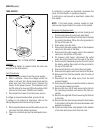
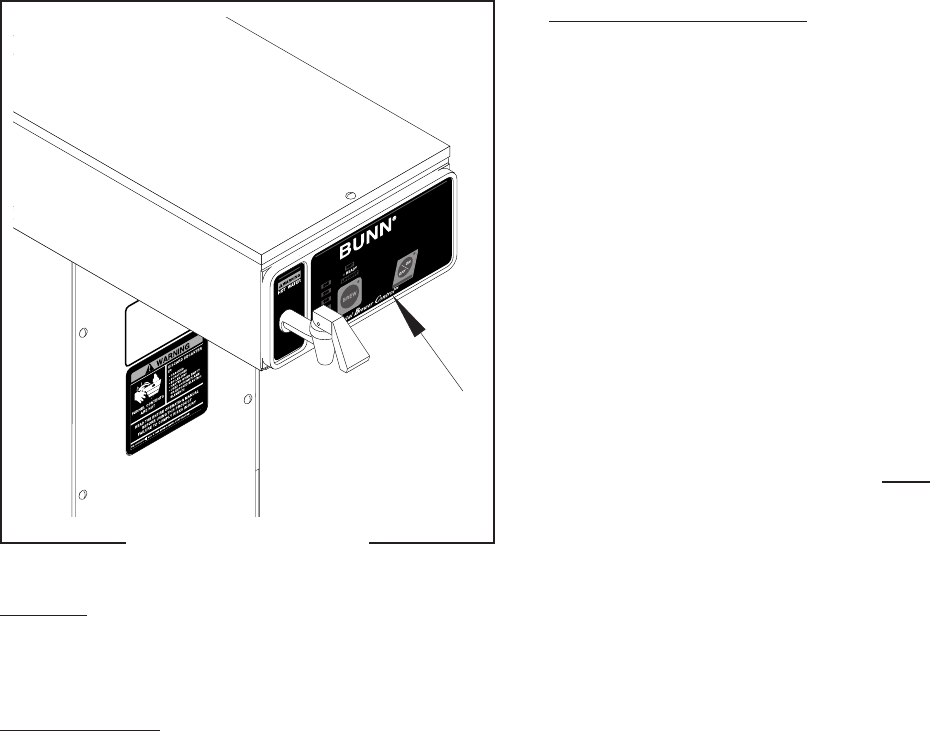
SWITCH PANEL - Model CDBC-APS/TS/TSR
Location:
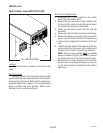
The Switch Panel is located in the front of the
hood.
Test Procedures:
The test procedures for the switch panel and the
control board will vary depending upon the problems
experienced by the brewer. Refer to the Troubleshoot-
ing guide beginning on page 9. The troubleshooting
guide is divided into three sections, Refill Circuit,
Heating Circuit, and Brewing Circuit.
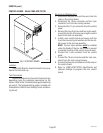
P1916
FIG. 4 SWITCH PANEL
Removal and Replacement:
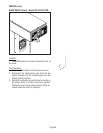
1. Disconnect the 11-pin connector to the switch
panel from the control board.
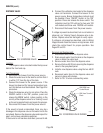
2. Remove the four #6 screws, nylon washers and
the two #4-40 screws securing the control board
to the end cap assembly and set aside.
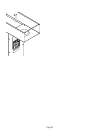
3. Gently pry the switch panel from the end cap
assembly.
4 Remove any adhesive that remains on the end cap.
5. Remove the adhesive backing from the new switch
panel. Insert the ribbon connector through the slot
in the end cap and apply the switch panel to the end
cap.
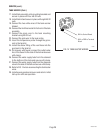
6. Install the control board to the back side of the end
cap using the four #6 screws, nylon washers and
the two #4-40 screws to the end cap assembly.
NOTE: The four nylon washers must be installed
under the heads of the four #6 screws to prevent
a possible shorting of the control board circuits.
7. Reconnect the 11-pin connector from the switch
panel to the control board making sure every pin
on the control board is inserted into the ribbon
cable plug.
29253 071599


