21
(Continued Next Page)
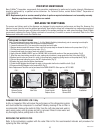
CALIBRATION OF THE CONCENTRATE PUMP & DISPENSER FLOW RATE
The factory set default values for the Pump & Dispenser Flow Rates are very accurate and typically do not need
to be field calibrated. However, if the mix ratio accuracy is ever in question, this procedure can be used to reca-
librate the unit in the field.
Equipment Required:
50 ml graduated cylinder, with 1 ml graduations.
1000 ml graduated container.
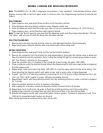
NOTE: You can calibrate either the Concentrate Pump or the Dispenser Flow Rate independently. Simply scroll
through the menu screen to the desired section and perform only those steps.
Calibrating the Concentrate Pumps.
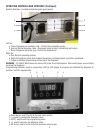
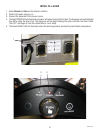
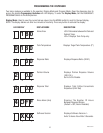
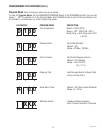
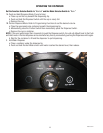
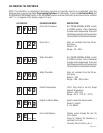
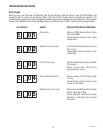
1. Open the door of the dispenser and select PROGRAM on the Selector Switch. The display should show PPP.
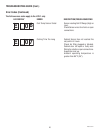
2. Depress and Hold both Up & Down arrows switch for approximately 15 sec. The unit will display “1 run”
when it has entered the Calibration Mode.
3. Select PRIME on the Selector Switch.
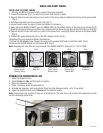
4. Place a container under the dispense tip and depress the dispense switch until a steady stream of concentrate
comes out the tip (5 to 10 seconds).
5. Stop priming and allow the tip to stop dripping. Discard the concentrate collected.
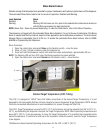
6. Place a 50 ml graduated cylinder under the Dispense Tip.
7. Press & Hold the dispense switch. The dispenser will display a 20 second count down timer and then shut
the pump OFF automatically. You can abort the calibration and stop the pump by releasing the switch.
8. Keep the graduated cylinder under dispense tip until all the concentrate has dripped out.
9. Measure the volume of concentrate collected in the graduated cylinder.
The acceptable range for the volume of concentrate collected is 16 - 26 ml
10. If the amount collected is not within the acceptable range, repeat STEPS 6 – 9.
11. If the amount collected is still not within range, replace the pump tubing with a new Tube Kit, (refer to the
Tube Replacement Instructions) and restart this procedure.
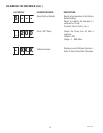
12. When satisfied with the volume of concentrate collected, press the Down Arrow switch. The current Calibra-
tion volume “1 XX” will be displayed.
13. Use the (-) or (+) keys to adjust the number displayed to the amount measured in STEP 9.
44806.1 081211


