


Page 22
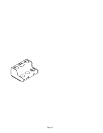
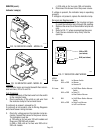
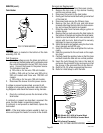
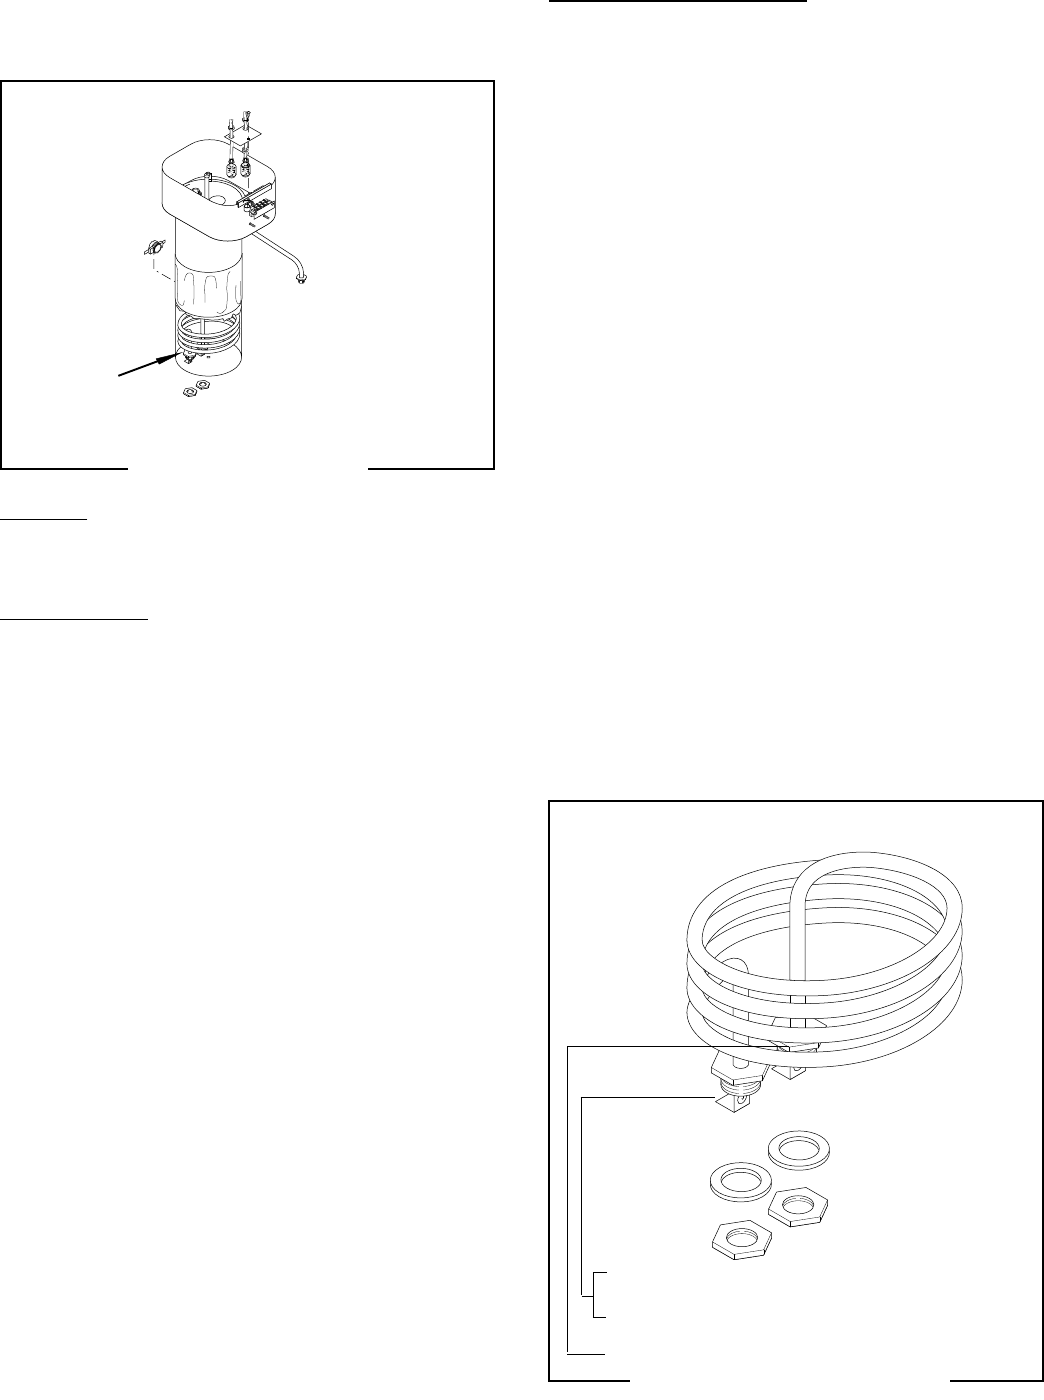
FIG. 23 TANK HEATER
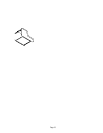
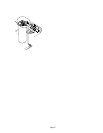
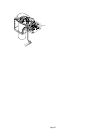
FIG. 24 TANK HEATER WIRING
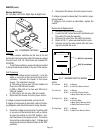
SERVICE (cont.)
Tank Heater
Removal and Replacement:
1. Disconnect the brewer from the power source.
2. Remove the top cover or top warmer housing
and the rear access panel.
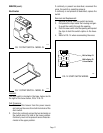
3. Disconnect the wires to the tank heater.
4. Gently pull the thermostat bulb with grommet out
of the tank lid.
5. Disconnect and remove the fill basin tube.
6. Remove the four #8-32 nuts and hold-down
brackets attaching the tank lid to the tank assem-
bly and remove the tank lid and gasket.
7. Drain the water from the tank using a syphon or
similar device.
8. Remove the two nuts securing the tank heater to
the bottom of the tank and remove the tank heater.
9. Install a new tank heater with new washers and
secure with two nuts. Nuts should be securely
tightened to insure a proper seal.
10. Install the tank lid and gasket using the four hold-
down brackets and #8-32 nuts.
11. Install the fill basin tube and tighten the nuts se-
curely.
12. Slide the grommet to the red mark on the capil-
lary tube.
13. Carefully bend the capillary tube so that the tube
and bulb inside the tank are in a vertical position.
14. Insert the bulb through the hole in the tank lid
and press the grommet firmly and evenly so that
the groove in the grommet fits into the tank lid.
15. Refer to FIG. 24 when reconnecting the wires.
16. Refer to Initial Setup to refill the tank.
Location:
The tank heater is located in the bottom of the tank
assembly, FIG. 23.
Test Procedure:
1. Check the voltage across the black and white or
red wires on the tank heater with a voltmeter when
the control thermostat is turned "ON" (fully clock-
wise). Connect the brewer to the power source.
The indication must be:
a) 120 volts ac for two wire 120 volt models.
b) 200 or 240 volts ac for two wire 200 volt or
240 volt models and three wire 120/240 volt
models.
c) 100 volts ac for two wire 100 volt models.
2. Disconnect the brewer from the power source.
If voltage is present as described, proceed to #3.
If voltage is not present as described, refer to the Wir-
ing Diagrams and check the brewer wiring harness.
3. Check for continuity across the terminals of the
tank heater.
If continuity is present as described, reconnect the
wires, the tank heater is operating properly.
If continuity is not present as described, replace the
tank heater.
NOTE - If the tank heater remains unable to heat, re-
move and inspect the heater for cracks in the sheath.
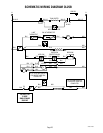
WHI (Models OL15 & 20) to Terminal Block
RED (Models OL35 & RL35) to Terminal Block
BLK to Control Thermostat
P1715
P1716
32430 121699