


-11-
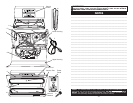
Some parts of the Vacuum Sealer may need replacing after repeated use. The Vacuum
Sealer Maintenance Kit will be necessary for the Vacuum Sealer to properly function.
REPLACING THE OVAL VACUUM CHAMBER SEALS:
1. Turn “OFF” the Vacuum Sealer and remove the Power Cord from the electrical outlet.
2. Make sure the unit is completely cool.
3. Open the Vacuum Lid.
4. Remove the Oval Vacuum Chamber Seal from the groove on the underside of the
Vacuum Lid.
5. Remove the Oval Vacuum Chamber Seal from the groove in the Plastic Vacuum
Chamber.
6. Set a new Oval Vacuum Chamber Seal on the groove in the Plastic Vacuum
Chamber. Work the seal into the groove with your ngers until done.
7. Position a new Oval Vacuum Chamber Seal into the groove in the Vacuum Lid.
Work the seal into the groove with your ngers until done.
REPLACING THE TEFLON TAPE:
1. Turn “OFF” the Vacuum Sealer and remove the Power Cord from the electrical outlet.
2. Make sure the unit is completely cool.
3. Open the Vacuum Lid.
4. Pick at either end of the Teon Tape covering the Seal Bar Heating
Element with a ngernail until it lifts slightly. Grasp the loose end and slowly pull
the Teon Tape back over itself until fully removed.
5. Remove the backing from a new strip of Teon Tape. Be careful not to allow the
Teon Tape to contact anything including itself while the adhesive side is exposed.
6. Hold one end of the Teon Tape in each hand. Stick the left end of the Teon
Tape to the at area on the Plastic Vacuum Chamber just left of the Seal Bar Heating
Element. Apply the Teon Tape from left to right over the Seal Bar Heating Element
until done. Make sure there are no wrinkles or folds in the Teon Tape once applied.
The Teon Tape should fully cover the Seal Bar Heating Element.
MAINTENANCE KIT INSTRUCTIONS
-14-
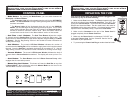
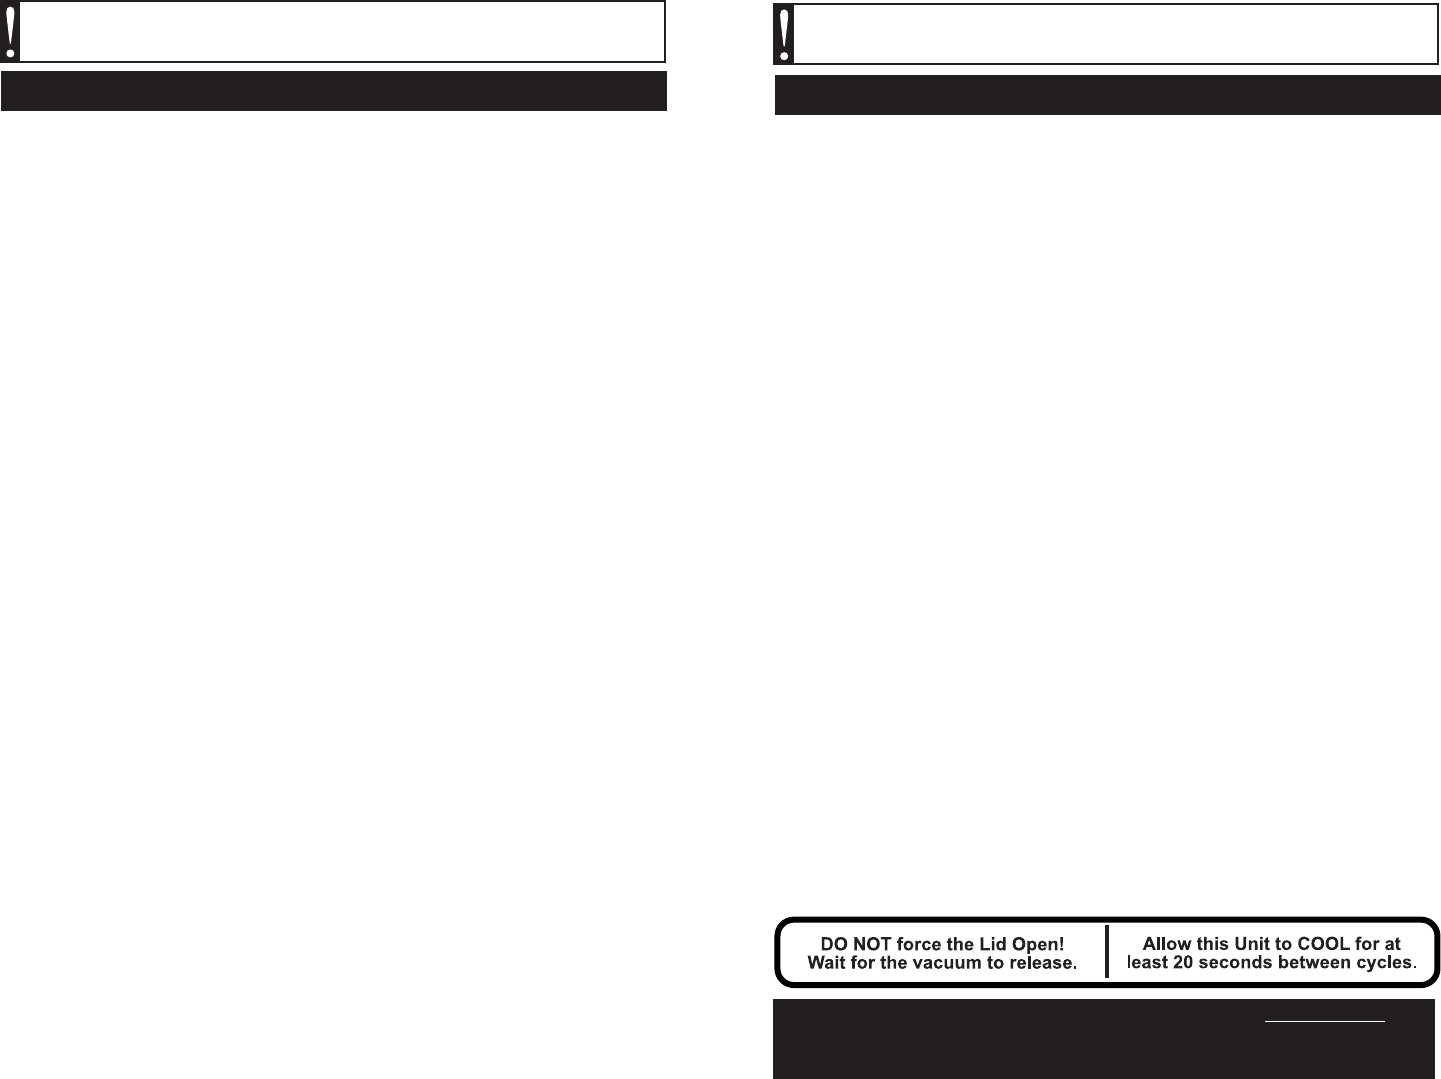
1. ALWAYS allow the sealing bar to cool for approximately 20 seconds between bags.
Leave the Vacuum Lid OPEN between uses, this allows the Heating Element to cool
more quickly between bags.
2. Place one end of the bag onto the Sealing Bar, leaving about 2” (5 cm) of the empty
part of the bag beyond the inside edge of the Sealing Bar.
3. Be sure not to cover the Vacuum Port with the bag. Covering the Vacuum Port
prevents the proper vacuuming of air from the bag.
4. Close the Vacuum Lid while holding the bag in place.
5. If the Manual Light is not illuminated, press the Mode Button until the Manual
Light is illuminated to select the Manual Mode.
6. Press the Start Button engaging the Vacuum Pump (the Vacuum Pump must be on
for the Seal Bar to heat up).
7. You may need to apply slight pressure to the Handle at the beginning of the
countdown process in order to create a proper seal.
8. Press the Manual Seal Button immediately after the Vacuum Pump starts. (Press
down on the Vacuum Lid to contact the Sealing Bar.)
9. After the Seal Window counts down to zero (0) the unit will automatically release
the vacuum and enable the Vacuum Lid to open.
10. Remove the bag and inspect the seal. The seal should appear smooth and
consistent all the way across the bag. The seal SHOULD NOT melt through the bag at
any point. Be sure there are no creases or wrinkles that may allow air to leak into the
bag. A properly sealed bag will not pull apart, the bag must be cut open.
11. Do not form side seals on the bags, the sides are already sealed.
12. If the seal is good, proceed with vacuum packaging. Otherwise:
.
If the seal is melted through the bag trim off the bad seal with scissors
and adjust the Seal Time Down (-) in one second increments and try the
test process again.
.
If the seal has not fully welded the bag closed, trim off the bad seal with
scissors and adjust the Seal Time Up (+) in one second increments and try
the test process again.
INITIAL TESTING OF THE BAG SEAL
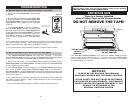
WARNING! Before cleaning, assembling or disassembling the
Vacuum Sealer, make sure the Vacuum Sealer is OFF and the PLUG IS
REMOVED FROM THE OUTLET/POWER SOURCE!
NOTE: The Vacuum Sealer is ONLY intended to be used with VACUUM BAGS. For
best results, only use the recommended vacuum bags. DO NOT USE HOUSEHOLD
BAGS! Any other uses of the Vacuum Sealer, other than the uses described in this
booklet, could potentially damage the appliance and void the warranty!
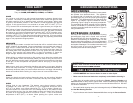
WARNING! Before cleaning, assembling or disassembling the
Vacuum Sealer, make sure the Vacuum Sealer is OFF and the PLUG IS
REMOVED FROM THE OUTLET/POWER SOURCE!