GROUNDING
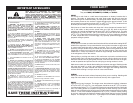
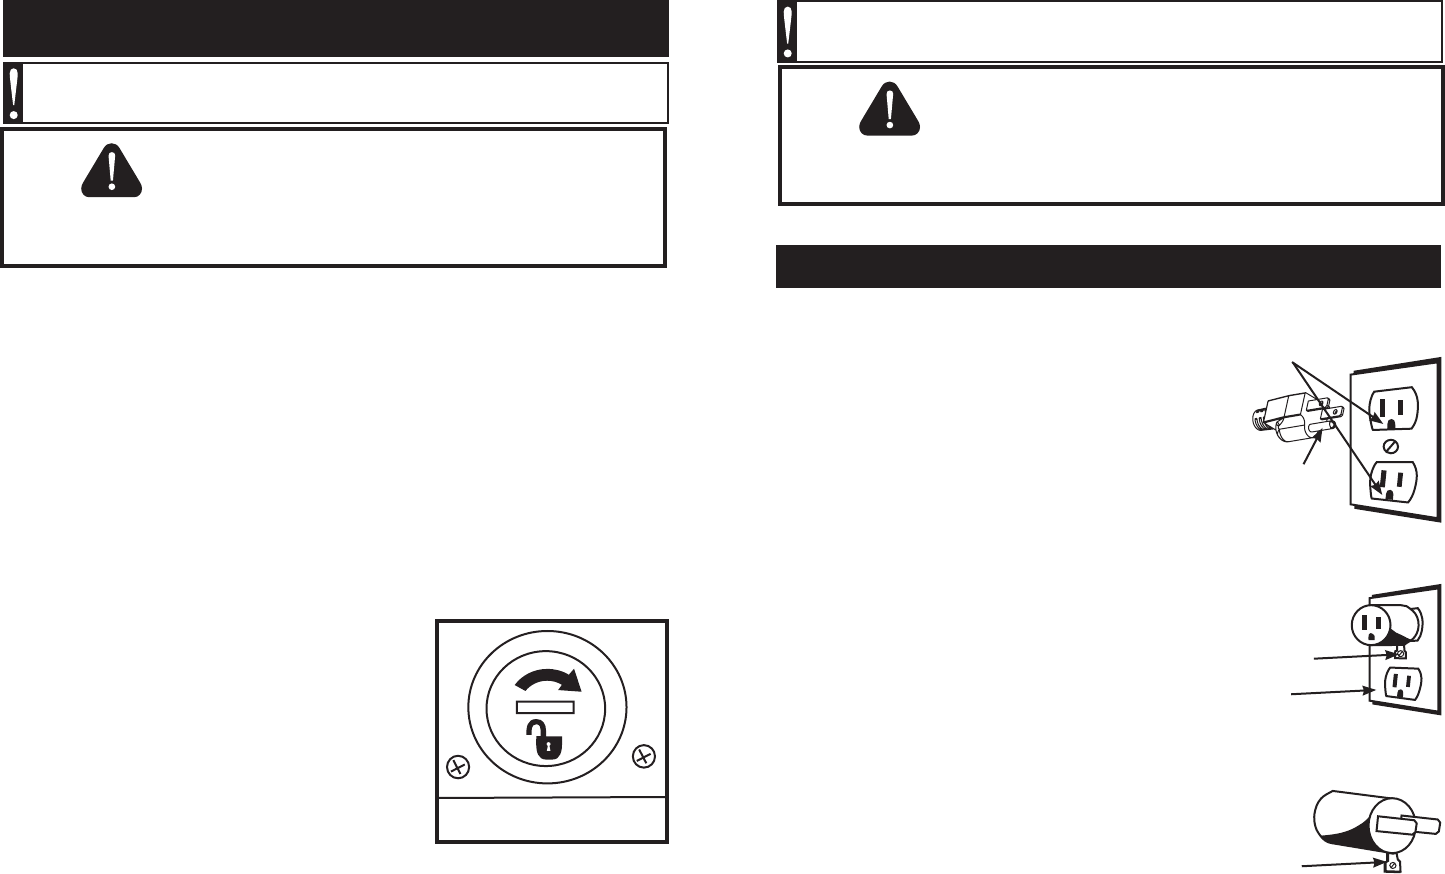
Thisappliancemustbegroundedwhileinusetoprotect
the operator from electrical shock. The appliance
is equipped with a 3-conductor cord and a 3-prong
grounding type plug to t the proper grounding-type
receptacle.The appliancehasa plugthatlooks like
Figure A. An adaptor,Figure B,should beused for
connecting Figure A plugs to two-prong receptacles.
Thegroundingtabwhichextendsfromtheadaptormust
beconnectedtoapermanentgroundsuchasaproperly
groundedoutletboxasshowninFigure Cusingametal
screw.
EXTENSION CORDS
Useonly 3-wireextension cordswhich have3-prong
grounding-type plugs and a 3-pole cord connector
that accepts the plug from the appliance. Use only
extensioncordshavinganelectricalratingnotlessthan
the rating of the appliance. DO NOT use damaged
extensioncords.Examineextensioncordbeforeusing
and replace if damaged. DO NOT abuse extension
cordanddonotyankonanycordtodisconnect.Keep
cordawayfromheatandsharpedges.
Figure A
Figure B
Figure C
Circuit
Grounding
Conductor
Grounding
Prong
Metal
Grounding
Screw
Cover of
Grounded
Outlet Box
Grounding
Means
AA2220
GROUNDING INSTRUCTIONS
-5--8-
WARNING! Before cleaning, assembling or disassembling the Food
Slicer, make sure the Food Slicer Motor is OFF and the PLUG IS REMOVED
FROM THE OUTLET/POWER SOURCE!
HANDLE CAREFULLY!
KEEP FINGERS AWAY FROM THE BLADE!
NEVER FEED FOOD BY HAND.
ALWAYS USE THE FOOD PUSHER!
Always use completely assembled Food Slicer
with Food Carriage and Food Pusher.
Protective/cut-resistant Kevlar gloves are recommended
whenever handling the Blade!
WARNING!
SHARP BLADE
CLEANING INSTRUCTIONS
1. ALWAYSdisconnecttheappliancefromthepowersourcebeforecleaning.
2. NeverimmersetheMotor Assembly ofthisapplianceinwaterorotherliquid.
3. TheBlade,Food Presser,and Food Tray canallbehandwashedinhotsoapy
water.Becausethesepartscomeincontactwithfood,theyshouldbesanitizedby
beingdippedinasolutionof2ounces(0.06L)ofunscentednon-chlorinebleach
mixedwith5gallons(19L)ofwater.Allowsanitizedpartstoairdry.Donotuse
harshabrasivestocleananypartoftheFood Slicer.Use extreme caution when
handling or cleaning the Blade, as it is extremely sharp! Do not leave Blade
underwater; trying to handle sharp objects in water can be hazardous. It is
highly recommended to wear cut-resistant Kevlar Gloves when removing,
cleaning and re-installing the Blade.
4. SettheThickness Adjustment Knobto“0”.
5. RemoveFood Presser androtatetheSliding Food Carriageoutofthewayin
ordertoallowforeasyaccesstotheBlade.
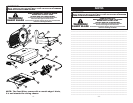
6. ToremovetheBlade holdtheBladewithone
handanduseacointounlocktheBlade Locking
ScrewbyturningitclockwiseFigure 6.Carefullypull
the Bladeoff andholdit byusingthe holein the
centeroftheBlade.
7. CleantheoutersurfaceoftheFood Slicer Body
& Base withadampcloth.Milddetergentorwater
canbeusedtodampenthecloth.Wipeawayfrom
theBlade,NEVERwipetowardthe Blade.Never
immerse Motor Assembly in wateror anyother
liquid.Donotusesteelwool,abrasivecleaners,or
sharputensilstoclean.
8. Toallowforeasiercleaning,theThickness Adjustment Knobcanbeturned
past“0”toallowtheGauge Platetoslideback. NOTE: Use this feature only
with Blade removed. (After cleaning and before reassembly, reset the Thickness
Adjustment Knobto “0”.)
9. Aftercleaninganddrying,installtheBladeandBlade ScrewtotheMotor Assembly
inreverseorderofstep6.MakesuretheBlade Locking Screwisproperlyengaged
andtightened.RotatetheSliding Food Carriagebacktoitsproperpositionandre-
installtheFood Presser.
Figure 6
Rotate clockwise to remove.
WARNING! Before cleaning, assembling or disassembling the Food
Slicer, make sure the Food Slicer Motor is OFF and the PLUG IS REMOVED
FROM THE OUTLET/POWER SOURCE!
HANDLE CAREFULLY!
KEEP FINGERS AWAY FROM THE BLADE!
NEVER FEED FOOD BY HAND.
ALWAYS USE THE FOOD PUSHER!
Always use completely assembled Food Slicer
with Food Carriage and Food Pusher.
Protective/cut-resistant Kevlar gloves are recommended
whenever handling the Blade!
WARNING!
SHARP BLADE


