


9
29. A second enhanced clone screen will open with the next 8
screens to be cloned. Again, the names can be customized
and the area and element of the chiller these workspaces
to be cloned must be selected.
30. Select the same local chiller and your chiller for all 8
workspaces.
31. Select element names for all 8 workspaces.
32. After entering the information press “Proceed” (Fig. 24).
33. A confirmation will be received for each workspace that
is cloned; press “Close” for each one.
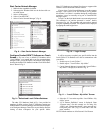
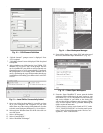
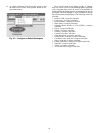
34. The Run mode can now be selected for the workspace
just created (Fig. 25). Select the “Run” tab, then “Enter
run mode.”
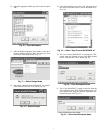
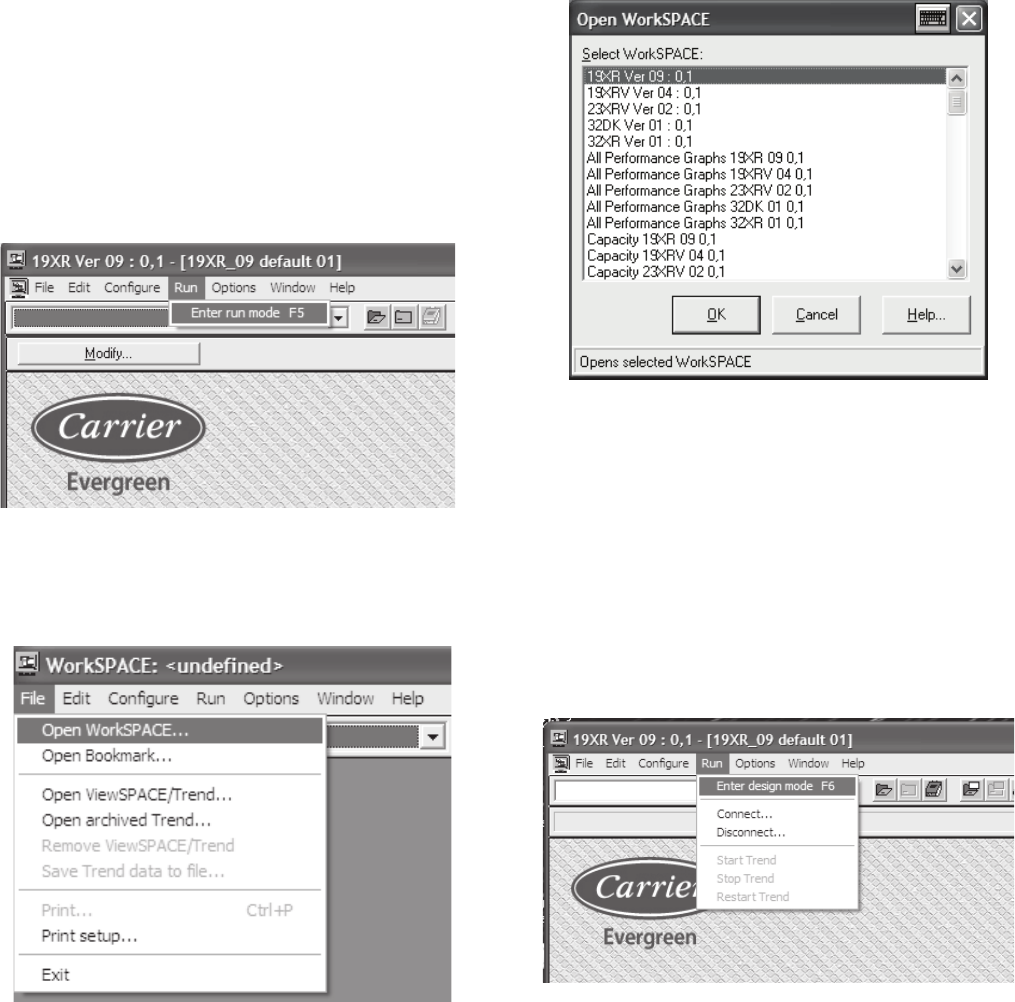
35. From chiller display page, select the “File” tab, then se-
lect “Open WorkSPACE” (Fig. 26).
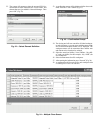
36. Select the filename of the workspace to display and press
“OK” (Fig. 27).
37. These new screens created for your local chiller should
now all be able to communicate with your chiller and
show the data selected.
38. As a last step, log out as administrator and log in as the lo-
cal default operator. The user name for the local default
operator is “Carrier” and the password field is left blank.
39. The old default screen will open first in Workspace Man-
ager. Select and open the new default workspace created
while cloning.
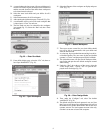
40. Under the “Run” tab at the top of the screen, select the
“Enter design mode.” Answer “Yes” to open the dis-
played screen for design (Fig. 28).
41. Then, under the “Configure” tab, select "Set default
workSPACE" (Fig. 29).
42. The default screen for the local operator is now set. Note
that if you are still logged in as administrator, this will set
the default screen for the administrator and not the local
operator account. The local operator account is the only
one that is set to start on boot of the computer.
Fig. 25 — Enter Run Mode
Fig. 26 — Open Workspace
Fig. 27 — Select Workspace
a19-1918
Fig. 28 — Enter Design Mode