19
Models 336, 338 & 339 Operating Procedures
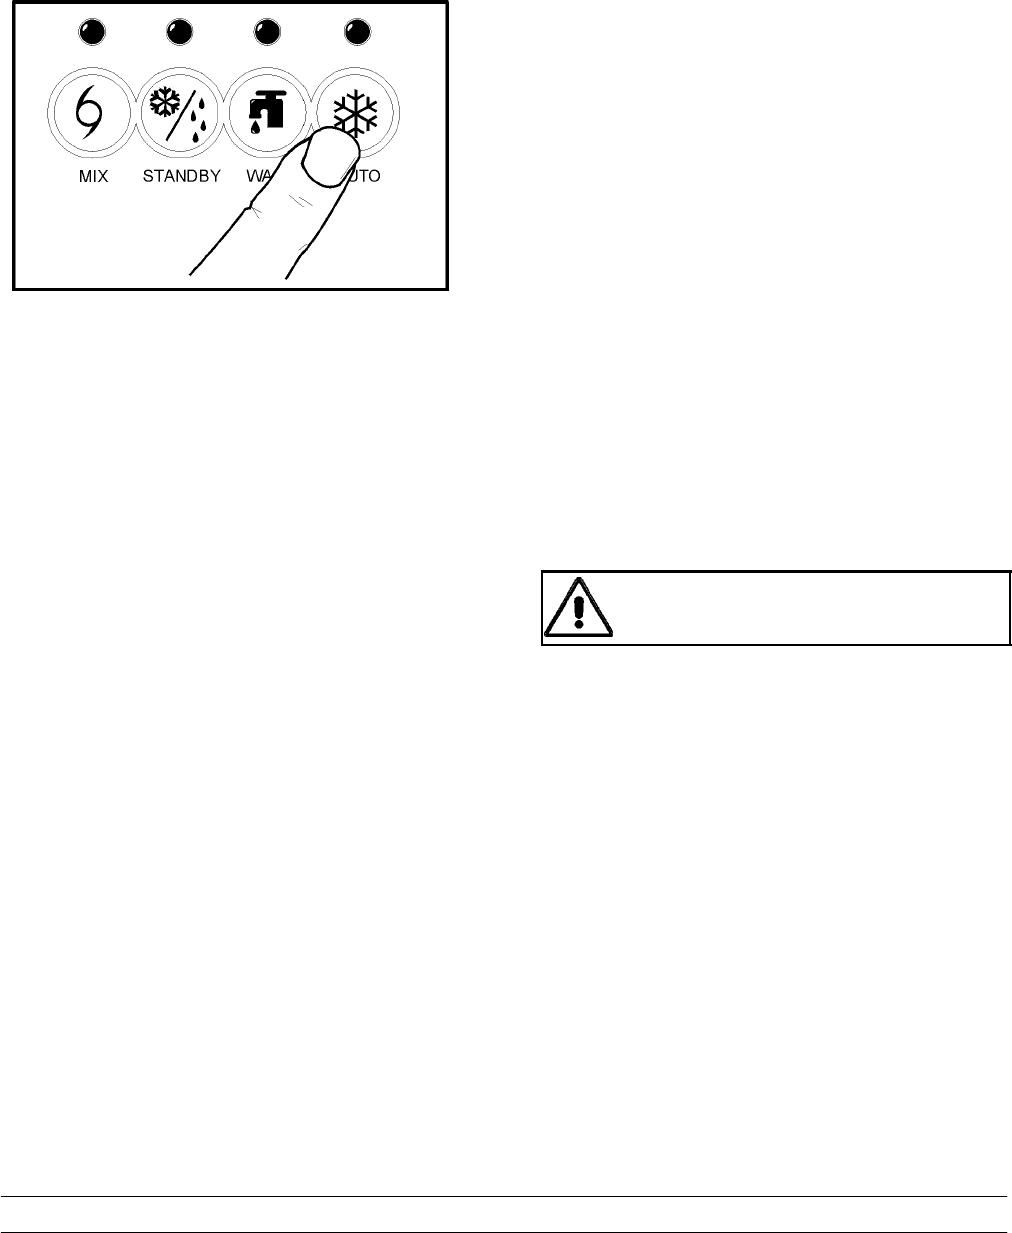
Step 5
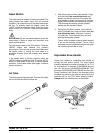
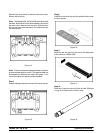
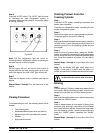
Press the “AUTO” button. The “AUTO” light will come
on indicating the main refrigeration system is
operating. When the unit cycles off, the product will be
at serving viscosity.
Figure 32
Note: The mix refrigeration light will c ome on,
indicating the mix refrigeration system is operating to
maintain the mix in the mix hopper.
Step 6
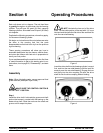
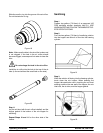
Fill the hopper with mix. As the mix level comes in
contact with the mix level sensing probe on the rear
wall of the hopper, the “MIX LOW” light will shut off.
Step 7
Place the mix hopper cover in position over the mix
hopper.
Repeat Steps 1 through 7 for the other side of the
freezer.
Closing Procedure
To disassemble your unit, the following items will be
needed:
S T wo cleaning pails
S Sanitized stainless steel rerun can with lid
S Necessary brushes (provided with freezer)
S Cleaner
S Single service towels
Draining Product From the
Freezing Cylinder
Step 1
Press the “AUTO” button, cancelling compressor and
beater motor operation.
Press the mix refrigeration button, cancelling the mix
hopper refrigeration system.
Step 2
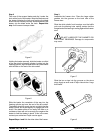
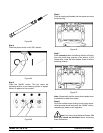
Remove the hopper cover, hopper gasket and air tube.
Take these parts to the sink for cleaning.
Step 3
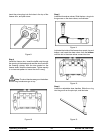
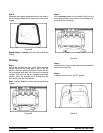
With a sanitized pail beneath the door spout, press the
“WASH” button. Lower the draw handle and drain the
remaining product from the freezing cylinder and the
mix hopper.
Step 4
When the flow of product stops, press the “WASH”
button, and raise the draw handle. If local health codes
permit, empty the rerun into a sanitized stainless steel
can. Cover the container and place it in the walk-in
cooler .
Repeat Steps 1 through 4 for the other side of the
freezer.
Note: For the Model 336, both sides must be in
W ASH. If one side is in AUTO and the other is in
W ASH, the side that is in WASH will continue to freeze.
ALWAYS FOLLOW LOCAL HEALTH CODES.
Rinsing
Step 1
Pour two gallons (7.6 liters) of cool clean water into the
mix hopper. With the brushes provided, scrub the mix
hopper, mix inlet hole and mix level sensing probe.
Step 2
With a pail beneath the door spout, raise the prime plug
and press the “WASH” button.
Step 3
When a steady stream of rinse water is flowing from
the prime plug opening in the bottom of the freezer
door, lower the draw handle. Drain all the rinse water
from the freezing cylinder, raise the draw handle and
press the “WASH” button, cancelling the “W ASH”
mode.
Repeat Steps 1 through 3 for the other side of the
freezer.


