


Care and Maintenance
IMPORTANT: DO NOT PERFORM MAINTENANCE OR CLEANING OF THE EXTRACTOR WITHOUT FIRST
SWITCHING OFF THE ELECTRICITY SUPPLY.
Cleaning
You should use a non-abrasive cleaner. Any abrasive cleaner (including Cif) will scratch the surface and could erase the
control panel markings.
You can clean you extractor effectively by simply using a dilute solution of water and mild detergent and drying to a shine
with a clean cloth, for example the CDA E-Cloth.
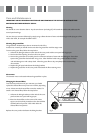
Cleaning the grease filter
The grease filter should be kept clean to minimize the risk of fire.
At least once a month you should remove and clean the grease filter with hot soapy water.
To remove the grease filter, follow the steps below:
1. Unfasten the sliding brackets on either side of the cover panel and the cover panel will hinge open.
2. Remove the filter retaining wires from the cover panel.
3. Remove the grease filter and wash by hand in a lukewarm solution of water and mild detergent. Once clean
squeeze the grease filter but DO NOT wring it out. Clean the filter holder using a dilute solution of water
and mild detergent or with a damp cloth. Allow the grease filter to dry completely before reassembling
the extractor.
4. Replace the grill panel and refasten the sliding brackets.
5. Replace the grease filter in the cover panel and reattach the filter retaining wires.
Please note:
The extractor must not be used without the grease filter in place.
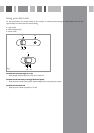
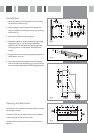
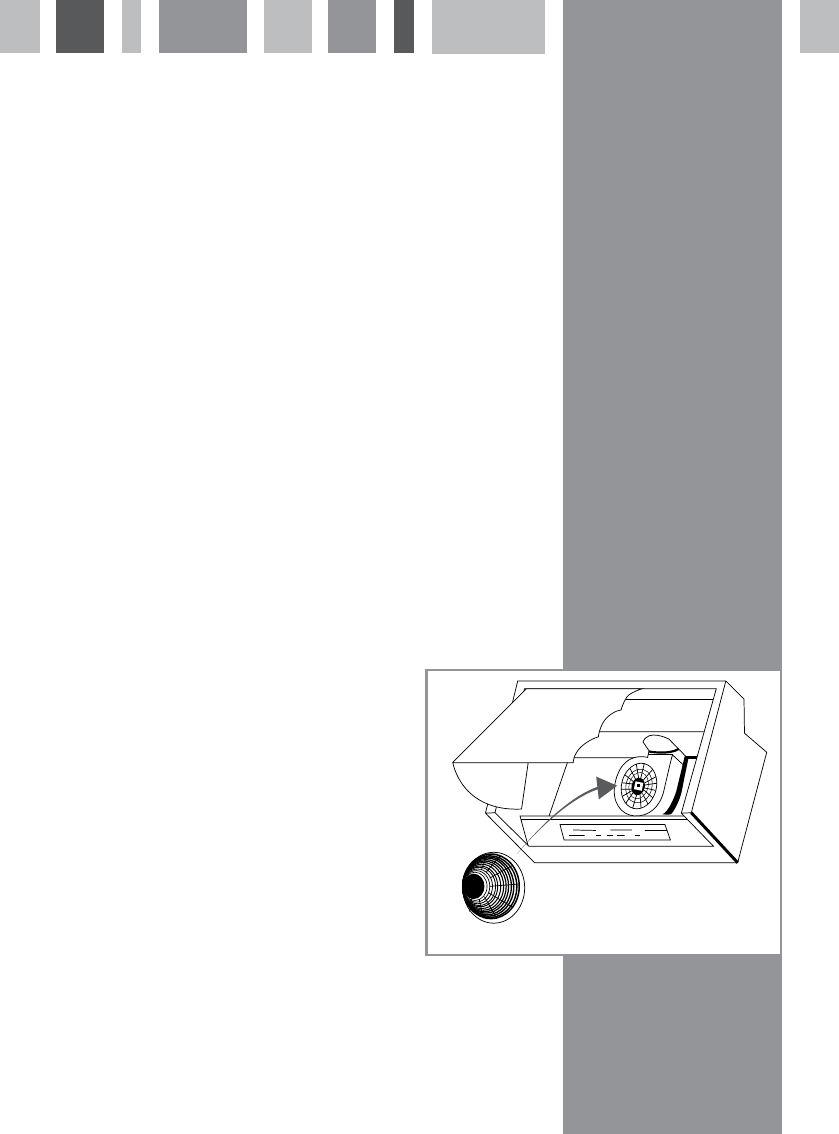
Changing the charcoal filter
To ensure best performance of your extractor, you should
replace the charcoal filters every four to six months, depending
on use. Please note the charcoal filter cannot be washed. To
attach a new charcoal filter, follow the steps below.
1. Unfasten the sliding brackets on either side of the cover
panel and the cover panel will hinge open.
2. Place the charcoal filter on the centre of the motor
support, and once firmly located turn the charcoal filter
clockwise 90˚ until you hear a click which locks the
charcoal filter into position.
Replace the cover panel and refasten the sliding brackets.
Fig. 2
c