


SKU 65760 For technical questions, please call 1-800-444-3353. Page 8
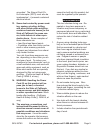
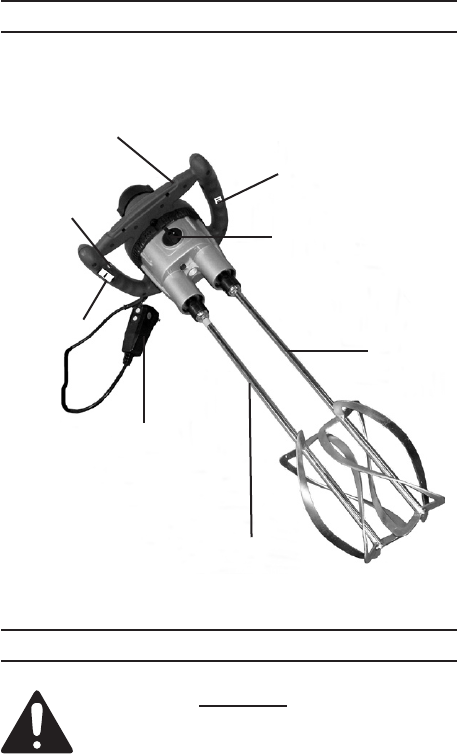
PRODUCT FEATURES
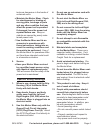
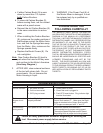
FIGURE B
POWER
SWITCH
(1)
SWITCH
LOCK
SPEED
REGULATOR
(17)
SPEED
REGULATING
KNOB
(59)
POWER CORD
&
GFCI POWER PLUG
(6)
UPPER
HOUSING
(16)
LEFT
AUGER
(28A)
RIGHT
AUGER
(28B)
OPERATING INSTRUCTIONS
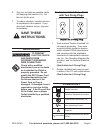
Read the ENTIRE IMPORTANT
SAFETY INFORMATION
section at the beginning of
this manual including all text
under subheadings therein
before set up or use of this
Mortar Mixer. Warning: Before
each use check the operation
of GFCI plug. a) Plug GFCI into
power outlet. Indicator should
turn on. b) Press test button.
Indicator should turn off. c)
Press reset button again for
use. Plug indicator light must
be illuminated. Do not use tool
if above test fails.
Designate a work area that is clean 1.
and well-lit. The work area must not
allow access by children or pets to
prevent injury and distraction.
Place a mixing drum (not included) in 2.
the work area. Make sure the mixing
drum is located on a at, level ground
surface.
Pour the material to be mixed (i.e., 3.
large batches of grout, concrete, or
mortar) in the mixing drum.
IMPORTANT: Refer to the manufac-4.
turer’s instructions of the material for
proper mixing instructions.
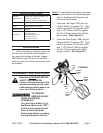
Make sure the Power Switch (1) 5.
of the Mortar Mixer is in its “OFF”
position. Then plug the tool’s GFCI
Power Cord/Plug (6) into the nearest
110 volt, grounded, electrical outlet.
(See Figure B.)
NOTE:6. Route the Power Cord (6)
along a safe route to reach the mix-
ing drum without creating a tripping
hazard or exposing the Power Cord
to possible damage. The Power
Cord must reach the mixing drum
with enough extra length to allow free
movement while working.
(See Figure B.)
Lower the previously attached Left 7.
Auger (28A) and Right Auger (28B)
into the mixing drum.
CAUTION: Do not immerse the Mor-
tar Mixer in material above the Shafts
of the Augers. (See Figure B.)
Set the Speed Regulating Knob (59) 8.
to either “LOW” (0 to 480 RPM) or
“HIGH” (0 to 650 RPM).
IMPORTANT: DO NOT attempt to
change speeds with the Speed Regu-
lating Knob while the tool is running.
(See Figure B.)
Grip the Upper Housing (16) rmly 9.
with both hands and maintain a rm