


Getting Started
i. Run an appropriate length of ½” conduit from your dispenser to the mounting
plate where it will be secured. The conduit needs to be of sufficient length
and flexibility to permit the machine to be moved for cleaning without having
to disconnect any wiring.
ii. Run your dispenser wires from the conduit through the enclosed area across
the top of the machine and feed them through the access hole provided in
the back of the control panel drawer.
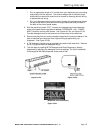
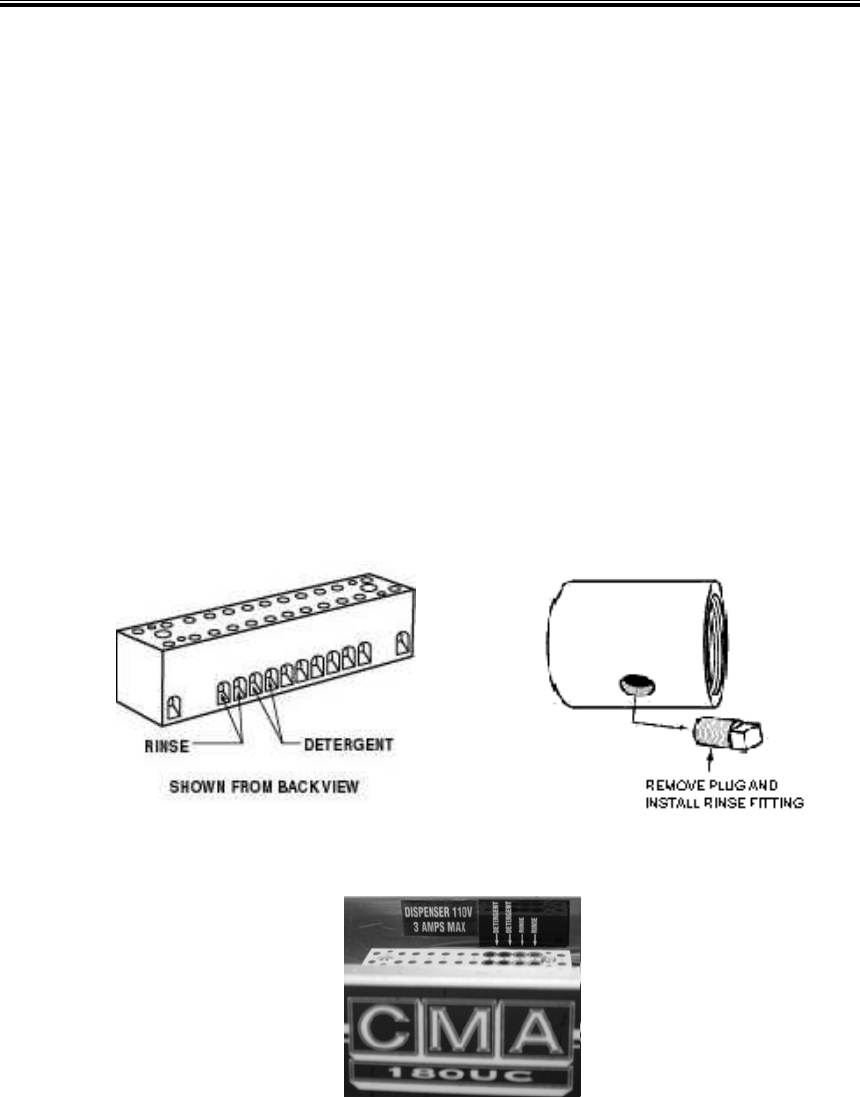
2. With the machine’s power “OFF”, connect your detergent and rinse dispenser
wires to the power block supplied and labeled (“DISPENSER 110V - 3 AMPS
MAX”) inside the control panel drawer. See Figures
2.2.3a, and Figure 2.2.3c.
Connect detergent wires to red terminals and rinse wires to blue terminals.
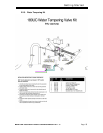
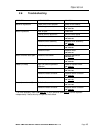
3. Remove the plug from the mixing chamber located by the vacuum breaker on the
back of machine and install the rinse injection fitting (supplied with your
dispenser). See Figure
2.2.3b.
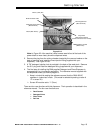
4. A 7/8" detergent injection hole is provided in the back of the wash tank. Remove
the S.S. plug and install the detergent fitting7.
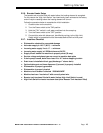
5. The final step of installing BETA Detergent and Rinse Dispenser is titration
adjustment by adjusting the detergent and rinse settings. The Quick Installation
Guide supplied with Beta dispenser shows how to that.
Figure 2.2.3a Figure 2.2.3b
(Dispenser wire connections)
Figure 2.2.3c
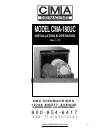
MODEL CMA-180UC INSTALLATION & OPERATION MANUAL Rev. 1.13 Page
6