


10
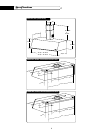
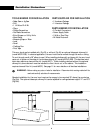
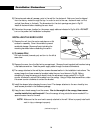
5) Determine and make all necessary cuts in the wall for the ductwork. Each euro hood is shipped
from the factory vented through the top. In order to vent to the rear, ductwork must run first
vertical then elbow to the back. The dimensions for the duct openings are given in Fig. 02.
Install all ductwork before installing the euro hood.
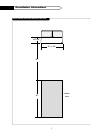
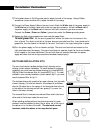
6) Determine the proper location for the power supply cable as indicated in Fig. 2a & 2b. DO NOT
turn on the power until installation is complete.
INSTALLING THE EURO HOOD
1) Remove the unit from the carton and place on a flat
surface for assembly. Cover the surface to prevent
accidental damage. Remove all parts including the
mounting hardware before discarding the carton.
2)
To remove filter:
Pull knob forward (towards you) and turn to the left at
same time.
3) Remove the cover from the field wiring compartment. Remove the wiring electrical knockout using
a flat-blade screwdriver. Feed the power supply cable through the electrical knockout.
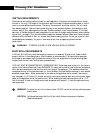
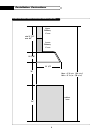
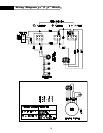
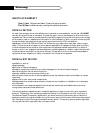
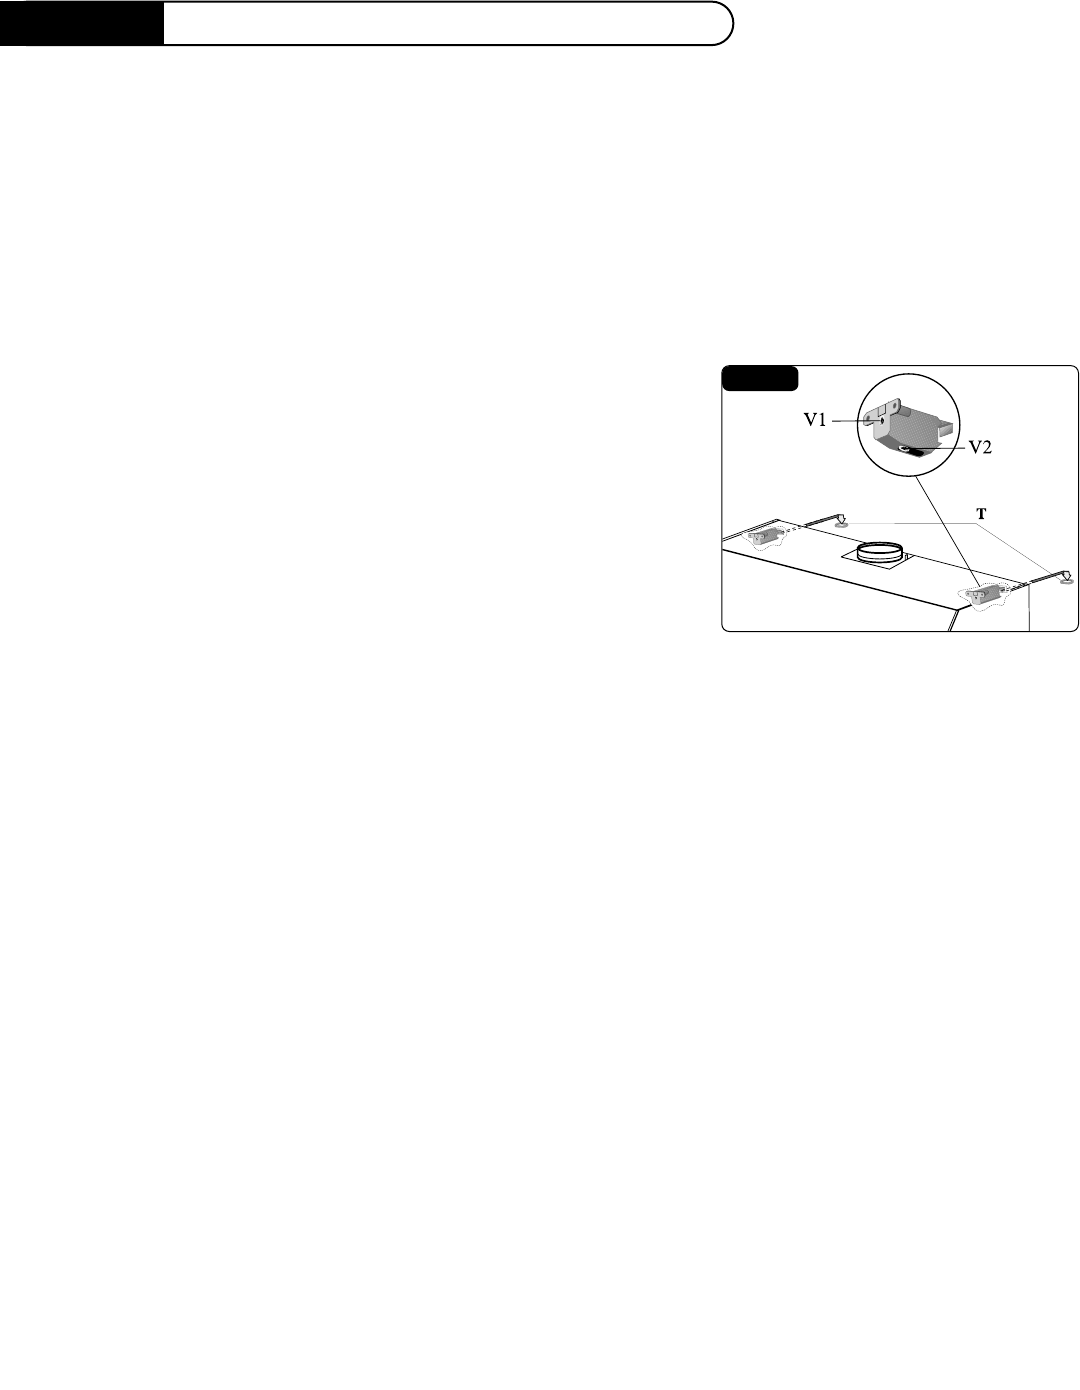
4) The canopy attaches to the wall by two screws discussed earlier in the installation instructions. The
canopy hangs from these screws by brackets inside the euro hood shown in Fig. 08. Before
attempting to hang the canopy, you should rotate the adjustment screw marked V1 in Fig. 08
counter clockwise to extend the brackets from the canopy. Using a Phillips head screwdriver, rotate
this screw counter clockwise to extend the bracket.
5) Install the damper before hanging the euro hood. The damper attaches to the euro hood by two
small screws provided in the hardware package.
6) Hang the euro hood canopy from the screws. Due to the weight of the canopy, these screws
must be installed into solid material! Once the canopy is hung, rotate the screw marked V1 to
secure the euro hood to the wall.
NOTE: Make sure that the euro hood is securely attached to the wall! Failure to properly install could
result in injury or damage to property.
(continued on page 11)
FIG.08
I ns tallation I nstructions