


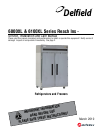


6000XL Series Service and Installation Manual
For customer service, call (800) 733-8829, (800) 733-8821, Fax (888) 779-2040, www.delfield.com
4
Delfield
™
®
Stabilizing
Some models are supplied on casters for your convenience,
ease of cleaning underneath and for mobility. It is very
important, however, that the cabinet be installed in a stable
condition with the front wheels locked while in use.
Should it become necessary to lay the unit on its side or back
for any reason, allow at least 24 hours before start-up so as to
allow compressor oil to flow back to the sump. Failure to meet
this requirement can cause compressor failure and unit damage.
Unit repairs will not be subject to standard
unit warranties due to improper installation
procedures.
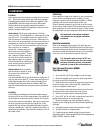
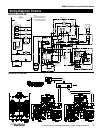
Electrical connection
Refer to the amperage data on page 3, the serial tag, your
local code or the National Electrical Code to be sure the unit is
connected to the proper power source. A protected circuit of
the correct voltage and amperage must be run for connection
of the line cord, or permanent connection to the unit.
The thermostat must be turned to OFF and
the unit disconnected from the power source
whenever performing service, maintenance
functions or cleaning the refrigerated area.
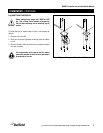
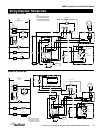
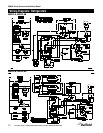
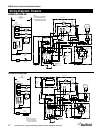
Door Reversal Procedure 6000XL
Edge-Mount Hinge
Open door 90˚ and lift door straight up and off hinges.
Remove the plastic screw covers on each hinge section
by prying out with a thin screwdriver.
Remove two outer screws that mount each hinge to door,
loosen the center screw, rotate hinge 180˚, reinstall outer
screws and retighten center screw.
Remove two screws that mount lock on top of door, turn
door up-side-down and remount lock to top of door.
Remove the hinges from the cabinet face frame.
Use a 3/16” drill to drill holes in cabinet face frame at the
marked hinge locations on the new hinge side.
Remove the plastic cam from the hinges by pulling
straight up, then rotating the cam 180˚ and pushing back into
the hinge.
Reinstall the plastic screw covers removed in step 2.
Reinstall the door by reversing step 1.
If plastic plugs are needed to plug old screw holes in
cabinet face frame, please contact Delfield Parts Department at
(800) 733-8821, extension 12801.
1.
2.
3.
4.
5.
6.
7.
8.
9.
10.
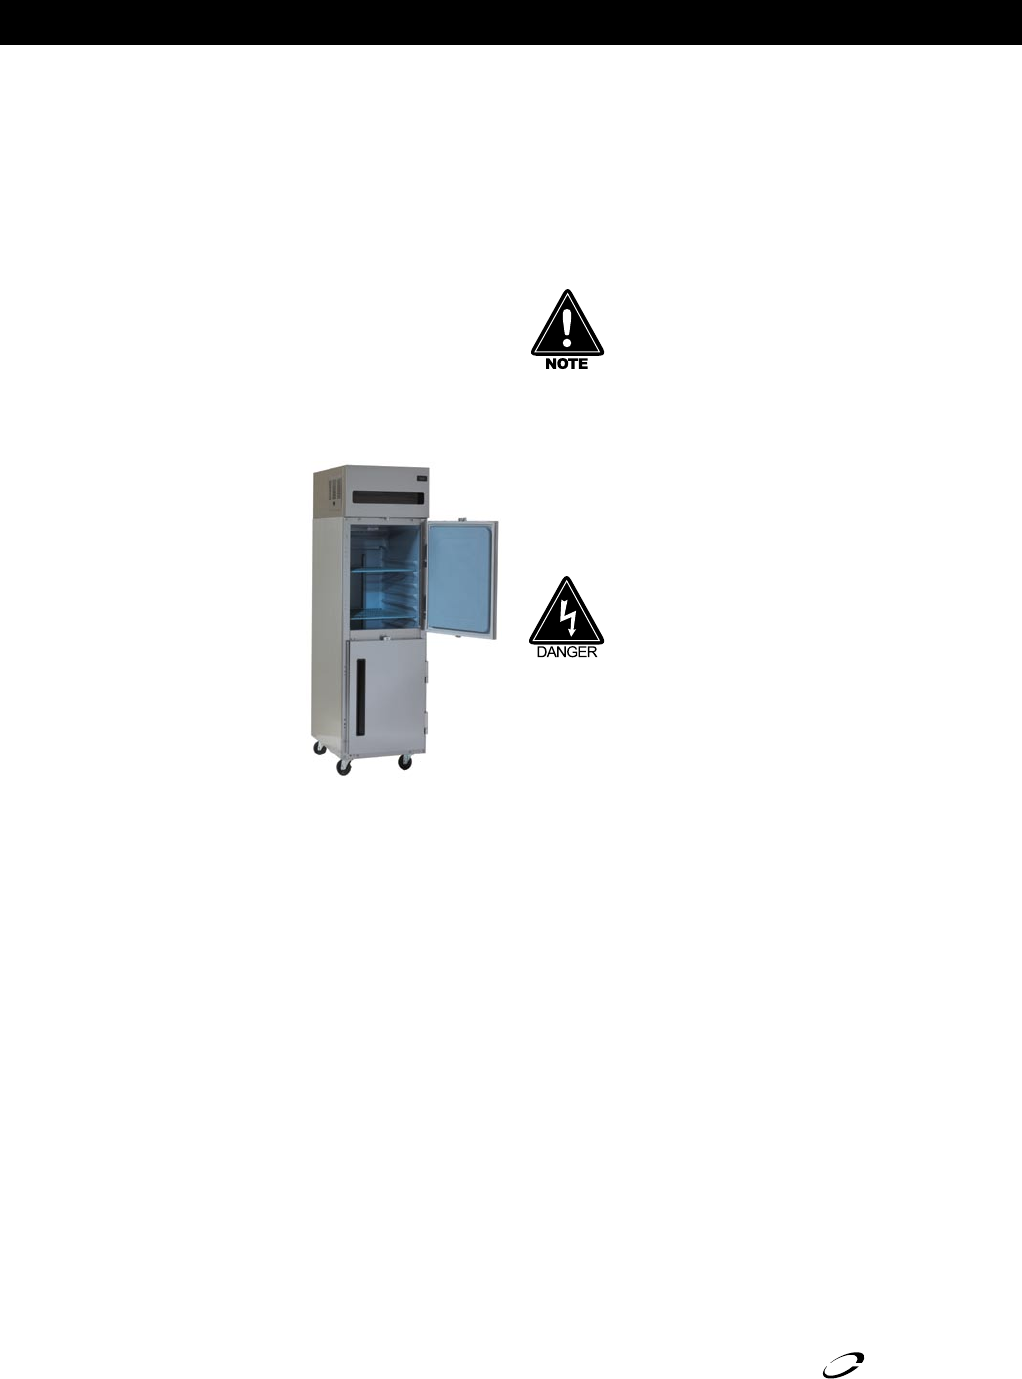
Installation
Location
Units represented in this manual are intended for indoor use
only. Be sure the location chosen has a floor strong enough
to support the total weight of the cabinet and contents. A fully
loaded 6000XL series can weigh as much as 1500 pounds.
Reinforce the floor as necessary to provide for maximum
loading. For the most efficient refrigeration, be sure to provide
good air circulation inside and out.
Inside cabinet: Do not pack refrigerator so full that air
cannot circulate. The refrigerated air is discharged at the top
rear of the unit. It is important to allow for proper air flow
from the top rear to the bottom of the unit. Obstructions to
this air flow can cause evaporator coil freeze ups and loss of
temperature or overflow of water from the evaporator drain
pan. The rear of the unit has molded ribs and the shelves
have a rear turn up on them to
prevent this. However, bags and
other items can still be located to
the far rear of the cabinet. There is
also a return air diffuser along the
top front of the cabinet interior, this
also requires proper air circulation.
Prevent obstruction by locating large
boxes and tall stacks of product to
the bottom of the cabinet.
Outside cabinet: Be sure that the
unit has access to ample air. Avoid
hot corners and locations near
stoves and ovens.
It is recommended that the unit be installed no closer than 2”
from any wall with at least 12” of clear space above the unit.
Avoid exposing glass door units to direct sunlight. Direct
sunlight through the glass doors will make the ABS liner
fade and become brittle and will greatly reduce refrigeration
efficiency.
Leveling
A level cabinet looks better and will perform better because
the doors will line up with the frames properly, the cabinet will
not be subject to undue strain and the contents of the cabinet
will not move around on the shelves. Use a level to make sure
the unit is level from front to back and side to side. Units
supplied with legs will have adjustable bullet feet to make the
necessary adjustments. If the unit is supplied with casters, no
adjustments are available. Ensure the floor where the unit is to
be located is level.