


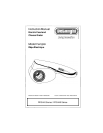

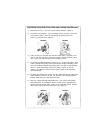

OPERATING YOUR ELECTRIC FOOD AND CHEESE GRATER
RECHARGING:
1) Fully charge unit before use. To start the battery recharge, place the charger
plug (11) into a 120V/60Hz AC only outlet.
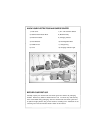
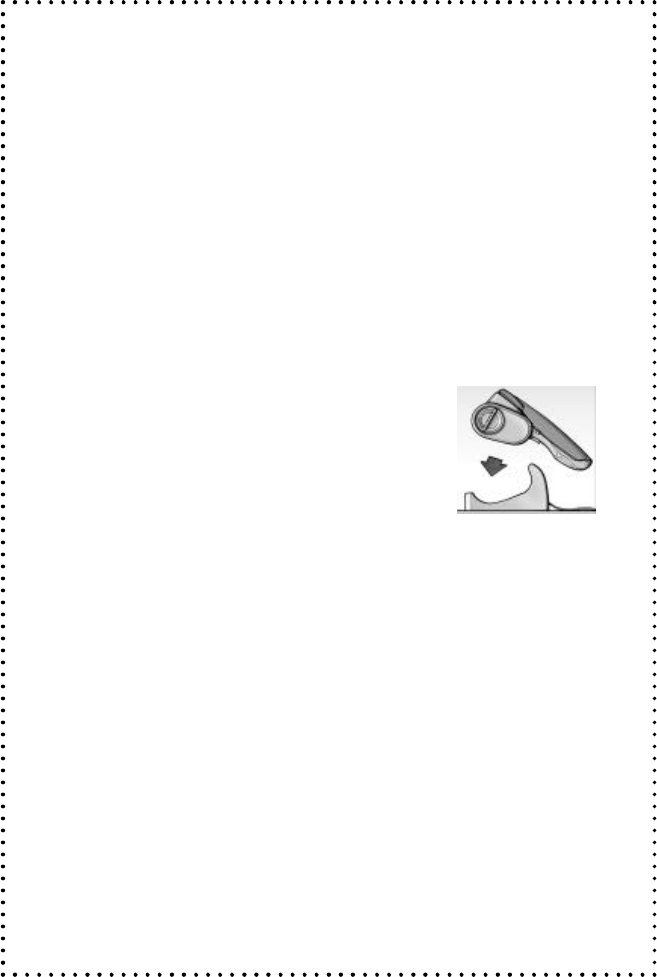
2) To place the grater into the rechargeable base (10), face the grating end of the
unit downward into the rechargeable base. (Figure 1) By doing this, the handle
of the grater should be facing upwards and will be easily accessible.
3) Once the unit is fitted into the rechargeable base the charging indicator light
(12) will illuminate letting you know that the unit is in the process of recharging.
4) To be sure the electric grater is fully charged, leave it in the rechargeable base
for about 15 hours. This will allow the unit to operate at full power.
5) The handle will become warm during recharging. This is normal.
6) If the grater does not work, check to make sure it was properly positioned in
the rechargeable base.
NOTE: If the operation time seems to have shortened, it does not mean that the elec-
tric food and cheese grater is defective. This problem may be solved by leaving the
grater “on” until the stainless steel grating drum (2) stops turning. Then recharge the
appliance for 15 hours. This procedure improves the battery’s recharging capacity.
If necessary, repeat this operation more than once.
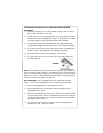
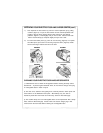
WALL MOUNTABLE: The rechargeable base has an optional wall mountable
feature. To mount the rechargeable base to your wall follow these directions:
1) Place the rechargeable base on a desired point on the wall.
2) Then mark the points in the two drill holes located on the bottom of the re-
chargeable base with a pencil.
3) Remove the rechargeable base from the wall. Drill holes into the wall according
to your two pencil marks. Place the rechargeable base back onto the wall after
the holes have been drilled. Align the holes on the bottom of the rechargeable
base with the holes in the wall.
4) Turn screws into the holes with a screwdriver until the rechargeable base
fits tightly on the wall. Screws not included.
FIGURE 1