


16.7 Resetting factory default settings (reset)
If you change the original values, the factory default values can be reset as follows:
•Press the button then press repeatedly until the appliance displays:
RESET TO DEFAULT NO
•Press the button and the appliance displays "RESET TO DEFAULT YES:
•Press the button to reset the factory default values;
• The appliance is now reset to the factory default settings and the READY message is displayed.
16.8 Washing process
This function can be used by technical service personnel only.
17 CHANGING THE LANGUAGE
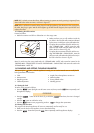
To change the language, press the button for at least 5 seconds until the appliance displays the
installation message in various languages. To select the required language, follow the instructions in section
4.1 :
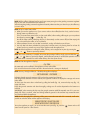
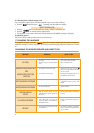
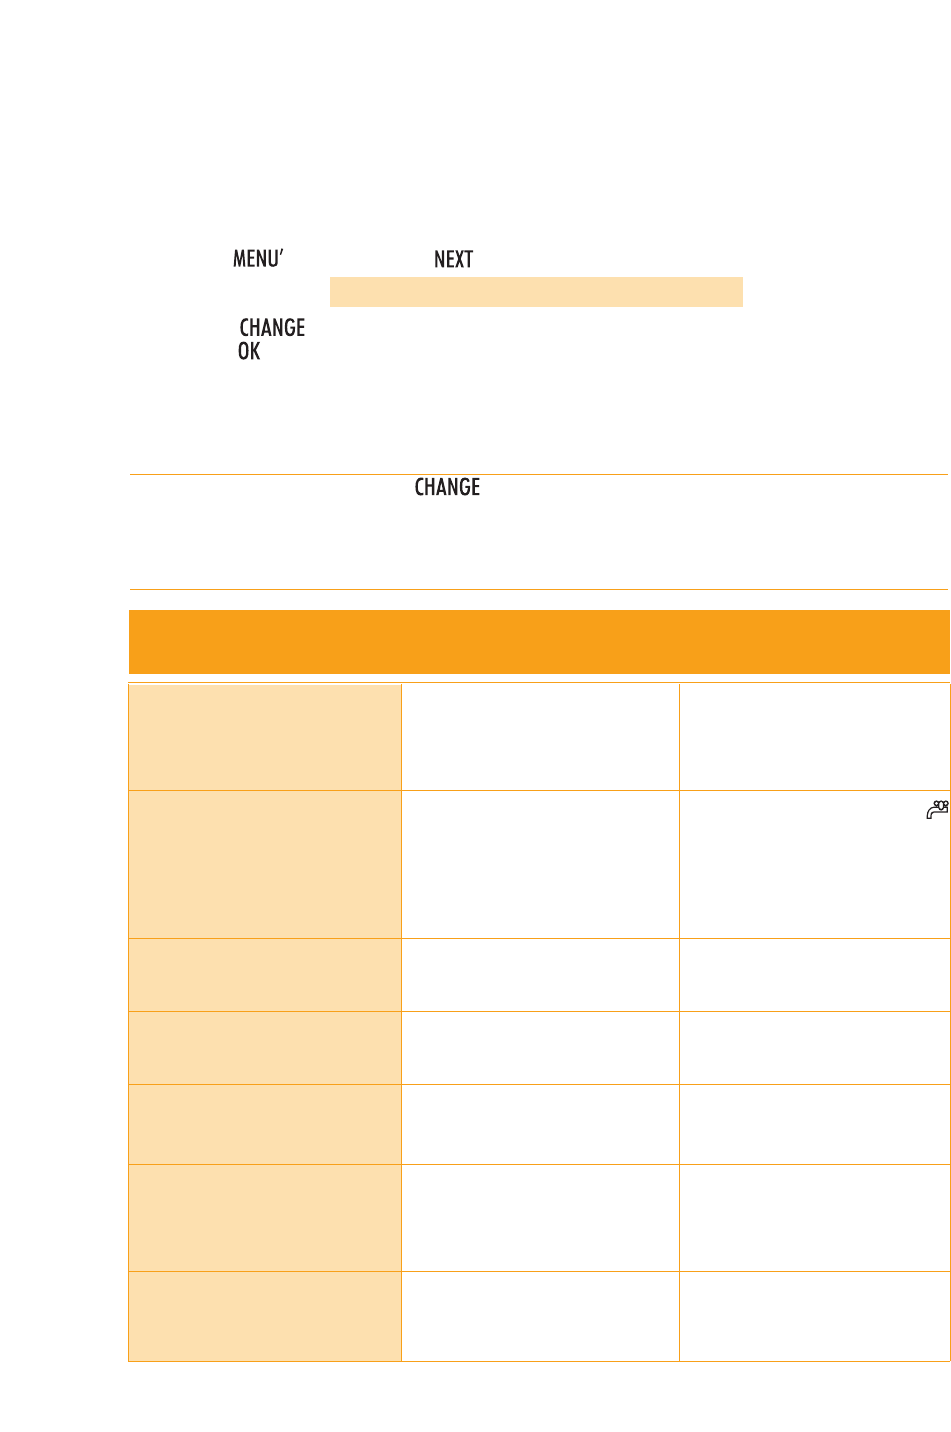
18 MEANING OF MESSAGE DISPLAYED AND WHAT TO DO
20
ADD PRE-GROUND
COFFEE
•With the function selected, the pre-
ground coffee has not been poured into
the funnel.
• Add the ground coffee as described in
section 9.
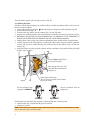
FILL BEANS CONTAINER
• The coffee beans have run out.
• If the coffee grinder is very noisy, this
means a small stone in the coffee beans
has blocked the mill.
• Fill bean container.
• Contact an authorized De' Longhi servi-
ce center.
DESCALE
• This indicates the presence of lime scale
in the appliance.
• The descaling procedure, described in
section 16.3, needs to be performed as
soon as possible.
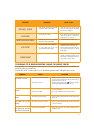
MESSAGE MEANING WHAT TO DO
FILL TANK
• The water tank is empty or is positioned
incorrectly.
• The tank is dirty or encrusted with lime
scale.
• Fill the water tank as described in sec-
tion 6, note 6 and insert it fully.
• Rinse or descale the tank.
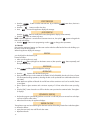
GROUND TOO FINE ADJUST MILL
AND
• The appliance cannot make coffee • Insert the hot water spout, press the
button and run off water from the spout
for a few seconds.
INSERT WATER SPOUT AND
PRESS OK
• The coffee runs off too slowly. • Turn the grinding regulator (fig. 12) one
click clockwise (see section 8).
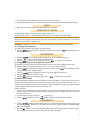
EMPTY GROUNDS CONTAINER
• The grounds container is full or missing. • Empty the grounds container and clean
as described in section 6, note 7, then
replace.
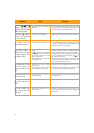
INSERT GROUNDS CONTAINER
• After cleaning, the grounds container
has not been replaced.
•Open the service door and insert the
grounds container.