DECATHLON SERIES GAS FRYERS (NON-CE)
CHAPTER 3: INSTALLATION
3-6
3.4 Gas Connections (cont.)
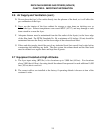
3. If disconnection of the restraint is necessary, this restraint must be reconnected after the
fryer has been returned to its originally installed position.
J. After hook-up, bleed the gas line of air to ensure that the pilot light will ignite quickly.
3.5 Adjustments/Adaptation To Different Gases
A. Proper operation of Dean gas fryers requires operator to inspect the following adjustments in
terms of:
1. Gas inputs and pressures.
2. Voltage and polarities of electrical power supplies.
B. Dean gas fryers are manufactured to use the type of gas and pressure specified on the rating
plate. When changing to a different gas, adaptation must be performed by qualified
personnel. Failure to use qualified personnel will void the Dean warranty.
3.5.1 Specifications
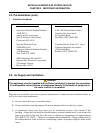
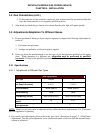
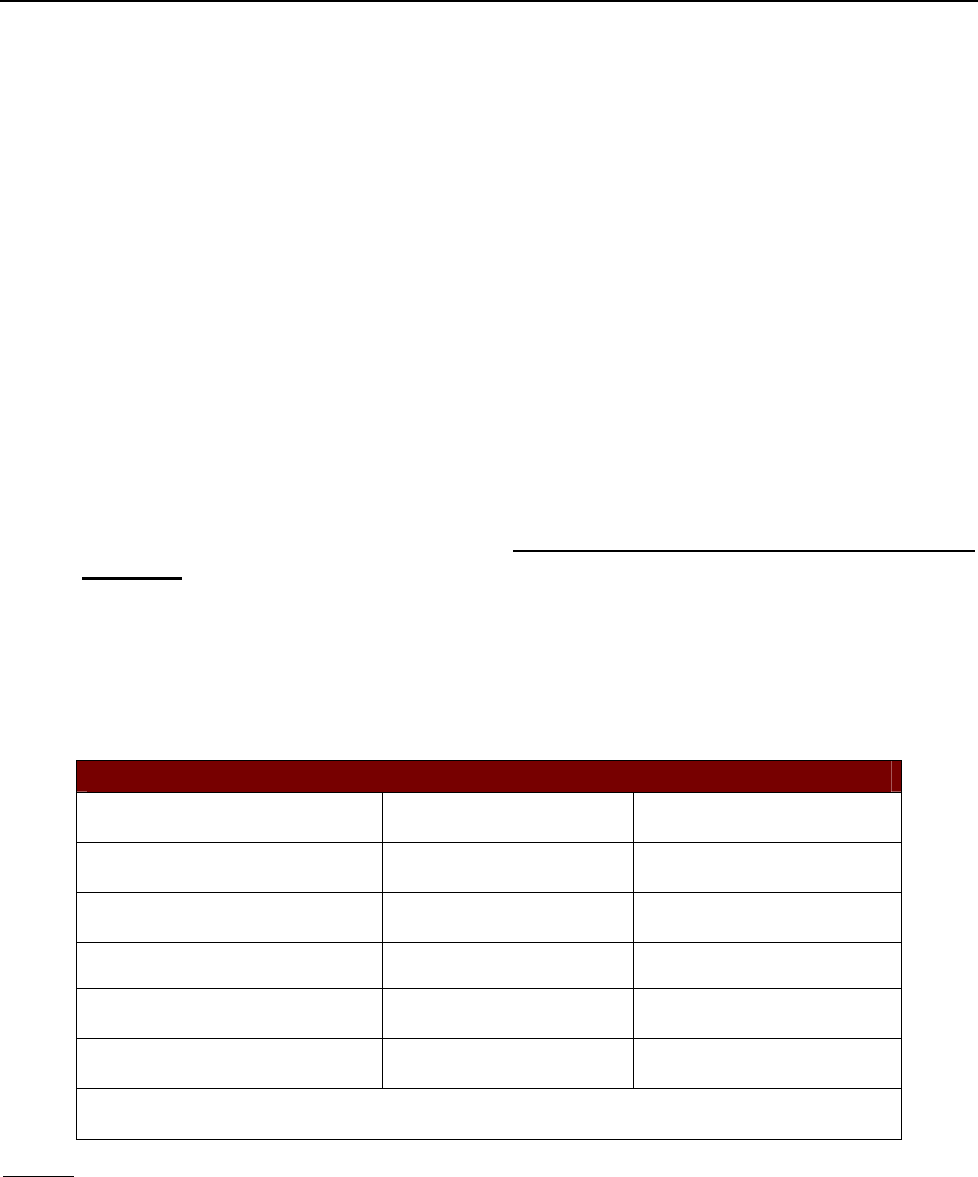
3.5.1.1 Adjustments to Different Gas Types
Gas Adjustments
Gas Type
Natural LP
Gas Supply Pressure†
4" W.C.* 11" W.C.*
Orifice Diameter
Model Specific Model Specific
Burner Marking
None None
Pilot Marking (Orifice)
26N (P/N 810-0811) 16LP (P/N 810-2400)
Gas pressure at the regulator
(mbar)*
10* 27.5*
* Gas pressure may vary per fryer model and altitude. Check the rating plate for specific
gas pressures.
NOTE: Outlet gas pressure must be adjusted strictly within the above requirements 5 to 10 minutes
after the appliance is operating.
† For controls and adjustments, please refer to the "gas valve" illustration on page 3-7. (Pilot Flame
Adjustment: Turn the pilot adjustment screw clockwise/counter-clockwise until the desired flame-
volume is achieved.)


