MAINTENANCE & SERVICE
DO NOT use a hot air blower. Permanent damage
could result from warping the metal or plastic parts.
DO NOT use a knife or an ice pick, or other sharp
tools to remove frost from the freezer compartment.
They can create a leak in the ammonia system.
The defrost water runs from a collector channel to a drip
tray/cup at the rear of the refrigerator where it normally
evaporates.
If heavy frost built up on the freezer plate and the cooling
fins, and a lot of defrost water, move the plastic drain
tube in to a watertight bucket or container.
As the frost melts, the water will flow into the container.
When all the frost has melted wipe up the excess mois-
ture and empty the accumulated water from the bucket.
Replace the drain tube to its original position.
Defrost water in the freezer compartment should be
wiped up with a clean cloth.
When all the frost is melted, dry the interior of the
refrigerator with a clean cloth. Replace all food and set
the thermostat to “MAX” for a few hours. Then reset the
thermostat to its normal position.
CLEANING
Cleaning the refrigerator is usually done after it is de-
frosted or put into storage. To clean the interior liner of
the refrigerator, use lukewarm weak soda solution. Use
only warm water to clean the finned evaporator, gasket,
ice trays and shelves. NEVER use strong chemicals
or abrasives to clean these parts as the protective
surfaces will be damaged. It is important to always
keep the refrigerator clean.
SHUT OFF
-
STORAGE
PROCEDURE
To shut off the refrigerator, turn knob “A” to “OFF”
position.
If the refrigerator will not be in operation for a period of
weeks, it should be emptied, defrosted, cleaned and the
doors left ajar. The ice tray should also be dried and kept
outside the cabinet.
NOTE:
To avoid running down the batteries to the interior
light during defrosting and storage periods, use a tape
to close the light switch or remove the lamp bulb. The
batteries can also be removed from the battery box at
the rear of the refrigerator.
DO NOT store explosive substances in the refrig-
erator, such as cigarette lighter gas, petrol, ether or
the like.
LIGHTING
The refrigerator is provided with a battery power interior
light.
The battery box is at the rear of the refrigerator.
Four batteries, type R20
1.5
volts are to be used.
The user should be aware of service that must be
done on a regular schedule to keep the refrigerator
operating properly. The service should only be per-
formed by a qualified technician who is familiar with
LP gas systems and refrigerators.
1.
2.
A.
REFRIGERATOR REMOVAL
Before working on the refrigerator, make sure the AC
voltage leads are disconnected. Shut off the gas
supply. Disconnect the gas supply line at the rear of
the refrigerator. Always use a back up wrench when
loosening and tightening this connection. Cap the
gas supply line and remove the refrigerator.
Replacement is the reverse of removal. Check all
connections for gas leaks.
Refer to section INSTALLATION, page 2 and 3.
PERIODIC MAINTENANCE
To keep your refrigerator operating efficiently and
safely, periodic inspection and cleaning of several
components is recommended once or twice a year.
It is important to keep the area at the back of the
refrigerator clean. Clean the coils on the back of the
refrigerator. Use a soft bristled brush to dust off the
coils.
It is important to keep the refrigerator area free from
combustible material, gasoline and other flammable
vapors or liquids.
NOTE: The following maintenance is required once or
twice a year, but should only be done by a qualified
serviceman who is familiar with LP gas systems and
refrigerators.
B.
Check all connections in the LP gas system (at the
back of the refrigerator) for gas leaks.
The
LP gas
supply must be turned on. Apply a noncorrosive
bubble solution to all LP gas connections. The ap-
pearance of bubbles indicates a leak and should be
repaired immediately by a QUALIFIED SERVICE-
MAN WHO IS FAMILIAR WITH GAS SYSTEM AND
REFRIGERATORS.
DO
NOT use a flame to check for gas leaks.
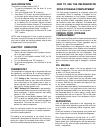
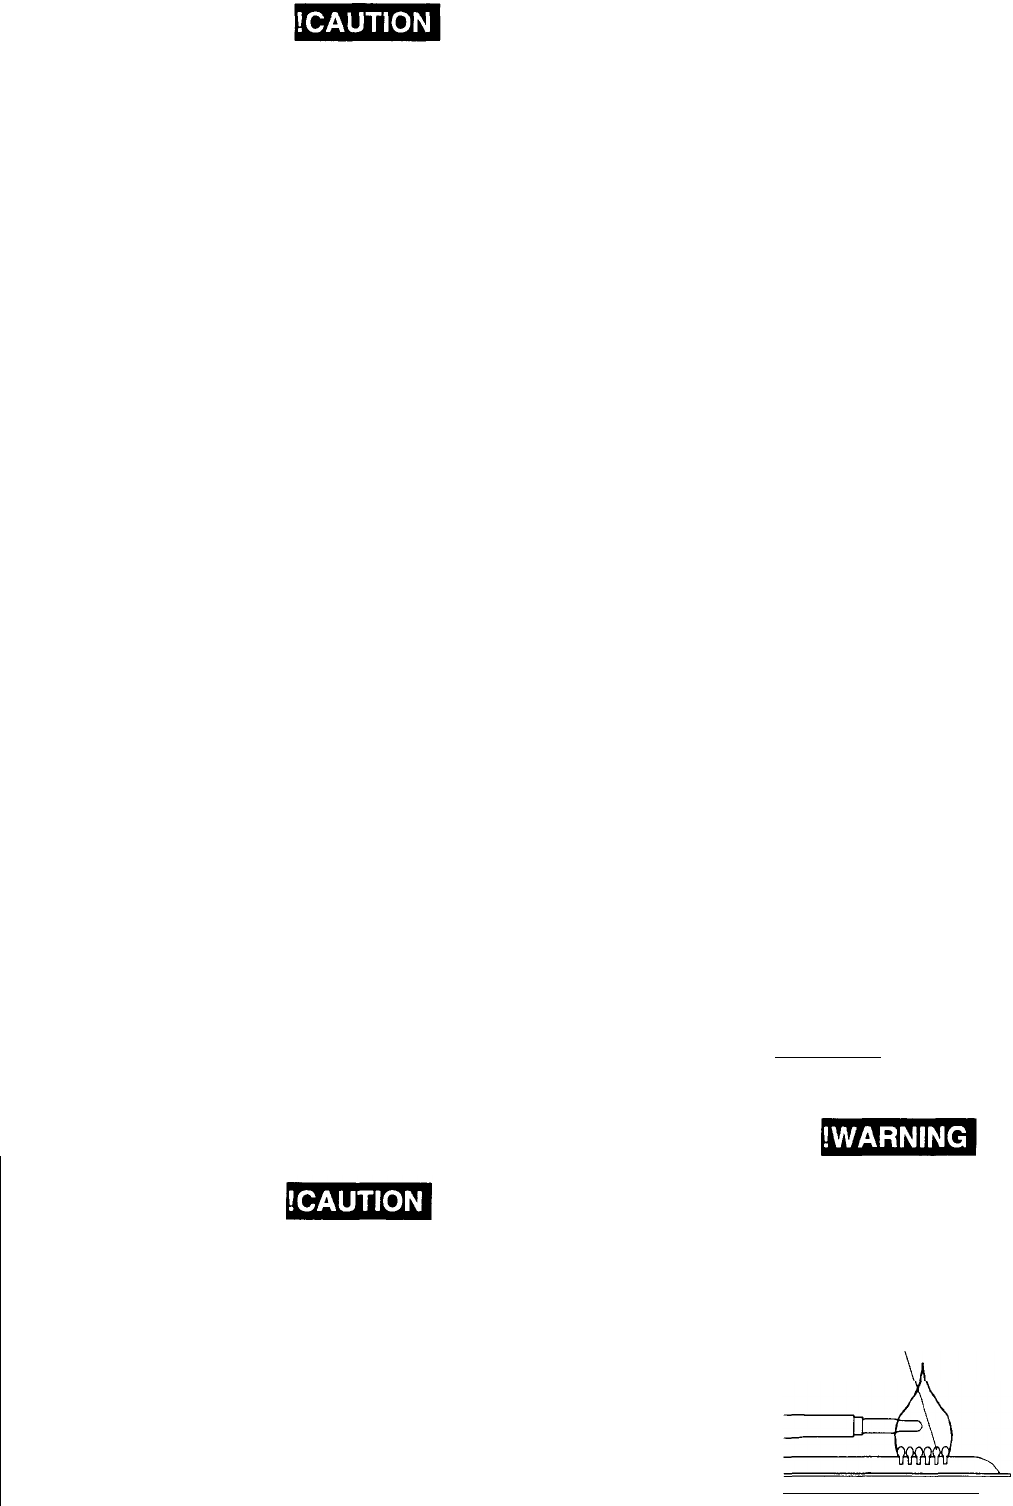
C. Check burner flame for proper appearance. The
flame should be light blue with no yellow at the tip.
See FIG. 4.
Clear blue color
of flame
FIG. 4


