


13
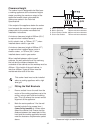
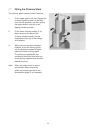
3. Draw a horizontal line through the vertical
line 15mm from the ceiling. Place one of
the two
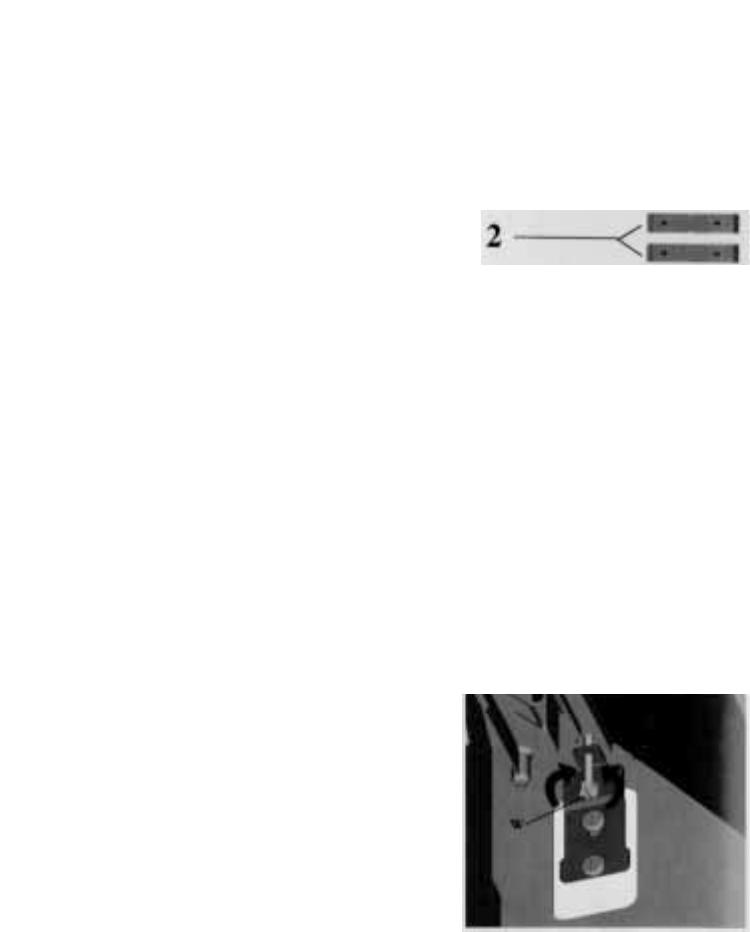
upper brackets (item 2) over the
line. Ensure the bracket is level and mark
the centres for the keyhole fixing screws
55mm either side of the vertical line.
4. Draw a horizontal line through the vertical
line for the second
upper brackets (item 2)
at X. X is the distance between the centre
of the top and bottom fixing holes on the
upper chimney section. Ensure the line is level.
5. Place the second bracket (item 2) over
the line, and mark the centres for the
keyhole fixing screws 55mm either side of
the vertical line.
6. Drill the holes for the wall bracket fixing
screws using an 8mm drill and fix the wall
brackets items 1 and 2 using the rawl
plugs and screws provided.
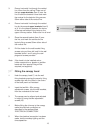
Note:
If the hood is to be installed onto a
hollow construction or plaster or partition
board wall then special fixing will be
required (not supplied).
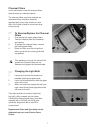
K
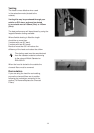
Fitting the canopy hood
1. Hook the canopy hood C, into the wall
fixing brackets ensuring the security fixing
screws align with the holes in the centre
of the back panel as illustrated.
2. Insert the two M4 x 25m canopy
adjustment screws, into the wall brackets,
from the underside of the hood.
3. The canopy can be aligned and adjusted
in height by using the two adjustment
screws (W).
4. Before fitting the chimney to the canopy
make the electrical connection as
described in the sectione titled
“ELECTRICAL CONNECTION”.
5. When the electrical connection has been
made, test the worktop lighting and the
three speed fan.