5
List of materials- Electrical & Installation
requirements
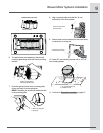
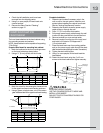
List of Materials
Parts included in your hood insert
Metal grease lters:
- Model EI30HI55KS: 2 lters
- Model EI36HI55KS: 3 lters
- Model EI48HI55KS: 4 lters
Hood insert with 4 halogen lamps installed.
1 - 10” (25.4 cm) square to 10” (25.4 cm) round
duct transition with damper.
4 - 5 x 45 mm mounting screws for cabinet
4 - 4.2 x 8 mm screws for 10” round ducting damper
2 - 18mm spacer screw (only for EI30HI55KS
hood insert model)
Parts Needed
Home power supply cable
1 - ½” (1.3 cm) UL listed or CSA approved strain relief
3 - UL listed wire connectors
1 wall or roof cap
Metal vent system
Blower motor system - internal or remote (see
“Blower Motor Options” section).
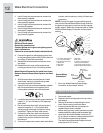
Tools/Materials required
Level
Drill
1¼” (3 cm) drill bit
1
1
/8” (3 mm) drill bit
Pencil
Wire stripper or knife
Tape measure or ruler
Pliers
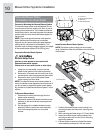
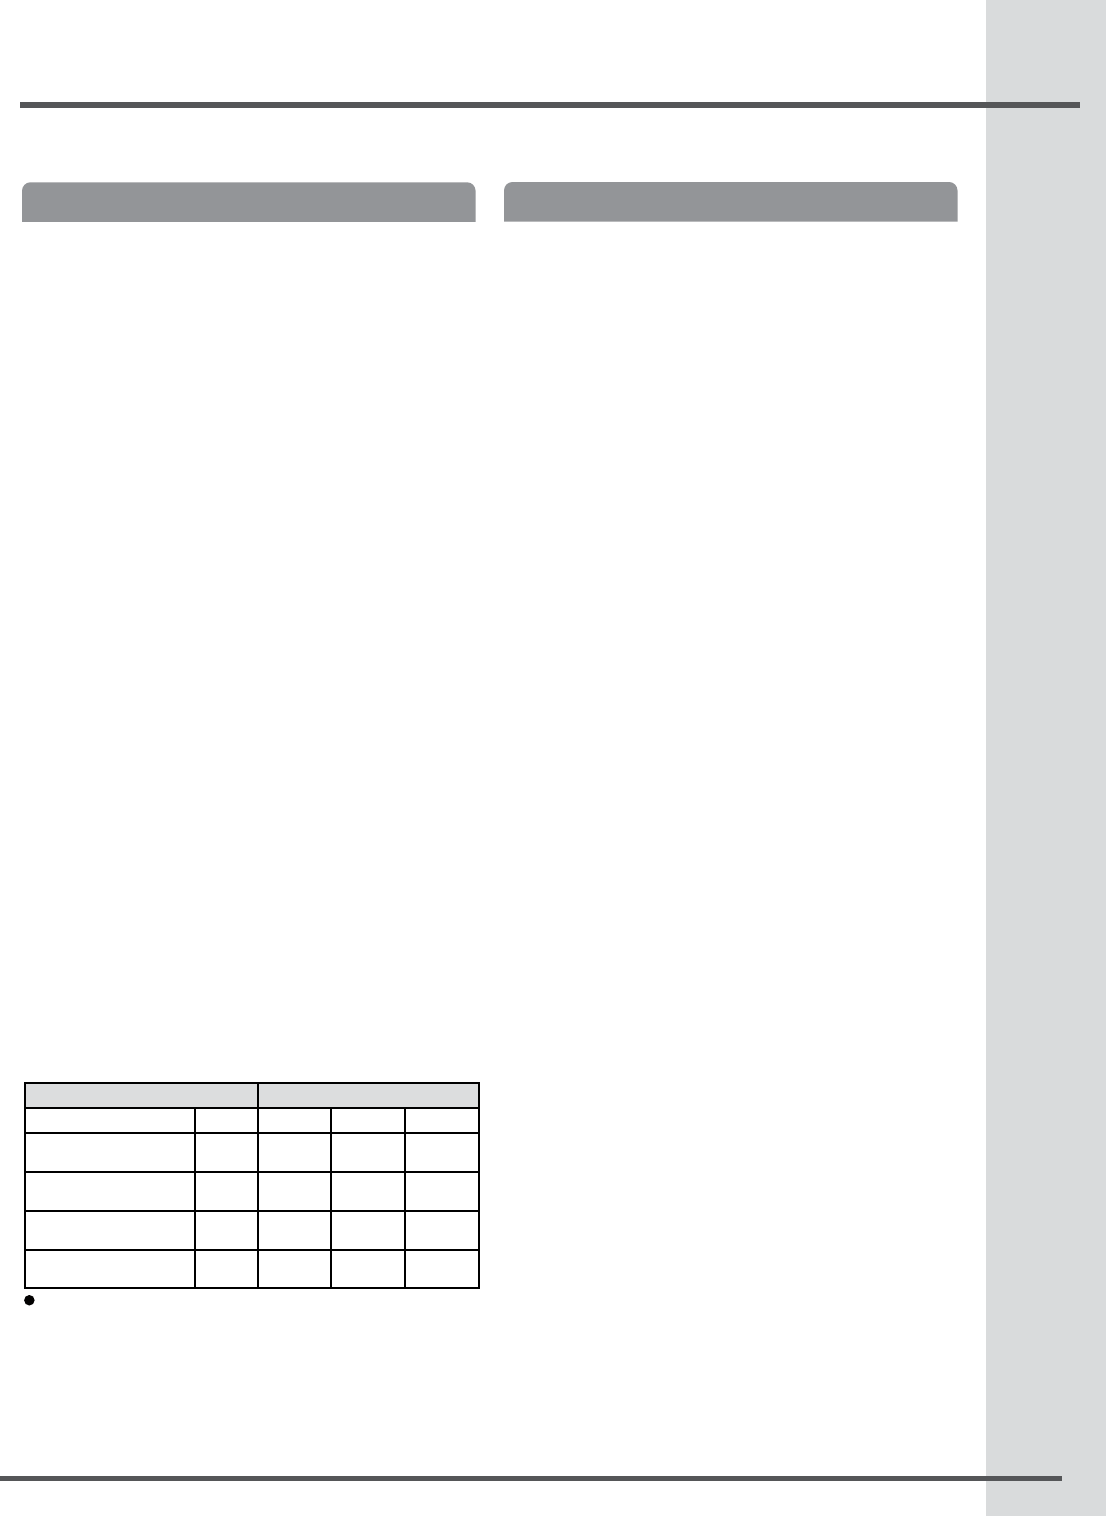
Blower Motor Options
(1 system is required with Vent Hood Insert)
BLOWER MOTOR SYSTEM KITS HOOD INSERT MODELS
MODEL RATING
EI30HI55K5 EI36HI55K5 EI48HI55K5
EI06HIPIKS
(600 cfm Int. Blower Kit)
3.7 A
• • •
EI12HIPIKS
(1200 cfm Int.Blower Kit)
7.4 A
• •
EI06HIPRKS
(600 cfm Remote Blower Kit)
3.7 A
• • •
EI12HIPRKS
(1200 cfm Remote Blower Kit)
7.4 A
• • •
You can use your range hood model with this blower motor kit.
•
•
•
•
•
•
•
•
•
•
•
•
•
•
•
•
•
•
•
•
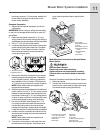
Electrical Requirements
Observe all governing codes and ordinances.
Ensure that the electrical installation is adequate and
in conformance with National Electrical Code, ANSI/
NFPA 70 (latest edition), or CSA Standards C22.1-
94, Canadian Electrical Code, Part 1 and C22.2 No.
0-M91 (latest edition) and all local codes and ordi-
nances.
If codes permit and a separate ground wire is used, it
is recommended that a qualied electrician determine
that the ground path is adequate.
A copy of the above code standards can be obtained
from:
National Fire Protection Association
One Batterymarch Park
Quincy, MA 02269
CSA International
8501 East Pleasant Valley Road
Cleveland, OH 44131-5575
A 120 volt, 60 Hz., AC only, 15-amp, fused
electrical circuit is required.
If the house has aluminum wiring, follow the
procedure below:
Connect a section of solid copper wire to the
pigtail leads.
Connect the aluminum wiring to the added
section of copper wire using special co
nectors and/or tools designed and UL listed
for joining copper to aluminum.
Follow the electrical connector manufacturer’s recom-
mended procedure. Aluminum/copper connection
must conform with local codes and industry accepted
wiring practices.
Wire sizes and connections must conform with
the rating of the appliance as specied on the
model/serial rating plate.
The model/serial plate is located behind the lter
on the rear wall of the range hood.
Wire sizes must conform to the requirements of
the National Electrical Code, ANSI/NFPA 70 (la
est edition), or CSA Standards C22. 1-94,
Canadian Electrical Code, Part 1 and C22.2
No. 0-M91 (latest edition) and all local codes and
ordinances.
CAUTION
To reduce the risk of re and electric shock, install
this hood insert only with internal and remote
blower models rated maximum 7.4 A
(Electrolux™).
•
•
1.
2.
•
•
Caulking gun and
weatherproof caulking
compound
Vent clamps
Jigsaw or keyhole saw
Flat-blade screwdriver
Metal snips
Phillips screwdriver
•
•
•
•
•
•


