Installing the waste disposer
When INSTALLING the disposer, refer to the
EXPLODED VIEW on page 3.
The installation of this appliance should be carried
out by a competent or qualified plumber.
Before installing a new disposer, inspect waste pipe.
Ensure the drain is clear of obstruction before use.
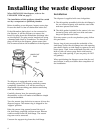
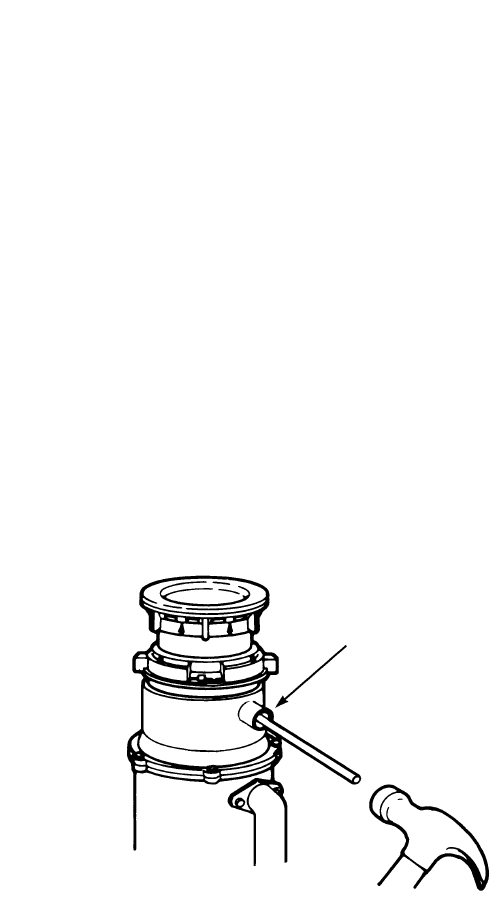
If the dishwasher drain pipe is to be connected to
the disposer, it will be necessary to remove the
knock out plug from the dishwasher discharge inlet
on the disposer. The plug can be knocked out using
a hammer and chisel or screwdriver. The knock out
plug will fall into the disposer, please ensure that
this is removed before the installation of the disposer.
The disposer is equipped with an easy to use
mounting system. The disposer mounting comes
completely assembled, so it will be necessary to
disassemble the mounting parts before continuing
with the installation.
Carefully observe how the mounting parts
disassemble, as this will make re-installation simple
and understandable.
Turn the mount ring clockwise to remove it from the
disposer hopper. The mount ring is shipped in the
‘support’ position.
Raise the mount ring upward toward the top of
the sink flange, exposing cushion mount. Remove
cushion mount from the sink flange. The mount
ring can now be removed.
Unscrew the support ring from the sink flange.
Installation
The disposer is supplied with two sink gaskets.
A. The thin gasket assembled with the sink flange is
for use instead of putty with stainless steel sinks
and most pressed steel sinks.
B. The thick gasket included in the carton is for use
instead of putty with cast iron sinks and some
deep well pressed steel sinks.
If for any reason you do use plumbers putty, follow
this procedure:
Form a ring of putty around the underside of the
sink flange. Insert the sink flange into sink opening,
press down firmly on sink flange to squeeze out any
excess putty. Then, from underneath the sink, use a
knife to trim off excess putty flush with bottom
edge of the sink opening. If you use putty, do NOT
use gasket(s).
When positioning the disposer ensure that the red
reset button is easily accessible after completion of
the installation.
KNOCK OUT
PLUG
4
Fig. A


