OPERATING INSTRUCTIONS
62.9534.01_UL Page 9
III . OPERATING INSTRUCTIONS
1. GENERAL
An 840 x 740 mm solid top with a burner output of 2 x 7 kW
can reach a maximum temperature of 842°F (450°C) in the
area of the burner.
The base unit is equipped with a hygienic area or with a gas
roasting and baking oven.
2. OPERATION
2.1 OPERATION
D For liquid gas operation also open the bottle or tank valve.
Switch on gas burner (Chapters 2.1 and 2.2)
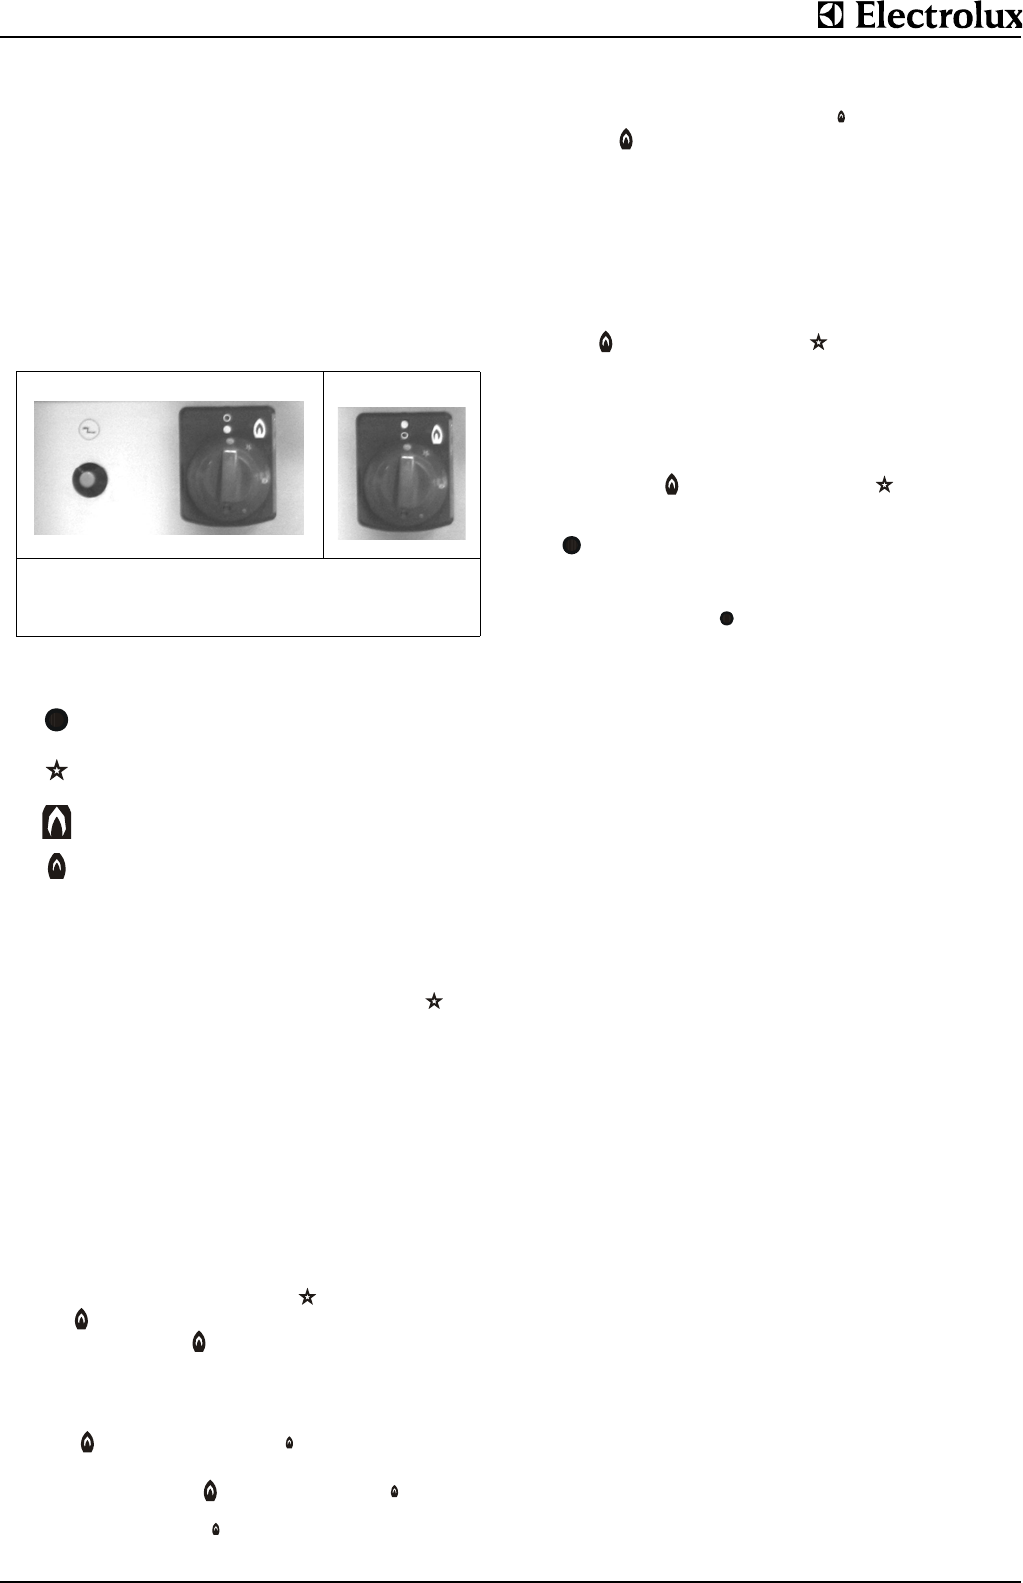
The knobs (VB and HB Fig.9) have four main settings:
2.1.1 IGNITING THE PILOT BURNER
D Push rotary switch (1, 3 / Fig.9) fully in.
D Turn it anti-clockwise to the pilot burner ignition ( ) posi-
tion.
D Hold the knob (1, 3 / Fig.9) fully pressed in.
D At the same time, ignite the gas escaping at the pilot bur-
ner with the piezo ignition device. The burner is ignited by
pushing the knob (2) .
D After lighting the pilot burner, keep the rotary switch
pushed in for about 15 seconds.
It is only after this period of time that the pilot light will burn
after the rotary switch is released.
D If the pilot light extinguishes, repeat the whole process.
2.2 IGNITING THE MAIN BURNER
D Press the knob (VB, HB / Fig.9) in lightly and turn it from
the pilot burner ignition position ( ) anti-clockwise to the
high ( ) position.
The high position ( ) equates to the maximum burner
power or rated thermal load.
2.3 TEMPERATURE SELECTION
The intensity of the flame can be adjusted between the "high
position" ( )and the "low position" ( ).
D Push the knob (2/Fig.9) fully in and turn it anti-clockwise
from the high setting ( ) towards the lowest ( ) setting.
The flame becomes smaller and smaller.
In the lowest setting ( ) the main burner has the lowest
output.
D To return from the lowest setting ( ) towards the highest
setting ( ), push the knob (1, 3 / Fig.9) fully in and turn it
clockwise.
2.4 INITIAL OPERATION
The new appliance should be heated up for 30 minutes.
2.5 SWITCHING OFF THE OVEN
2.5.1 MAIN BURNER
D Turn the knob (VB, HB / Fig.9) back clockwise from the
high ( ) to pilot burner ignition ( ).
The gas supply to the main burner is stopped and the main
flame is shut down. The flame of the pilot burner keeps on
burning and is available for further main burner ignitions.
2.5.2 PILOT BURNER FLAME
D Press the knobs (VB, HB / Fig.9) lightly and turn clockwise
from he high ( ) to pilot burner ignition ( ).
The complete gas supply is cut off and the pilot light
extinguishs.
= Off
2.5.3 BURNERS
D Set all knobs to Off ( ).
All burners are switched off.
2.5.4 LONG SHUT-DOWNS
The following should be observed when shutting down for a
long period:
D Turn off the main gas tap (1 / Fig.9).
When operating with liquid gas, also turn off the bottle or
tank valve.
D Never store the fryer where the temperature can drop
below 32°F (0 °C).
D Rub all chrome nickel steel surfaces with a cloth soaked in
vaseline oil, to lay down a thin protective coating.
D Air the installation site regularly.
3. CLEANING
The appliance should be cooled before every cleaning
operation.
D Shut off all the gas taps and control valves on the range.
D Wipe the plate with a slightly moist cloth each time after
use. Clean the cooking plate regularly with an abrasive
sponge. Do not use a steel wool pad!
D Wash rust-resistant chrome nickel steel panels with hot
soapy water to which a fat-dissolving agent has been
added and rub them dry.
Note
D The appliance must not be sprayed with a water jet or high-
pressure cleaner.
D The floor directly in front of, near and behind the appliance
must be cleaned normally without a high-pressure cleaner.
D Never use steel wool, spatulas or ordinary steel wire
brushes for cleaning the surfaces, since the deposition of
steel particles can lead to rust formation. Stainless steel
wool can possibly be used, but only in the grinding direc-
tion.
D Never use chloric products (bleaching dye, hydrogen chlo-
ride etc.) for cleaning chrome nickel steel, even if they are
diluted.
D Never use corrosive substances for cleaning the floor
under the appliance (e.g. hydrochloric acid). Clean the
appliance with commercial cleaning agents. Do not use
granular or abrasive agents.
1 Front burner valve
2 Ignition device
3 Rear burner valve
Fig.9 Control panel
Off
Igniting the pilot burner
High setting
Low setting
2
1
3


