


61
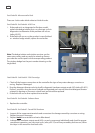
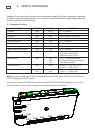
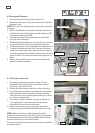
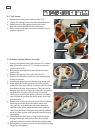
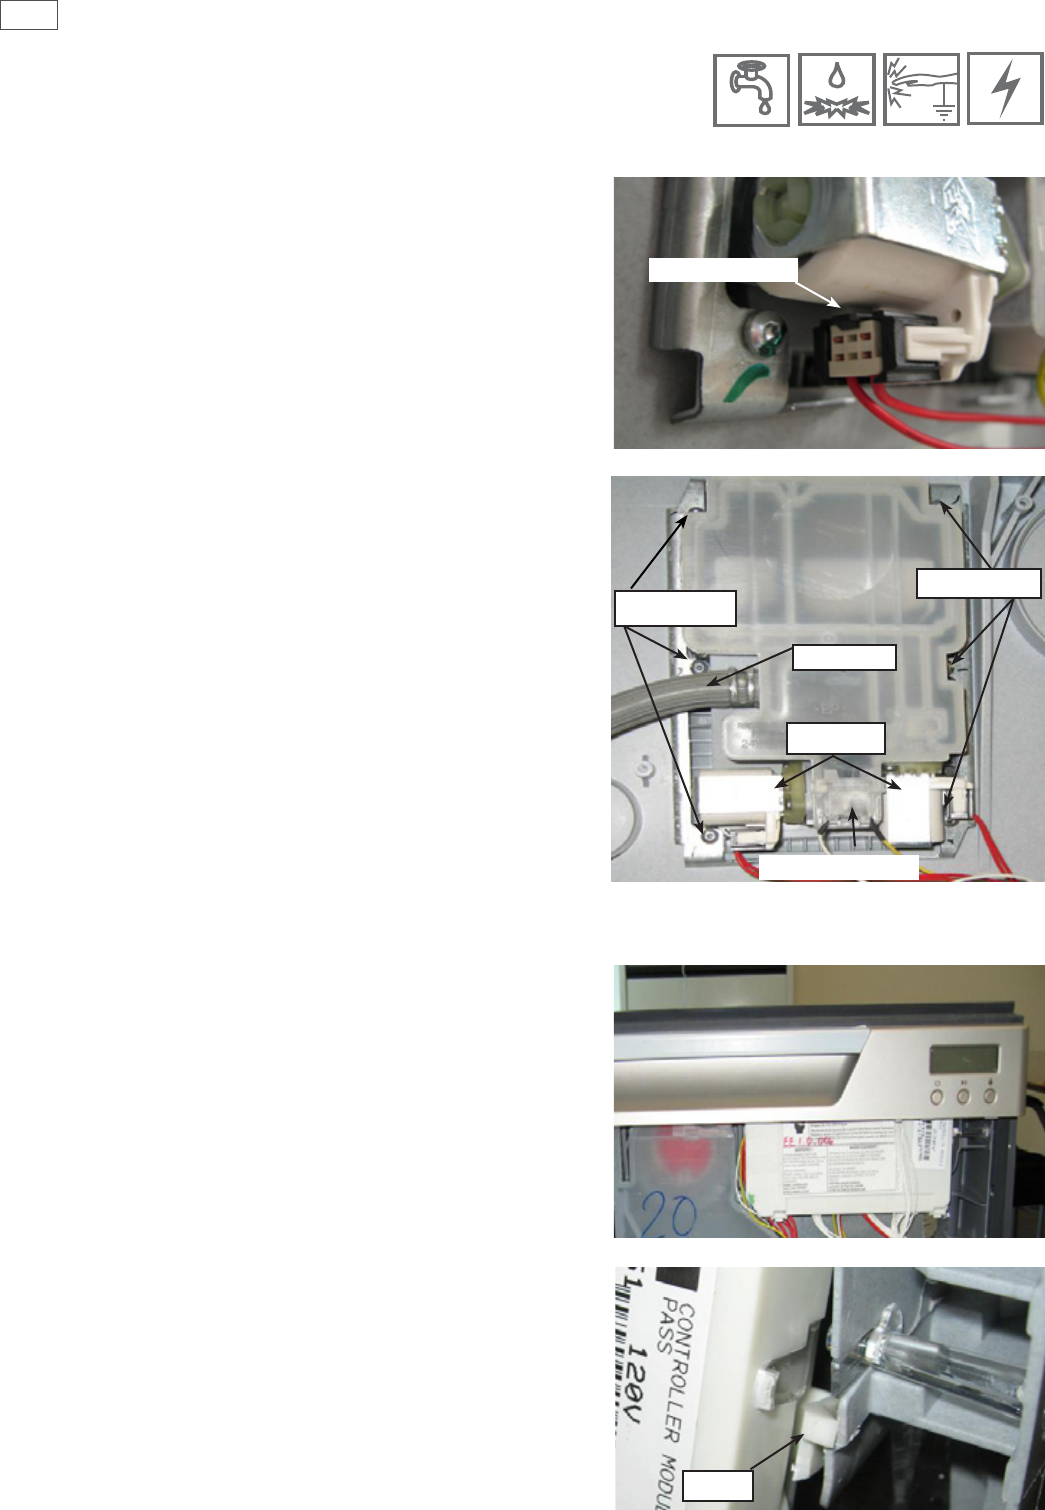
9.9 Detergent Dispenser
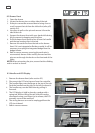
1. Remove the drawer front (refert section 9.2)
2. Disconnect the two wiring lock connections from the
dispenser coils.
NOTE: Push back the locking tabs to allow the connectors
to release.
3. With a small bladed screwdriver, carefully release the
small plastic clips holding the rinse aid indication LED
in place and remove the LED.
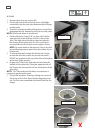
4. Use pliers to release the clamp and remove the ll
hose from the dispenser.
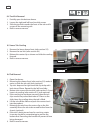
5. While holding the dispenser, unscrew the six torx drive
screws securing the two brackets to the dispenser.
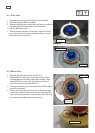
6. The dispenser can not be removed from inside the tub.
7. To open the dispenser door fully, rst open the door
using the release catch, then squeeze the top sides of
the door together. This will release the door to the fully
open position. This can be done with the dispenser in
place.
8. Ret in the reverse manner ensuring the dispenser
gasket is located correctly.
Harness Lock
Torx Screws
Coils
Fill Hose
Torx Screws
Rinse Aid LED
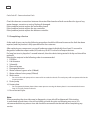
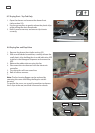
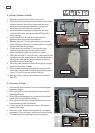
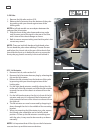
9.10 Electronic Controller
1. Remove the drawer front (refer section 9.2) and
optionally the handle can be removed for ease of
servicing. (refer section 9.3).
2. Disconnect the wiring connectors to the controller.
3. Use a at blade screwdriver to release the clip on the
righ hand side of the controller by rmly pushing it
towards the tub. Do not lever against the clip, as there
is a chance of breaking it.
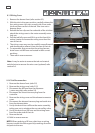
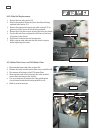
4. The bottom of the controller can now be lifted out
to an angle of 45
o
, at which point the top of the
controller will come free from the tub.
5. Ret in reverse manner, ensuring the controller is
located correctly in behind the tub ange at the top.
NOTE: When servicing a single integrated wireless
product, it is importanat to only t a spare part controller
as a replacement, as the product will detect the wireless
receiver and set the correct wash prole.
Do not t a controller that has previously been installed in
an other product.
Clip
D
D
D
D