11
FIRST STEPS (continued)
DELIVERY HOSE PRESSURIZATION
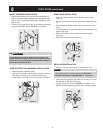
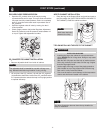
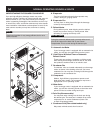
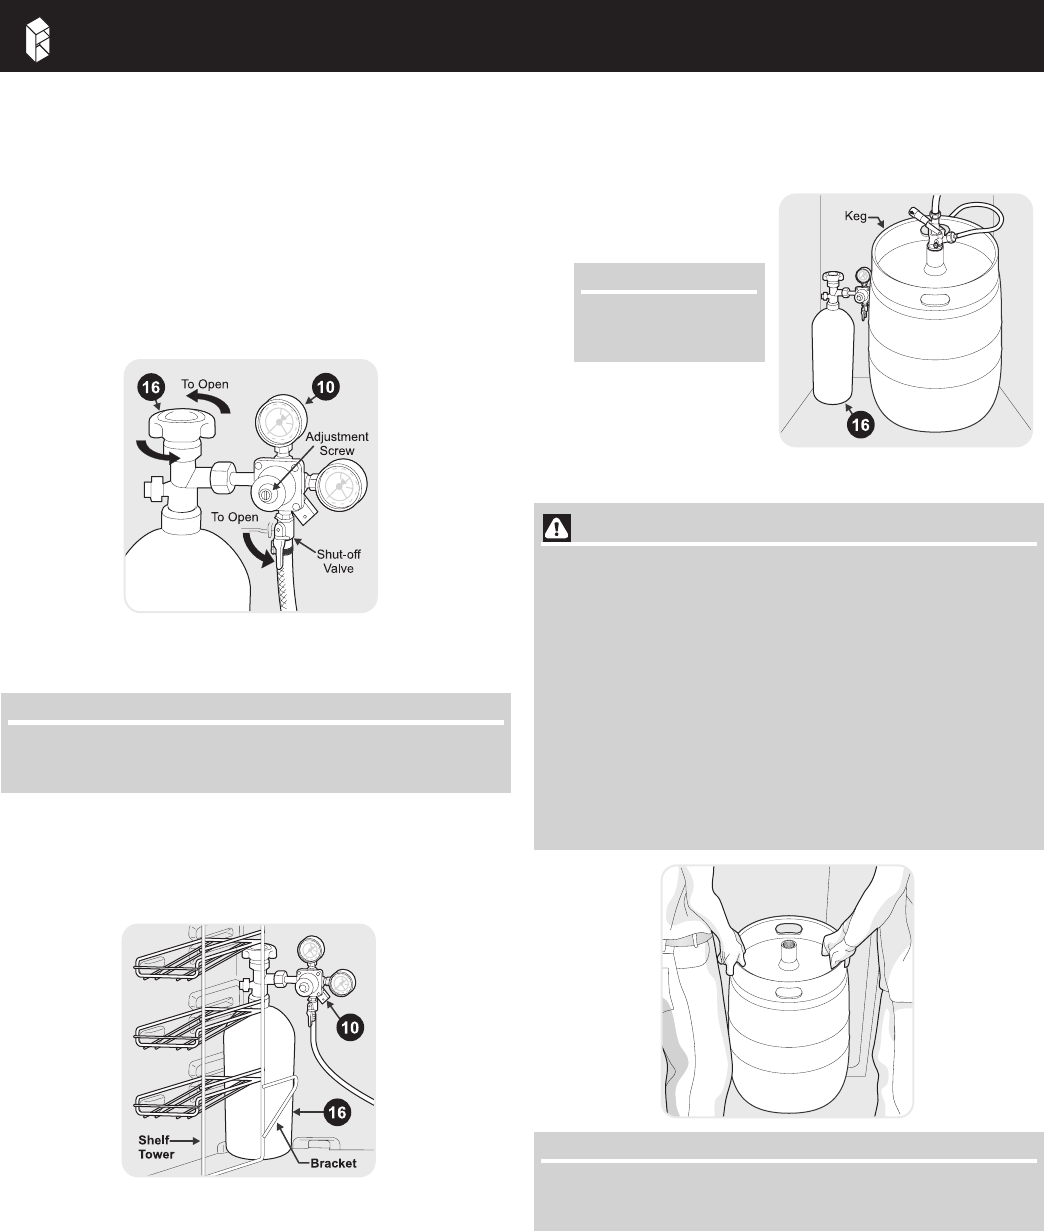
• Open the CO
2
canister valve all the way by turning
counterclockwise until it stops. This valve seals at both the
fully open and fully closed positions. Failure to completely
open or close the valve could result in premature loss of
CO
2
pressure.
• Open the regulator shut-off valve by moving it to the 6
o’clock position.
• Check gauge pressure. Adjust the Regulator Adjustment
Screw as necessary until the pressure reads between 12
to 14 psi. Tighten the Adjustment Lock Nut.
CO
2
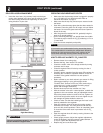
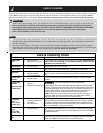
CANISTER TO CABINET INSTALLATION
• Remove adjustable shelf from inside of cabinet.
NOTENOTE
NOTENOTE
NOTE
The adjustable shelf is intended for use with 1/4 keg or no
keg. Reinstall shelf after keg installion if using 1/4 keg.
• Lift and place the CO
2
canister (16) with the CO
2
regulator
(10) behind the shelf tower inside of the CO
2
canister bracket.
It is important that the canister be kept in an upright position
to operate efficiently.
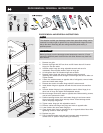
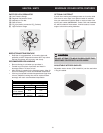
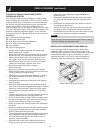
KEG TO CABINET INSTALLATION
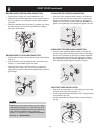
• Place the keg on the Support Shelf and push back next to
the CO
2
canister (16) (See TIPS ON INSTALLING KEG TO
THE CABINET) inside the cabinet as shown.
TIPS ON INSTALLING THE KEG TO THE CABINET
WARNING WARNING
WARNING WARNING
WARNING
SAFE KEG HANDLING
• Installing the keg to the cabinet is a two-person team
effort. NEVER lift a full ½ keg alone. Doing so may cause
severe injury.
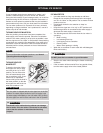
• With the door fully open and the help of another person,
lift the keg vertically on both sides until the keg is higher
than the keg support shelf.
• Set the edge of the keg on top of the plastic protective
plate located on top of keg support shelf. Slide the keg
back until it is fully inside the cabinet.
• Care must be taken to avoid damage to the temperature
control and shelf tower located in the cabinet.
NOTENOTE
NOTENOTE
NOTE
The above illustration does not show the tap installed for
clarity of installation.
NOTENOTE
NOTENOTE
NOTE
Shelf tower has been
removed for clarity.


