10
Connecting The Water Supply
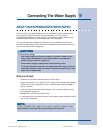
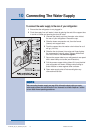
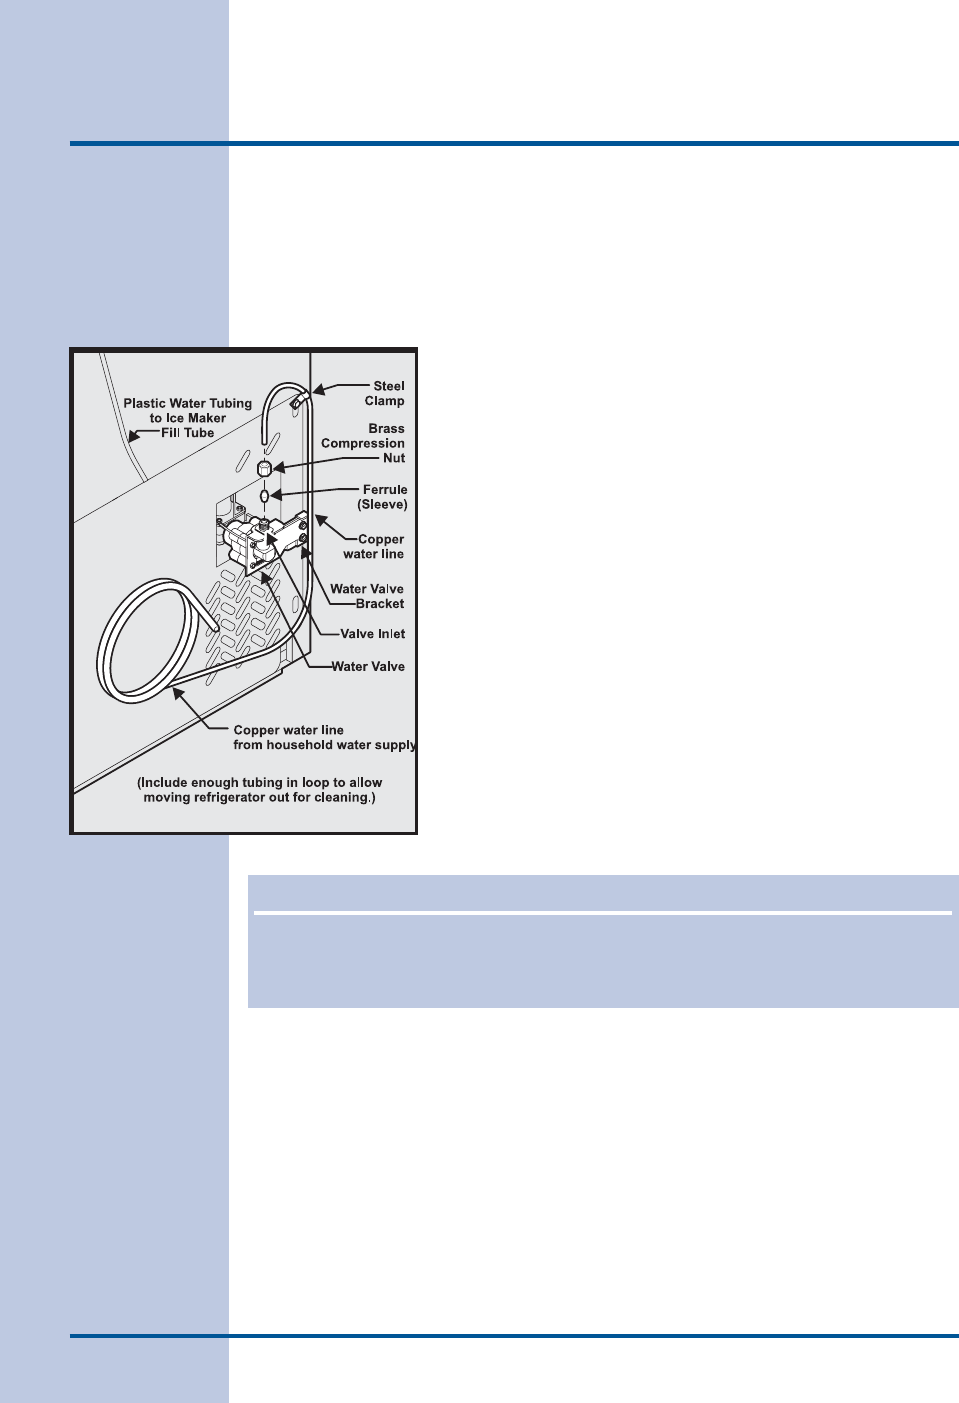
To connect the water supply to the rear of your refrigerator:
1 Ensure that the refrigerator is not plugged in.
2 Flush the supply line until water is clear by placing the end of the copper tube
in a sink or bucket and opening the shut-off valve.
3 Unscrew the plastic cap from the water valve inlet at
the rear of your refrigerator. Discard the cap.
4 Slide the brass compression nut, then the ferrule
(sleeve) onto copper tube.
5 Push the copper tube into water valve inlet as far as it
will go (1/4 inch).
6 Slide the ferrule (sleeve) into valve and finger-tighten
the compression nut onto valve. Tighten another half
turn with a wrench. Do not over-tighten.
7 Secure the copper tube to your refrigerator’s rear panel
with a steel clamp and screw (see illustration).
8 Coil the excess copper tubing (about 2½ turns) behind
your refrigerator as shown. Arrange coiled tubing to
avoid vibration or wear against other surfaces.
9 Open water supply shut-off valve and tighten any
connections that leak.
NONO
NONO
NO
TETE
TETE
TE
After connecting the water supply, see page 22 for information about priming an empty
water supply system. Also read all topics in the “Automatic Ice & Water Dispenser” section
to learn about normal operating procedures.
241540100_eb_sxs_Use&Care_En.pmd 1/22/2004, 10:33 AM10


