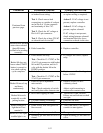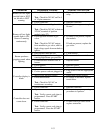
1-3
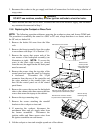
1. Disconnect the unit from the electrical power supply, the gas supply and the water supply.
2. Disconnect any attached restraining devices.
3. Relocate the unit for service accessibility.
4. After servicing is complete, reconnect the unit to the water supply and the gas supply. Reattach
the restraining devices, and reconnect the unit to the electrical power supply.
1.3 Replacing Equipment Components
1.3.1 Replacing the Controller
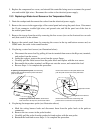
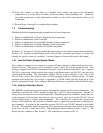
1. Open the control panel by removing the screws in the upper edge of the panel. Swing the panel
down and disconnect the 15-pin connector, trouble light wires, and ground wire. Remove the
control panel by lifting the panel out of the slots in the control panel frame.
2. Remove the failed controller from the control panel and replace with the new controller. Re-
verse Step 1 to complete the process.
1.3.2 Replacing Electronic Components Other than the Controller
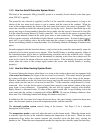
1. Drain the cookpot and disconnect the cooker form the electrical power supply.
2. Remove the control panel in accordance with Step 1 of Section 1.3.1.
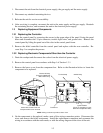
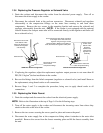
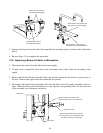
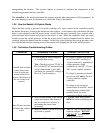
3. Remove the lower cover from the component box. Refer to the illustration below to locate the
component to be replaced.
Cooker with Control Panel and
Component Box Cover removed.
Basket Lift Relay
(Present in GSMS and
GBC models only)
Transformer
Ignition Module
(There are 2 modules in units
built before September 2000.)
NOTE: Wiring not show to provide a clearer view.
Terminal Strip 24VAC Relay
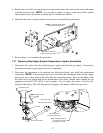
4. On the component to be replaced, make a note of the wiring connection points. Disconnect the
wires and remove the failed component. Install the replacement component and reconnect the
wiring in accordance with the notes made, or with the wiring diagram on the door of the unit.


