


MASTER JET CF SERIES ATMOSPHERIC GAS FRYERS
CHAPTER 1: SERVICE PROCEDURES
1-10
1.8.2 Replacing Operating Thermostat
CAUTION
The thermostat must be calibrated after installation is complete. Refer to Section 1.7
for calibration instructions.
When handling the thermostat, do not rotate the shaft more than two turns in either
direction. Doing so will cause damage to the thermostat.
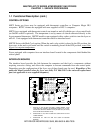
1. Disconnect the fryer from the electrical supply and drain the frypot.
2. Loosen the setscrew securing the thermostat knob and remove the knob. Remove the screws
from the upper left and right corners of the control panel. The control panel is hinged at the
bottom and will swing open from the top.
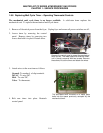
3. Disconnect the 9-pin connector and remove the control panel from the fryer by disengaging its
tabs from the hinge slots in the mounting frame.
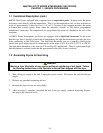
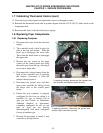
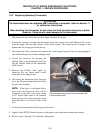
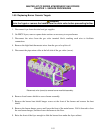
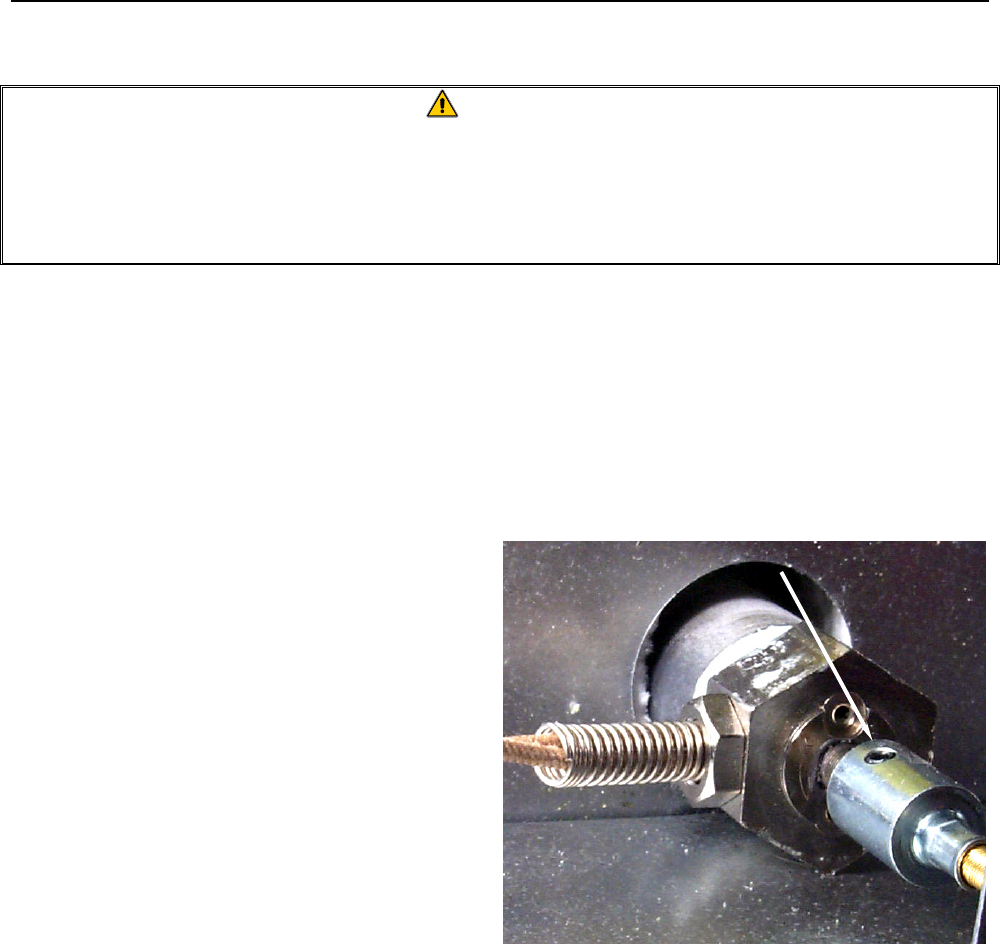
4. Loosen the setscrews (2) securing the
flexible shaft to the thermostat shaft and
slip the flexible shaft off the thermostat
shaft (arrow).
5. Remove the flexible shaft guide by
removing the two sheet metal screws
securing it to the upper frame.
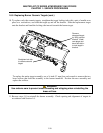
6. Disconnect the thermostat leads from pin
14 in the 20-pin terminal block and from
the gas valve terminal.
NOTE: If the fryer is configured with a
melt cycle, the thermostat leads will be
connected to the melt cycle timer motor
or PC board rather than to the terminal
block and gas valve. Disconnect the leads
from the motor or PC board if this is the
case.
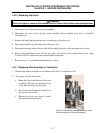
7. Unscrew the thermostat from the frypot and remove.
8. Apply Loctite PST567 thread sealant or equivalent to the replacement thermostat threads.
9. Reverse steps 1 through 7 to install the replacement.
Remove setscrews (arrow) to remove flexible shaft
from thermostat shaft.