MASTER JET CF SERIES ATMOSPHERIC GAS FRYERS
CHAPTER 1: SERVICE PROCEDURES
1-17
1.8.10 Replacing Gas Valve
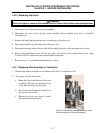
DANGER
Drain the frypot or remove the handle from the drain valve before proceeding further.
1. Disconnect fryer from electrical and gas supplies
2. Disconnect the wires from the gas valve terminal block, marking each wire to facilitate
reconnections.
3. Remove the high-limit thermostat wire from the gas valve pilot coil.
4. Disconnect the pilot gas line fitting from the gas valve.
5. Disconnect the pipe union collars to the left and right of the gas valve and remove the valve.
6. Remove the pipefittings from the old gas valve and install on the replacement valve, using
Loctite PST567 or equivalent pipe-thread sealant on threads.
7. Reverse steps 1-5 to install the replacement gas valve.
1.8.11 Replacing Pilot Assembly or Thermopile
1. Remove the burner assembly in accordance with steps 1-8 of Section 1.8.9.
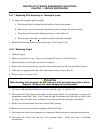
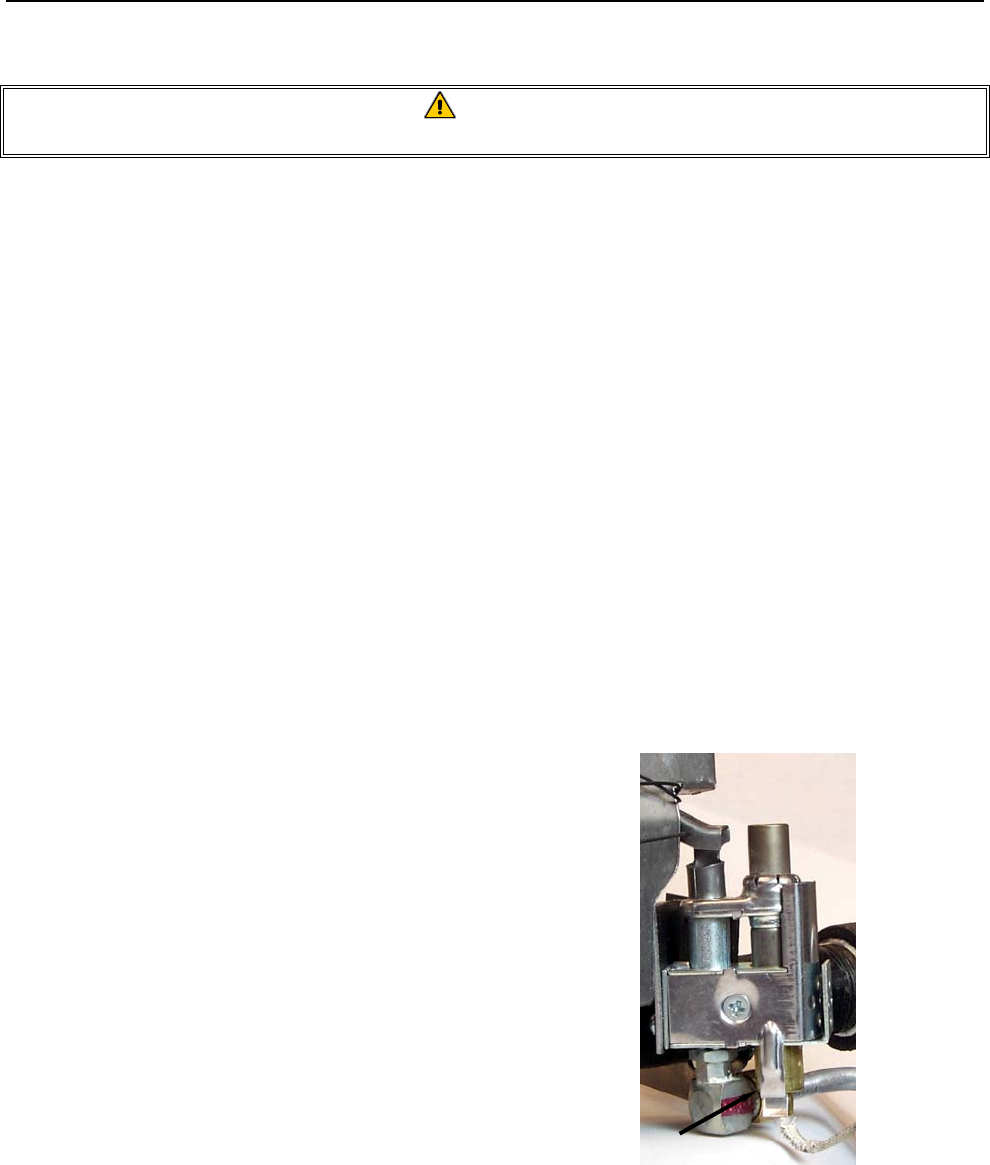
2. To replace only the thermopile:
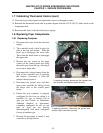
a. Bend the clip at the bottom of the pilot
assembly and press the thermopile out
of the pilot assembly from the top.
b. Disconnect the thermopile fitting from
the gas valve pilot coil.
c. Reverse the above two steps to install
the replacement thermopile.
Bend the clip (arrow) outward, and then press
the thermopile out of the pilot assembly.


