9
The cooking positions must only be ignited
when all burner parts are fitted. Otherwise,
malfunctions may occur on the ignition unit.
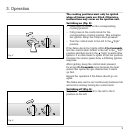
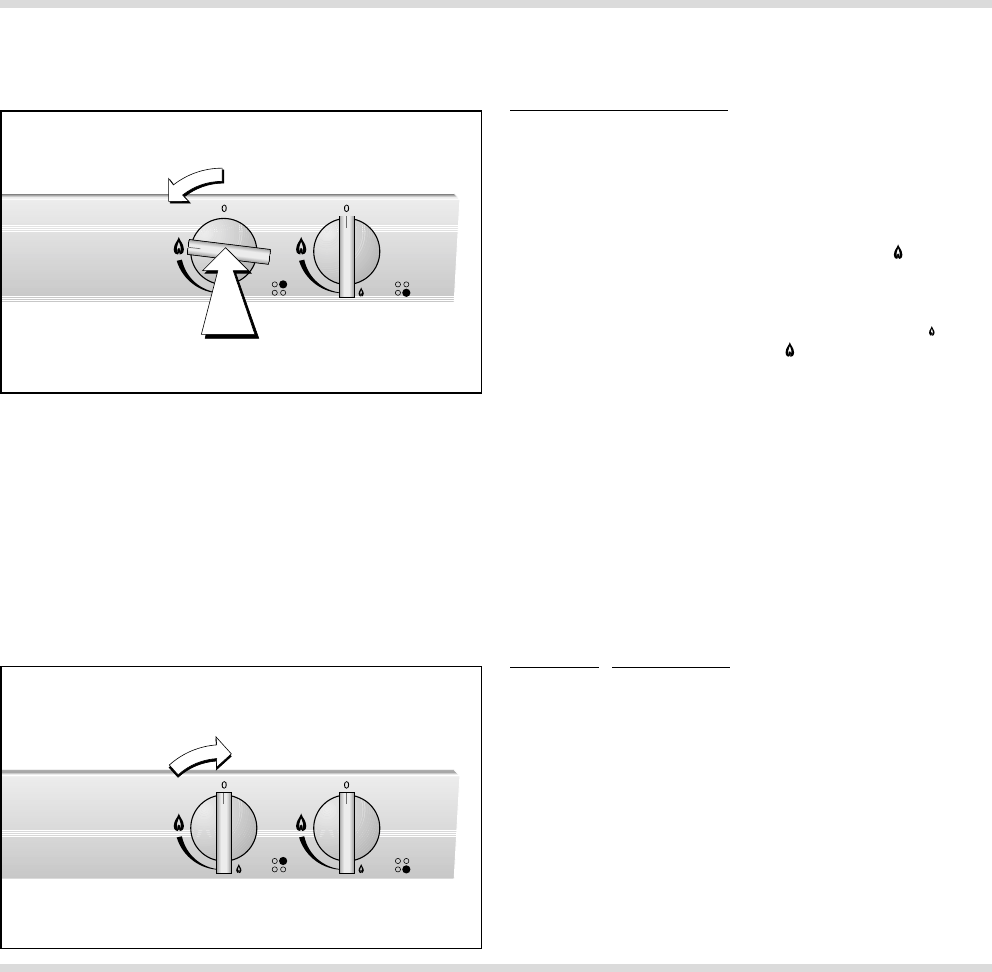
Switching on (Fig. 5):
– Place a pot or a pan on the corresponding
cooking position.
– Fully press in the control knob for the
corresponding cooking position. This activates
the ignition. Keep the control knob pressed!
– Turn the control knob to the left to the “high"
position.
If the flame should not ignite within 2 to 4 seconds,
turn the control knob further to the left to the “low"
position and then back to the “high" position after
ignition. It is often faster to ignite in the low position
because the various gases have a differing ignition
response.
After igniting, keep the control knob pressed
for around 5 - 8 seconds more because the heat
sensor that opens the gas channel has to warm
up first.
Repeat the operation if the flame should go out
again.
The flame size can be set continuously between full
and low by slowing turning the control knob.
Switchin
g off (Fig. 6):
Fully turn the control knob to the left to the 0
position on the left.
3. Operation
Fig. 5
Fig. 6


