About storage drawer and cover removal. GEAppliances.com
Not all features are on all models.
Twin Drawer Shelf
To remove:
Remove the drawers.
Reach in, push the front of glass cover up,
and at the same time, pull it forward as far
as it will come.
Tilt it and take it out. Avoid cleaning the cold glass
cover with hot water because the extreme
temperature difference may cause it to break.
Remove the drawer frame. (Always remove
the glass cover before you take out the
drawer frame.)
Lift the frame off the supports at each side and
back, pull it forward, tilt it and take it out.
To replace:
Lower the frame until it rests on the
supports at each side and back.
Replace the glass cover, pushing its rear
edge firmly into the rear frame channel and
gently lowering the front into place.
Replace the drawers.
3
2
1
3
2
1
Drawer and Cover Removal
Drawers can be removed easily by grasping the sides and lifting up slightly while pulling drawers
past the stop location.
Full-Width Drawer with
Plastic Cover
To remove the cover, lift it off its supports,
pull it forward, tilt it and take it out.
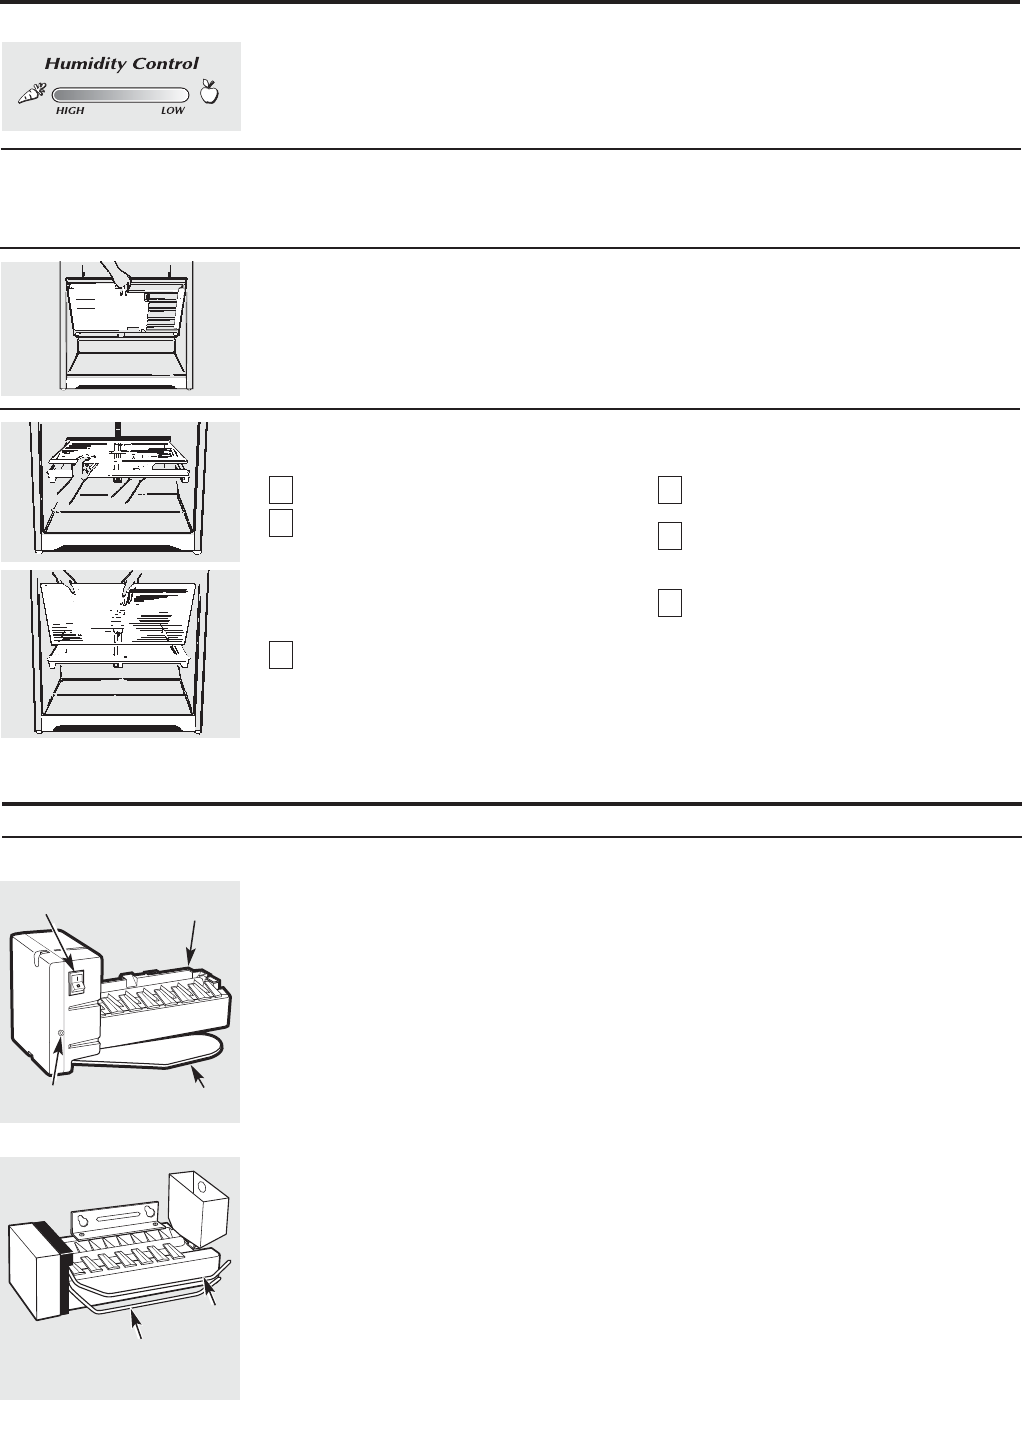
Adjustable Humidity Drawer (on some models)
Slide the control all the way to the
HIGH setting to provide high humidity
recommended for most vegetables.
Slide the control all the way to the LOW
setting to provide lower humidity levels
recommended for most fruits.
About the automatic icemaker.
A newly-installed refrigerator may take 12 to 24 hours to begin making ice.
Automatic Icemaker (on some models)
The icemaker will produce approximately
100–130 cubes in a 24-hour period, depending on
the freezer compartment temperature, room
temperature, number of door openings and other
use conditions.
If the refrigerator is operated before the water
connection is made to the icemaker, move the
feeler arm to the STOP (up) position.
When the refrigerator has been connected to
the water supply, move the feeler arm to the ON
(down) position.
The icemaker will fill with water when it cools to
15°F. A newly-installed refrigerator may take 12 to
24 hours to begin making ice cubes.
Once the icemaker starts to make ice,
it may take up to 48 hours to fill the bin,
depending on the temperature settings
and number of door openings.
You will hear a buzzing sound each time the
icemaker fills with water.
Throw away the first few batches of ice
to allow the water line to clear.
Be sure nothing interferes with the sweep of the
feeler arm.
When the bin fills to the level of the feeler arm,
the icemaker will stop producing ice.
It is normal for several cubes to be joined
together.
If ice is not used frequently, old ice cubes will
become cloudy, taste stale, shrink or fuse
together.
On power switch models, the green power light
will blink if ice cubes get stuck in the icemaker.
To correct this, set the power switch to O (off)
and remove the cubes. Set the power switch to I
(on) to restart the icemaker. After the icemaker
has been turned on again, there will be a delay
of about 45 minutes before the icemaker
resumes operation.
NOTE: In homes with lower-than-average water
pressure, you may hear the icemaker cycle multiple
times when making one batch of ice.
Icemaker Accessory Kit
If your refrigerator did not already come equipped
with an automatic icemaker, an icemaker
accessory kit is available at extra cost.
Check the back of the refrigerator for
the specific icemaker kit needed for
your model.
Feeler Arm in
the STOP
(up) position
Feeler Arm in
the ON (down)
position
7
There are 2 types of icemakers:
Power switch model
Feeler arm model
Power Switch
Green Power Light
Icemaker
Feeler Arm


