


22
Installation Instructions
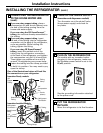
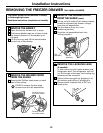
REMOVING THE FREEZER DRAWER (on some models)
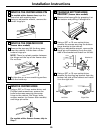
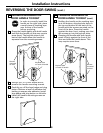
REMOVE THE BASKET
Open the freezer drawer until it stops.
The freezer basket rests on a frame inside
the freezer drawer. Lift the basket up at
the back.
Lift the front up and lift the entire basket
up and out of the drawer.
1
A
B
C
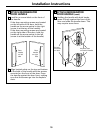
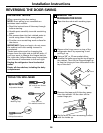
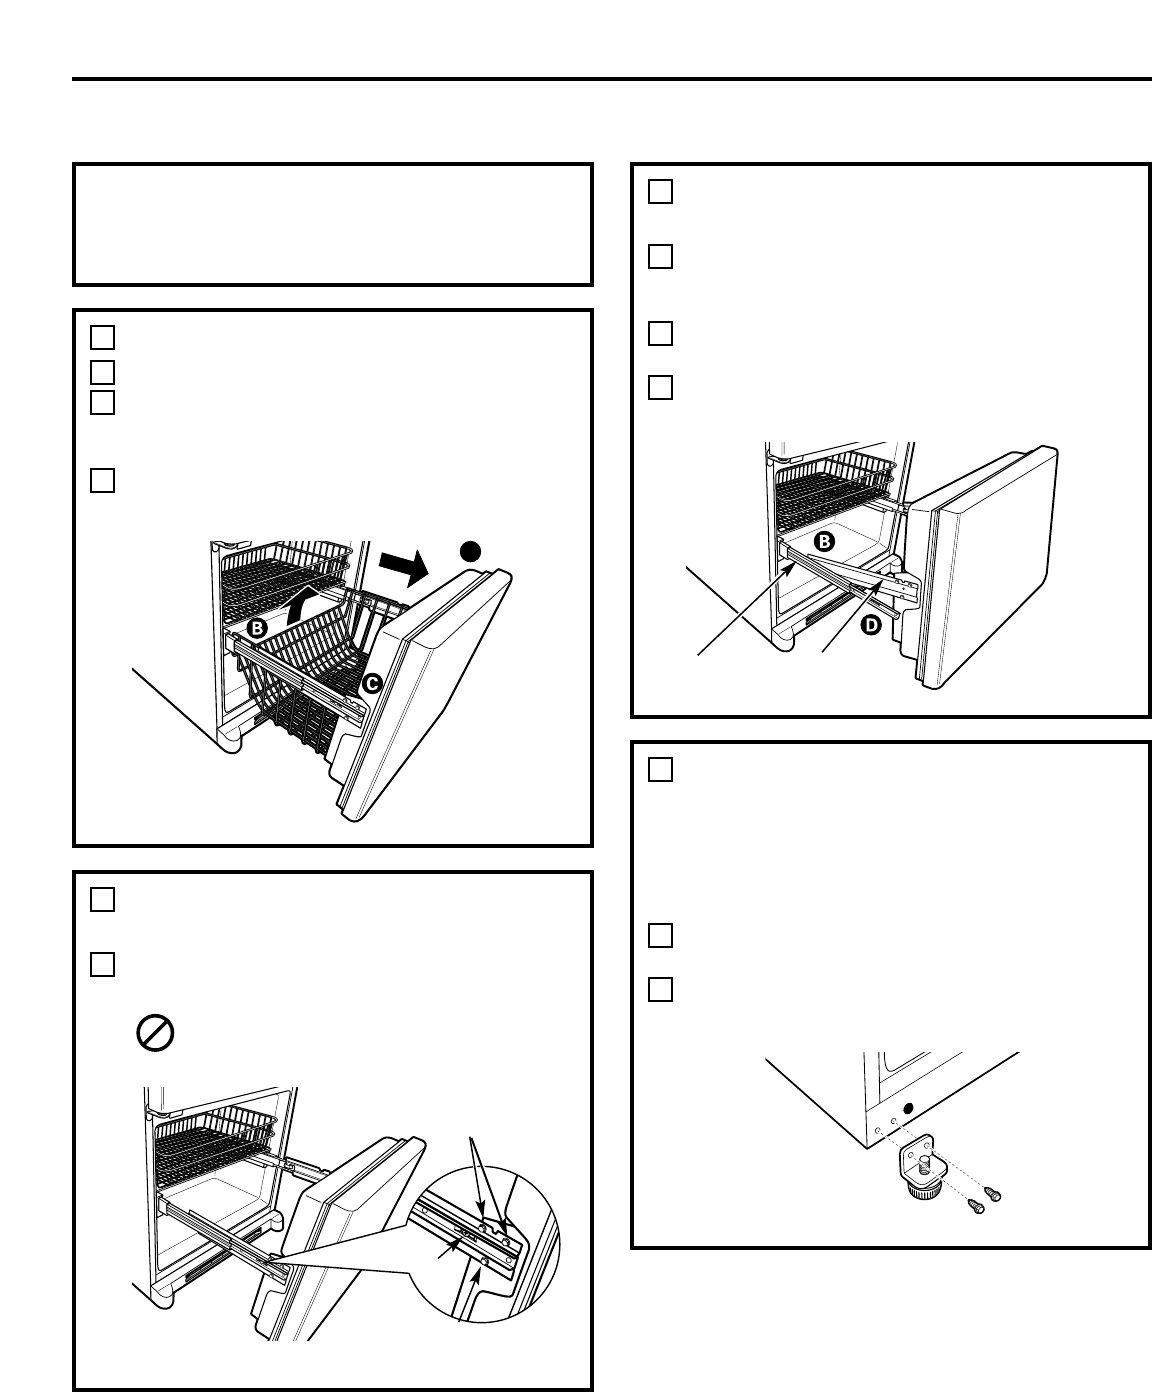
REMOVE THE LEVELING LEGS
(if needed)
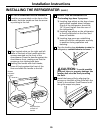
If, after removing the freezer drawer and
refrigerator door, the refrigerator will still
not fit through a doorway, the leveling leg
brackets can be removed.
Remove the base grille by grasping it at
the bottom and pulling it straight out.
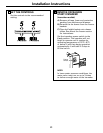
Remove both brackets with a 3/8″ hex
head driver.
3
The freezer drawer can be removed, if needed,
to fit through tight areas.
Read these instructions completely and carefully.
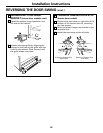
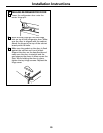
REMOVE THE DRAWER FRONT
FROM THE SLIDES
Remove the Phillips head screw on each
side of the railing.
DO NOT remove the hex head
screws from the rail assemblies.
2
A
Phillips Screw
DO NOT remove
hex head screws
DO NOT remove
hex head screws
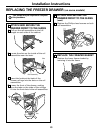
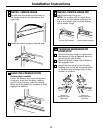
REMOVE THE DRAWER FRONT
FROM THE SLIDES
(cont.)
Lift up on both sides of the freezer drawer
handle to separate the drawer railings
from the rail assemblies.
Set the drawer front on a non-
scratching surface.
Push the rail assemblies back into
locking position.
2
B
C
D
Rail
Assembly
Drawer
Assembly
A
B
A