


Using Your Cooktop
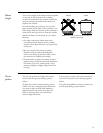
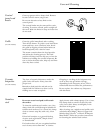
Stainless Steel Cooktop
14
Grilling
hints
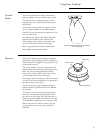
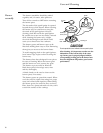
• When turning the meat over, always use
a spatula as it will not puncture the meat,
allowing the juices to run out. This will help
to keep the meat juicy. Turn the meat only
once, as juices are lost when the meat is
repeatedly turned. Season or salt the meat
after it has been cooked; these procedures
have a tendency to dry the meat out.
• Be sure to trim any excess fat from meat or
poultry. To prevent steaks or chops from
curling while they are being cooked, slit
the fat around the edges at about 2-inch
intervals. To test for doneness, make
a small cut in the center of the meat.
• The doneness of meat is affected by the
thickness of the cut. It is impossible to cook
a thin piece of meat to a rare doneness. A
steak should be at least 1-inch thick to have
it turn out rare and juicy. The cooking time
is affected by the temperature of the meat
when you start to cook it, the size and shape
of the cut and the kind of meat you are
cooking. The degree of doneness desired
also affects the time.
• The U.S. Department of Agriculture says,
“Rare beef is popular, but you should know
that cooking it to only 140°F. means some
food poisoning organisms may survive.”
(Source: Safe Food Book. Your Kitchen
Guide. USDA Rev. June 1985.)
Before
using the
griddle
(on some models)
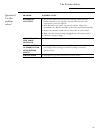
The built-in griddle is made from Type 304
stainless steel, highly polished to provide a
smooth cooking surface. It is normal for it to
darken with use as oils cook onto the surface
to provide a stick-resistant base or “seasoning.”
Since the griddle is made from stainless steel,
the surface will not rust.
The griddle is thermostatically controlled and
cycles on and off to maintain the set temperature.
The “HEATING” light indicates that the burner
is on.
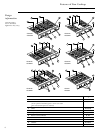
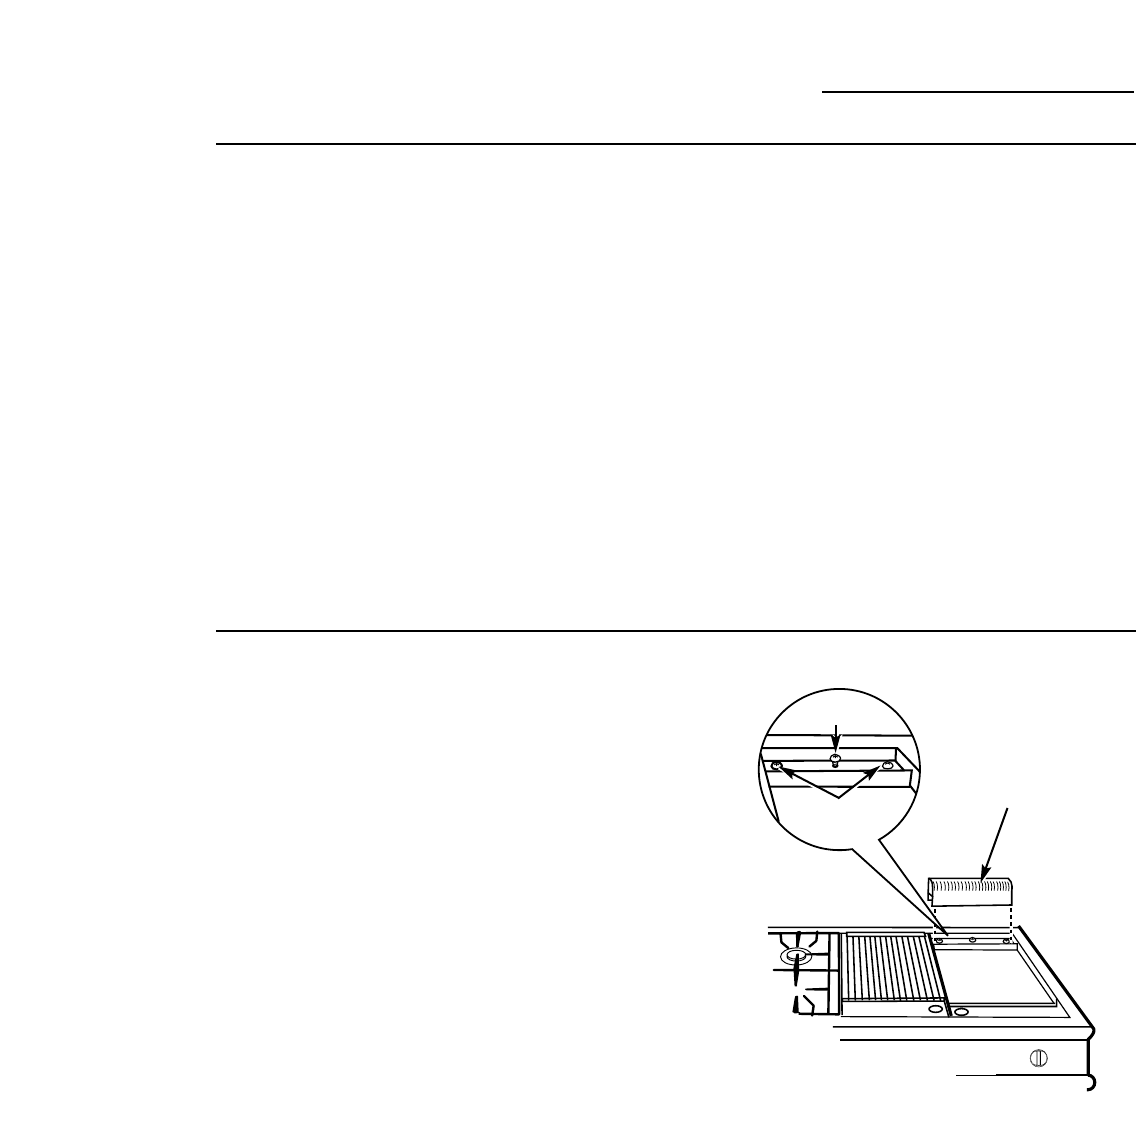
The griddle assembly is not to be removed for
cleaning and is held in place by three rear screws.
These screws keep the griddle from shifting in
transit, and are also used for positioning to avoid
breaking ignition components.
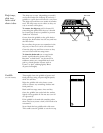
Once the unit is in position, the rear center
shipping screw can be removed. It is located
beneath the griddle flue cover. Remove the
flue cover by lifting it straight up.
The two outer screws are leveling screws.
Do not remove these two screws. They can be
turned to level the griddle or to provide a
forward slope to help grease and oils to drain
away from the food being cooked. After using
the griddle a few times, you will be able to
judge the slope best for the foods you are
cooking and your personal preference.
When replacing the griddle flue cover, ensure
that the cover slips to the outside of the front
and back metal flanges of the fixed griddle
assembly. This will ensure a tight fit of the
flue cover.
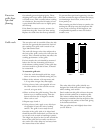
Shipping screw
Outer leveling
screws
Griddle flue cover
Remove the center shipping
screw. Leave the two outer
leveling screws in place.