


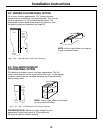
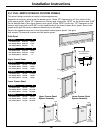
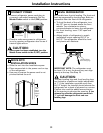

3 INSTALL SIDE PANELS
SKIP THIS STEP WHEN NOT USING SIDE PANELS
If you are using 1/4" side panels, they should be
inserted into the case trim. Fasten the panels to
the refrigerator with the 3M Dual Lock adhesive
strips before setting refrigerator in place.
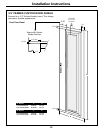
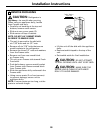
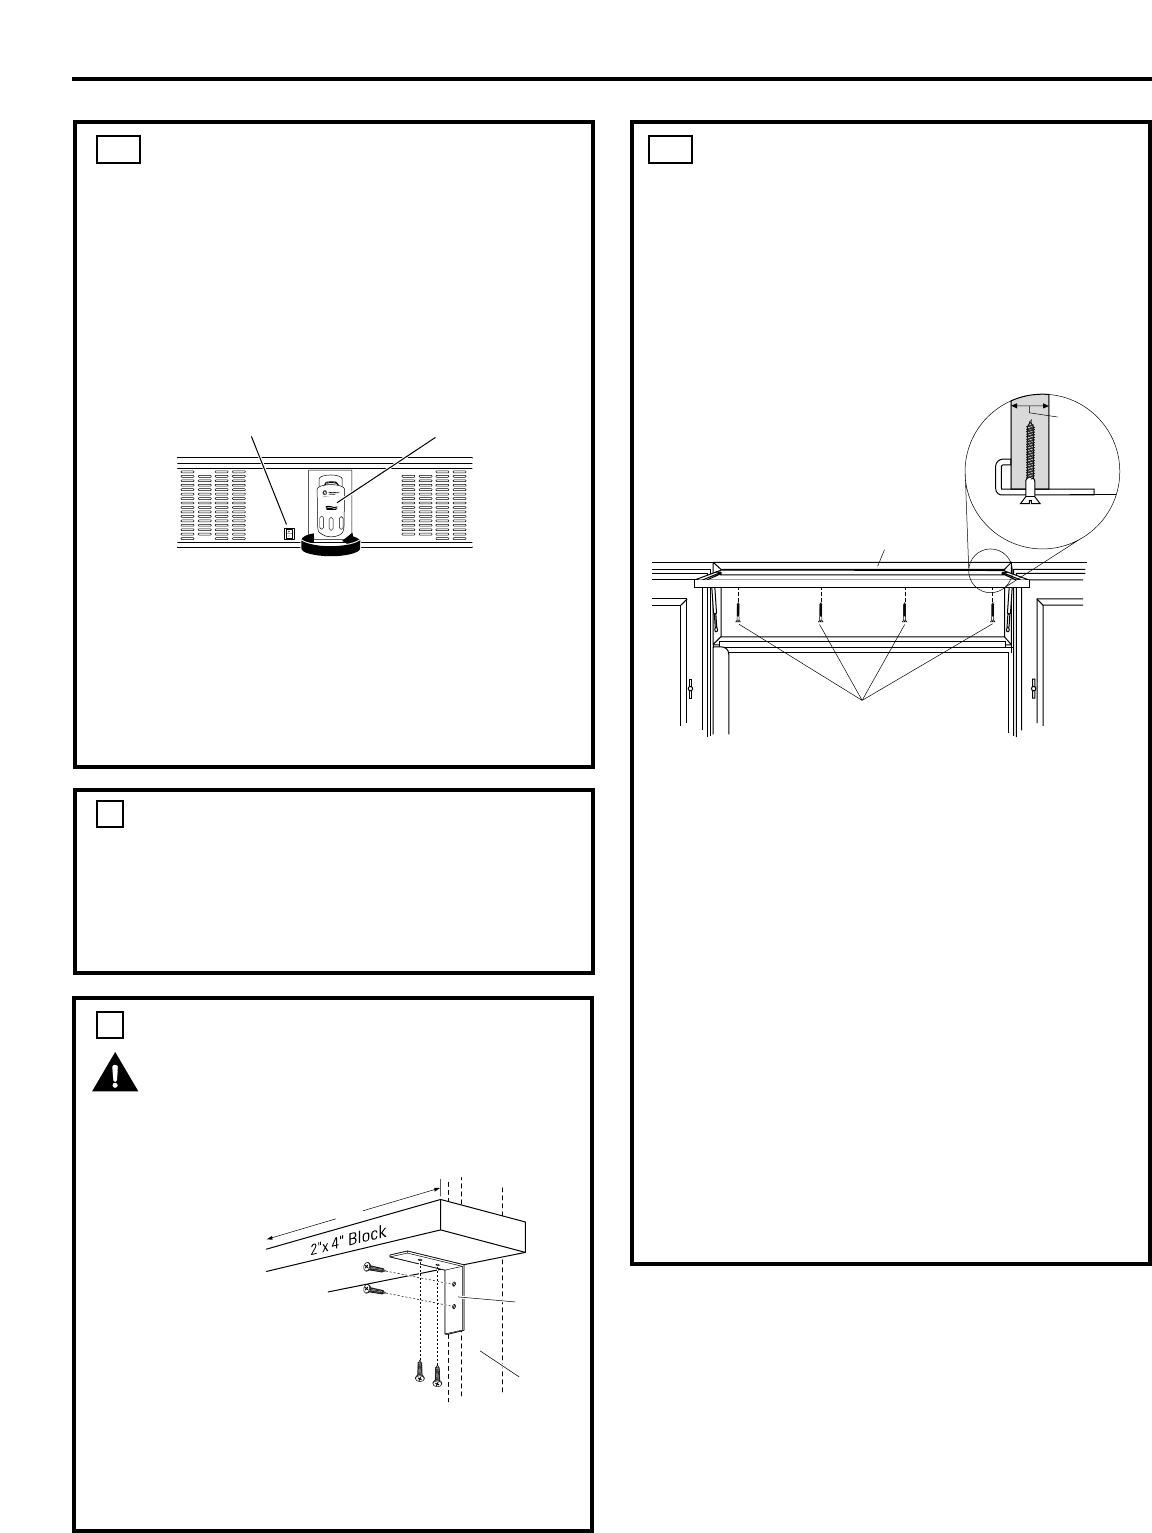
4A ALTERNATE ANTI-TIP
PRECAUTIONS
SKIP THIS STEP WHEN USING ANTI-TIP
BRACKETS
All Profile built-in refrigerators are Top-Heavy.
They must be secured to prevent the possibility
of tipping forward. Use this alternative method
to secure the refrigerator whenever steel wall
studs are encountered.
• Adjust height of refrigerator to match
installation cutout opening 83-1/2″ to
84-1/2″. The refrigerator must be level and
plumb with cabinets. The top case trim at
the front is 2-1/8″ higher than the rear and
will overlap upper cabinets or cabinet trim.
• Open grille panel to access the top case trim.
• Use a 3/16″ bit to drill 4 evenly spaced
clearance holes through the metal top
case trim.
• Use a 1/16″ bit to drill pilot holes through
the metal clearance holes and into wood
soffit. The holes should be centered in the
soffit or a 3/4″ minimum wood brace. The
brace spanning the enclosure must be
securely fastened to cabinets on both sides.
• Install four 1-1/2″ drywall screws into the
pilot holes.
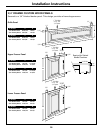
2A WATER LINE INSTALLATION
WITH A REVERSE OSMOSIS
SYSTEM
SKIP THIS STEP WHEN NOT USING AN
RO SYSTEM
NOTE: If the water supply to the refrigerator
is from a Reverse Osmosis Water System, use
the refrigerator’s filter bypass plug. Using the
refrigerator’s water filtration cartridge with
the RO filter can result in hollow ice cubes.
• Open the top grille to view the filtration
cartridge. Rotate the filtration cartridge
counterclockwise until removed.
• Insert filter bypass plug. Rotate the filter
bypass plug clockwise until tightly secured
in place.
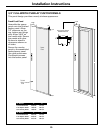
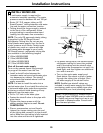
4
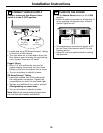
INSTALL ANTI-TIP BRACKETS
WARNING:
The refrigerator is Top-Heavy and must be secured
to prevent the possibility of tipping forward.
•
Cut a 2″ x 4″ wood block 36″ long,
and secure the block to
the mounting
brackets
provided,
using #12 or
#14 wood screws.
•
Secure the
brackets with
wood block to the
back wall so that it is
82″ (or the rear installation height) from the
finished floor. Use #12 or #14 wood screws.
•
Screws must penetrate at least 1″ into vertical
wall studs.
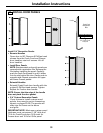
Install (4) 1-1/2" Drywall Screws
Through Trim and Into Soffit
or 3/4" Min. Wood Brace
Top Case Trim
Side View
Top Case Trim
3/4"
Min.
ANTI-TIP
PRECAUTIONS
Positioned
Anti-Tip
Bracket
Wall Stud
(Behind
Drywall)
Wood Screws
Mounted into
Vertical
Wood Studs
36"
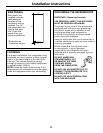
Installation Instructions
30
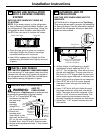
Master Power Switch
Water Filter
Rotate Counterclockwise To Remove