


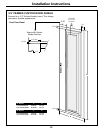
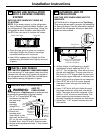

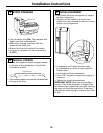
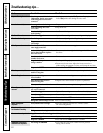
7 LEVEL REFRIGERATOR
All models have 4-point leveling. The front and
back are supported by leveling legs. Both are
accessible from the front of the refrigerator.
• To level the back of the refrigerator, turn
the 1/2″ hex nut located above the front
wheels. Turn clockwise to raise or
counterclockwise to lower the refrigerator.
• For front leveling, use a 7/16″ open-end
wrench.
• Adjust height of refrigerator to match
installation cutout opening 83-1/2″ to
84-1/2″. The refrigerator should be level
and plumb with cabinets.
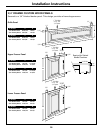
IMPORTANT NOTE: The refrigerator must
be level. If it is not, the doors may not align
evenly at the top. See Step 16.
CAUTION:
The rear leveling legs and front leveling legs
are limited to a maximum height adjustment
of 1″. If the installation requires more than
84-1/2″ height, the installer should elevate the
refrigerator on a sheet of plywood or runners.
Cabinet trim could be added across the top
of the opening to shorten the opening. If you
attempt to raise the refrigerator more than
1″, you will damage the front and rear
leveling legs.
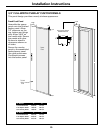
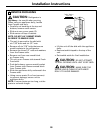
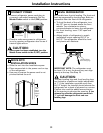
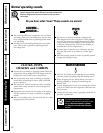
5 CONNECT POWER
• Connect refrigerator power cord plug to
a properly grounded receptacle. Set the
Master Power switch to the I (ON) position.
• Check to make sure power to refrigerator
is on by opening refrigerator door to see if
interior lights are on.
CAUTION:
• After power has been established, turn the
Master Power switch to the O (OFF) position.
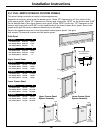
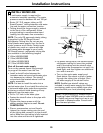
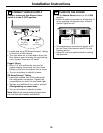
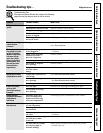
6 MOVE INTO
INSTALLATION SPACE
• Slide the unit into the installation space.
• Place excess slack in the power cord on top
of the refrigerator.
• Use care to ensure the power cord is not
pinched behind the unit.
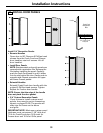
Raise
Grille
Panel
Water Filter
Master
Power Switch
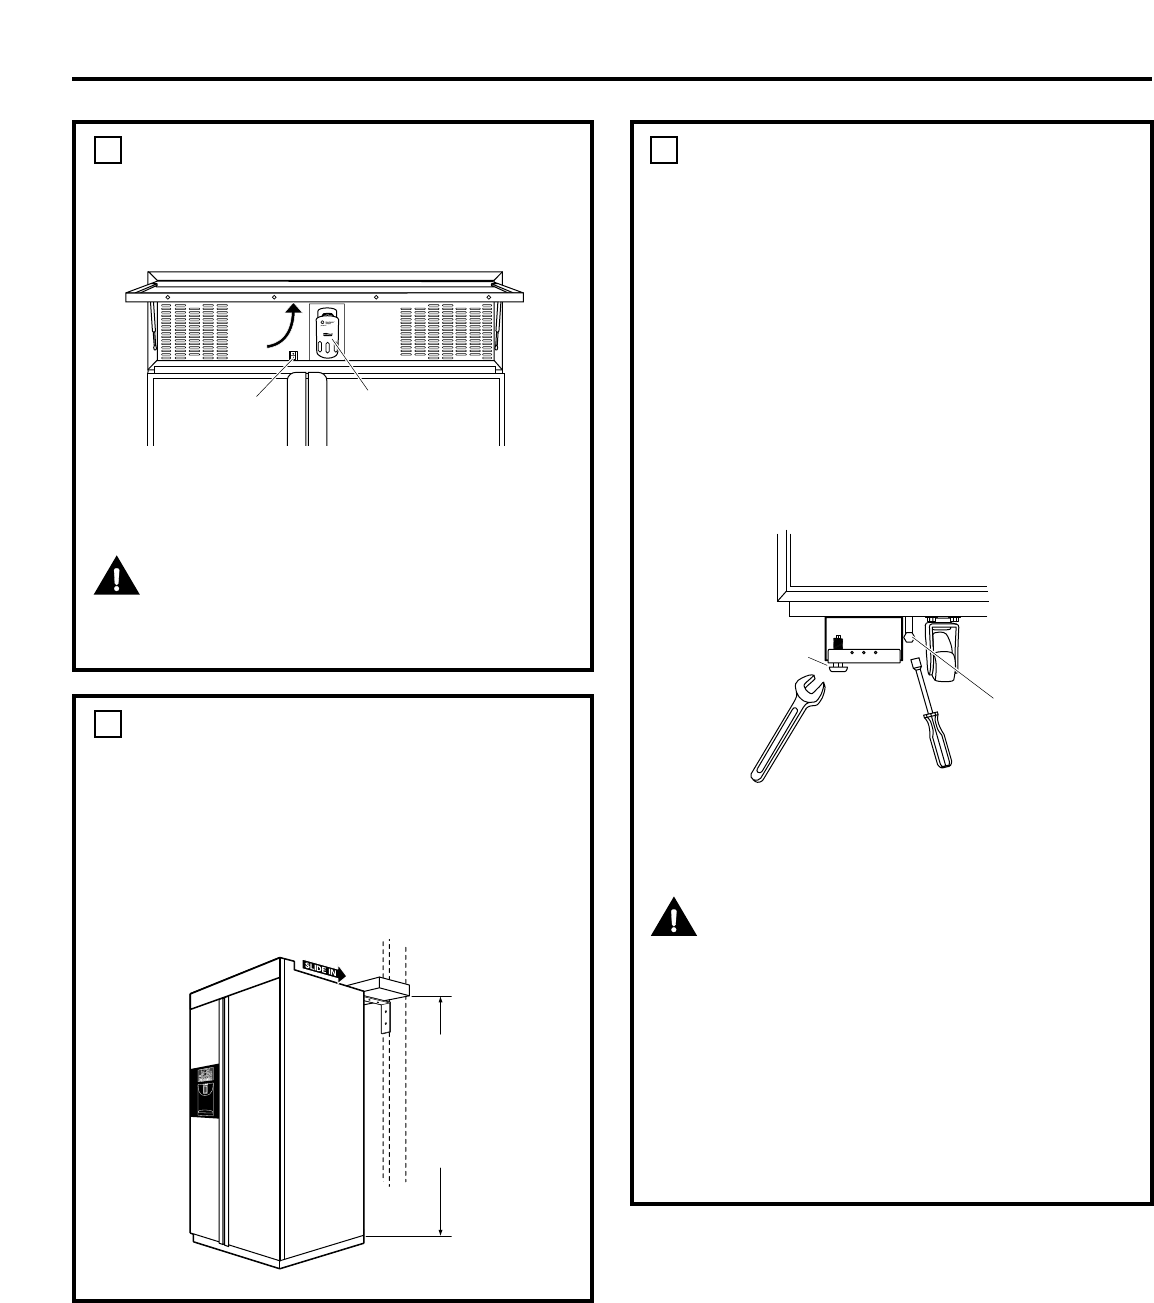
Hex Nut Adjusts
Rear Leveling Legs
Leveling Leg
Height
from
Floor to
Bottom
of Wood
Block
82"
Installation Instructions
31