


CooKng
by
~me
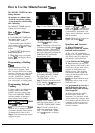
The time cooking feature allows
you to preset the cooking time.
The oven shuts off automatically.
Power level 10 (High) is
recommended for most cooking,
but you may change this for more
flexibility. See the cooking guide.
To become better acquainted with
time cooking, make a cup of coffee
by following the steps below.
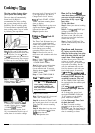
Step 1:
Fill a cup 2/3 full of water,
the power level. (If power level 10
is not appropriate, see “How to
Change Power Level” below.)
Step4:
Touch START. “COOK
TIME” and time counting down
show on display.
Step 5:
When time is up, the oven
signals and flashes
“End?’
Oven,
light and fan shut off.
Step 6:
Open the door.
UsiW
the
~me
Cook II
Feature
The Time Cook II feature lets you
set two time cooking functions
within one program. This is ideal
when you want to change power
levels during your cooking
operations. Here’s how to do it.
add
-
1
teaspoon of instant coffee and
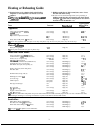
Step 1:
Place food in oven in
stir to dissolve. Use
a
CUD
that has
microwave-safe container and close
L
no
meti
decoration and is microwave
safe (see Microwaving Tips on page
2). Place cup in oven and close door.
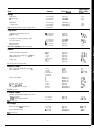
Step
2: Touch TIME COOK 1.
Display shows “:
O:’
“ENTER
1 COOK TIME” flashes.
—.
the
door.
Step
2: Touch TIME COOK I.
Display shows “:
O:’
“ENTER
1 COOK TIME” flashes.
Step 3:
Select your cooking time.
For example, touch 2, 1 and 5
for two minutes and 15 seconds.
Display shows
“2:15:’
“1 COOK
TIME” flashes.
Step
4: Touch TIME COOK II.
SteD
5: Set
vour
cooking time.
.
.
How
b
Change
Wwer
bvel
After setting cooking time,
touch POWER LEVEL pad,
then touch desired number for
new power level.
Step
6: Touch START.
Step
7: Power level 10 is in use and
Time Cook I counts down.
Step 8:
At the end of Time Cook I,
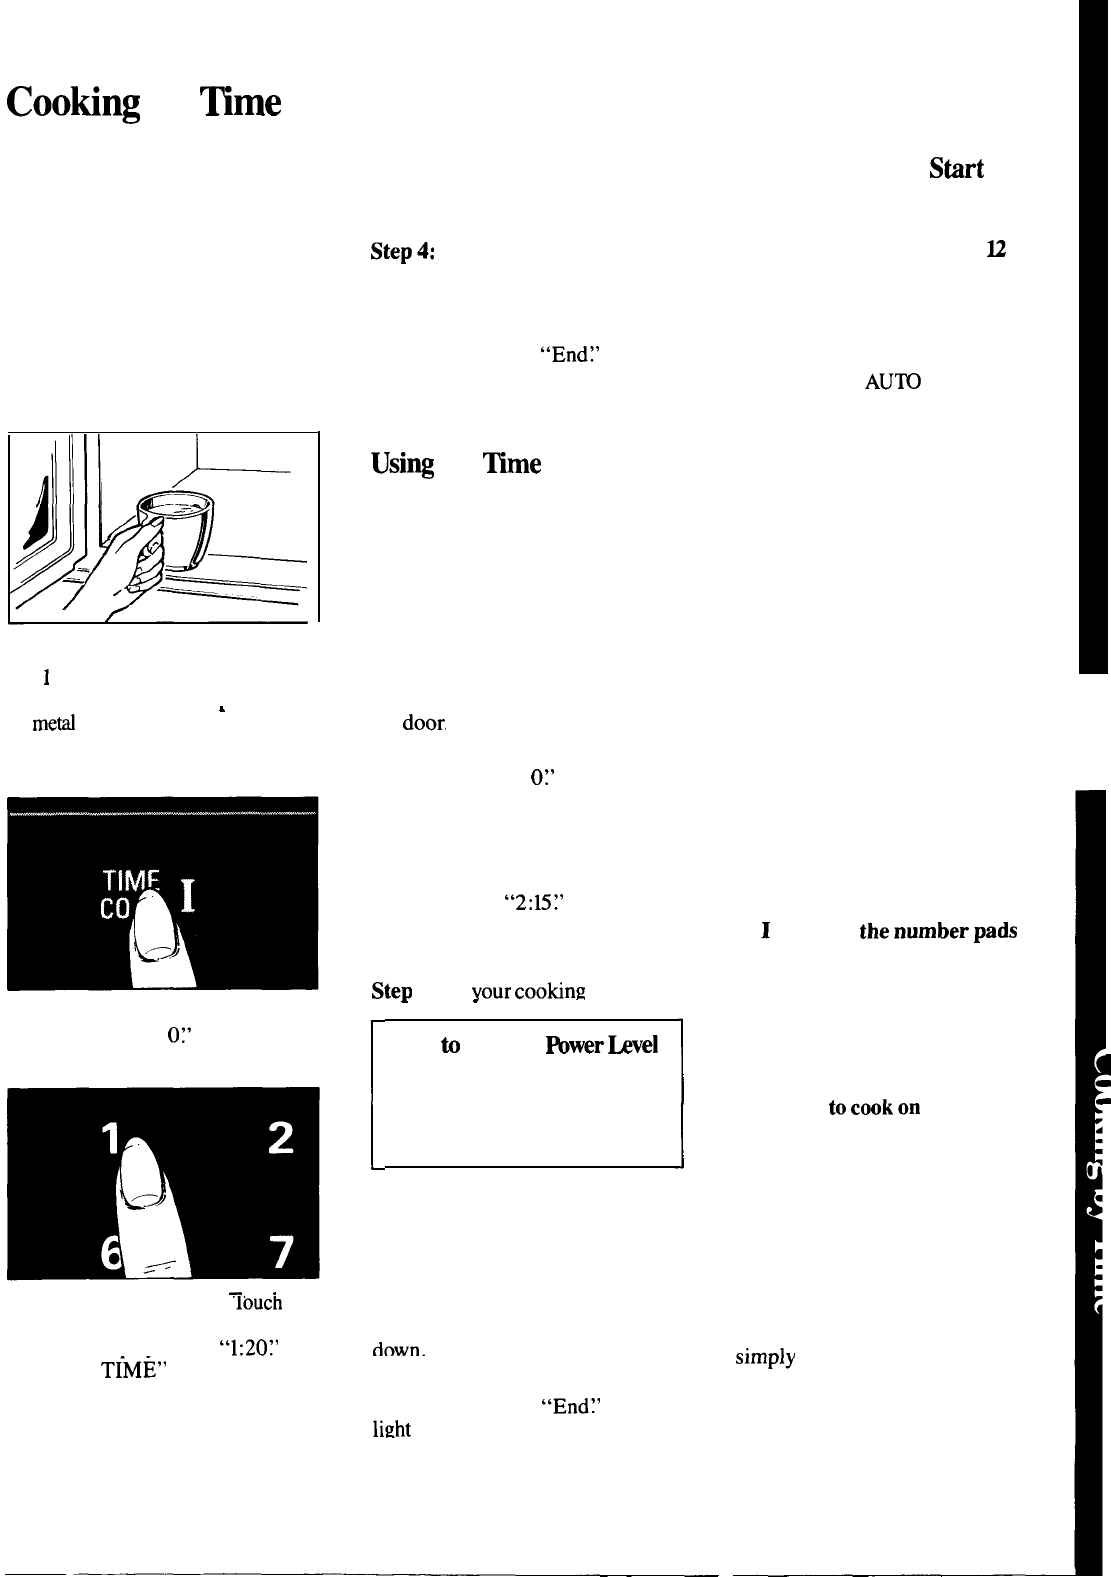
Step
3:
Select your time.
‘louch
the second power level is in use and
1,2 and O for a minute and 20
Time Cook II is shown counting
seconds. Display shows
“1:20~’
down.
“1 COOK T~ME” flashes.
-- .
Step 9:
When time is up, the oven
Because automatic power level
10 is recommended for this cup of
signals and flashes
“End?’
Oven,
light
and fan shut off.
coffee, there is no need to change
Step 10:
Open the door.
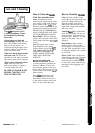
How to Use Auto
Stirt
Auto Start allows you to program
your oven to begin cooking at a
preset time of day—up to a
~
hour delay.
To Use Auto Start
Step 1:
Enter your desired cooking
program.
Step 2:
Touch
AU~
START pad
(instead of START pad).
Step 3:
Enter the time you want
the oven to start. (Be sure your
microwave oven clock shows the
correct time of day.)
Step
4: Touch START pad. The
oven will automatically start at the
desired time.
Questions and Answers
Q. I set my oven for the time
called for in the recipe, but at the
end of the time allowed, my food
wasn’t done. What happened?
A. Since house power varies due
to time or location, many time
cook recipes give you a time range
to prevent overcooking. Set the
oven for minimum time, test the
food for doneness, and cook your
food a little longer, if necessary.
Q. I touched
thenumberpads
and selected my power level. When
I touched START, however, my
oven didn’t come on. Why not?
A. The TIME COOK I pad must
be touched before the number pads
and START.
Q.
I want tocookon a power
level other than High. What do
I need to do?
A.
To change the power level,
touch the POWER LEVEL pad.
“P-10” appears on the display
panel. Enter new number.
Q.
Can I interrupt Time Cook
to check the food?
A. Yes.
To resume cooking,
simply close the door and press
the START pad. The timer must be
reset for cooking to resume unless
time is remaining on timer.
I
!
.
m
9