Safety Instructions
Operating Instructions
Safety Instructions
Operating Instructions
Care and Cleaning Troubleshooting Tips Consumer Support
Using the oven.
www.GEAppliances.com
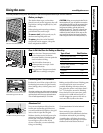
To avoid possible burns, place the shelves in the desired position before you turn the oven on.
Before you begin…
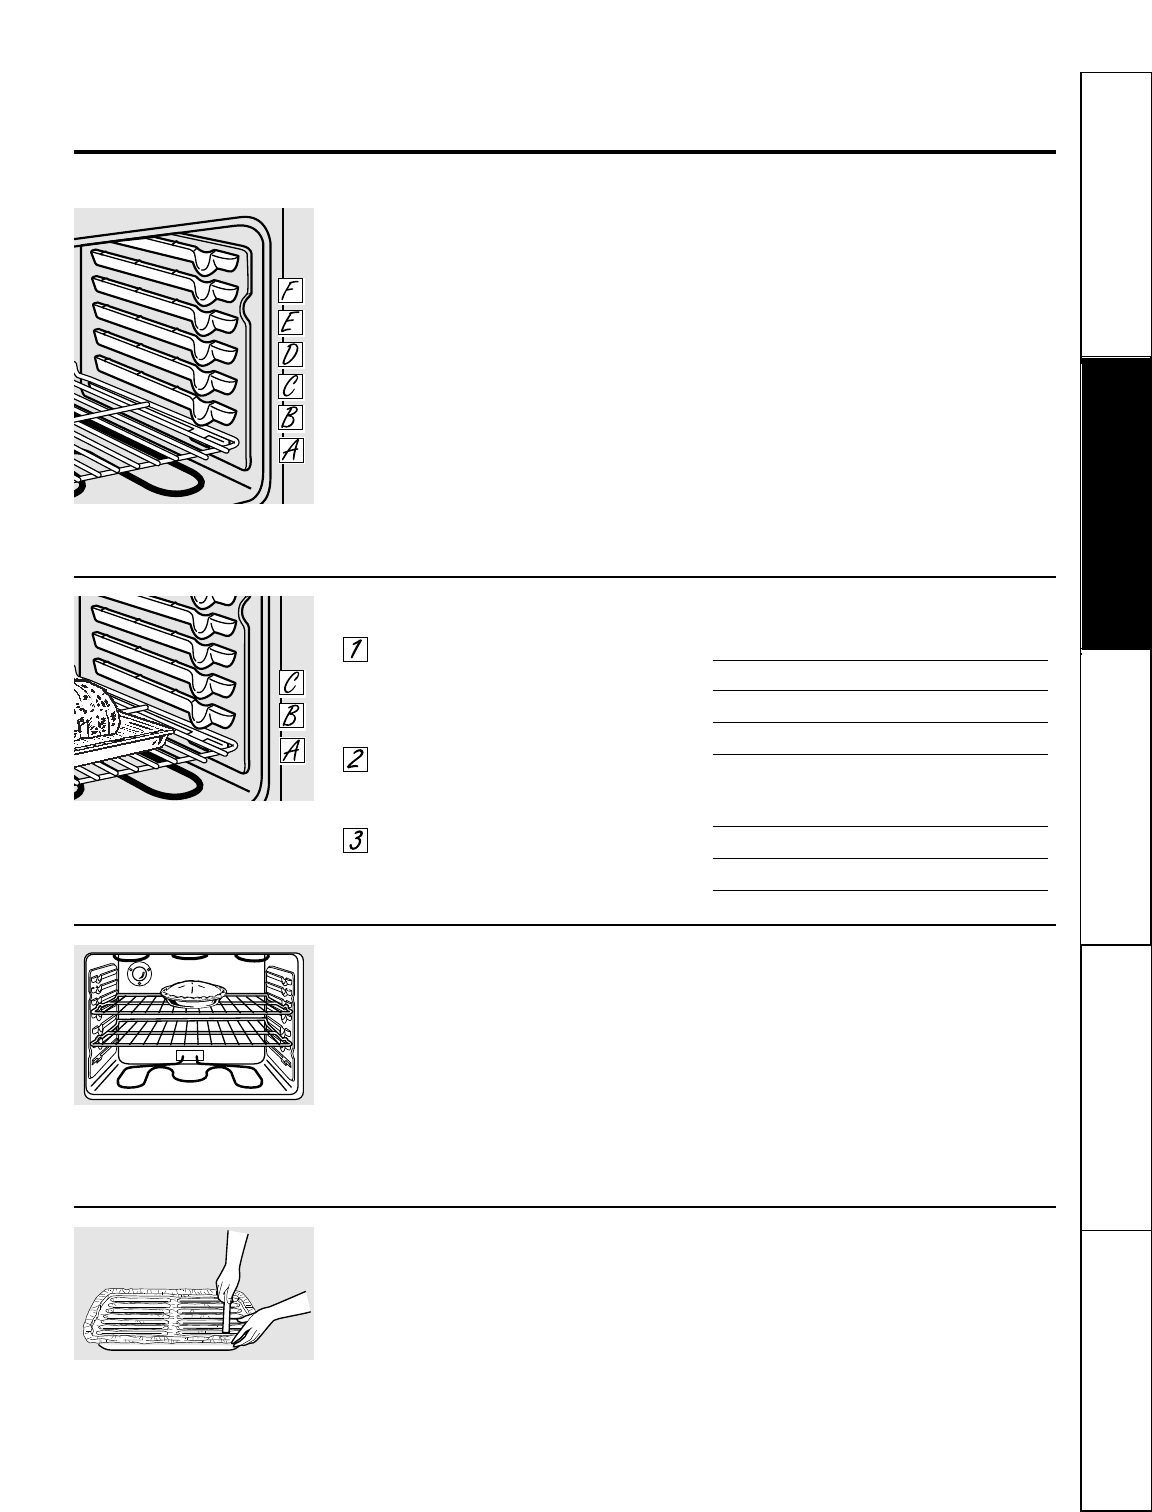
The shelves have stops, so that when
placed correctly on the supports, they will
stop before coming completely out, and
will not tilt.
When placing and removing cookware,
pull the shelf out until it stops.
To remove a shelf,
pull it toward you, tilt
the front end up and pull it out.
To replace,
place the end of the shelf
(stop-locks) on the support, tilt up the
front and push the shelf in.
CAUTION: When you are using the shelf in the
lowest position (A), you will need to use caution
when pulling the shelf out. We recommend that
you pull the shelf out several inches and then,
using two pot holders, pull the shelf out by
holding the sides of it. The shelf is low and you
could be burned if you place your hand in the
middle of the shelf and pull all the way out. Be
very careful not to burn your hand on the door
when using the shelf in the lowest position (A).
The oven has 6 shelf positions.
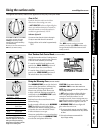
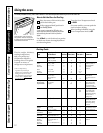
How to Set the Oven for Baking or Roasting
Turn the Oven Temperature knob
to the temperature you desire.
On some models, you must push the
knob in before turning.
Check food for doneness at
minimum time on recipe. Cook
longer if necessary.
Turn the Oven Temperature knob
to
OFF
when cooking is complete.
Type of Food Shelf Position
Frozen pies (on cookie sheet) D
Angel food cake A
Bundt or pound cakes C or D
Biscuits, muffins, brownies, C or D
cookies, cupcakes,
layer cakes, pies
Casseroles C or D
Turkey A
Preheating and Pan Placement
Preheat the oven if the recipe calls for it.
Preheating is necessary for good results
when baking cakes, cookies, pastry and
breads.
To preheat, set the oven at the correct temperature.
The control will beep when the oven is preheated
and the display will show your set temperature.
This will take approximately 8–10 minutes.
Baking results will be better if baking pans
are centered in the oven as much as
possible. If baking with more than one
pan, place the pans so each has at least 1
to 1
1
⁄2″of air space around it. If baking
four cake layers at the same time, place
two layers on rack B and two layers on
rack D. Stagger the pans on the rack so
one is not directly above the other.
Aluminum Foil
You can use aluminum foil to line the
broiler pan and broiler grid. However,
you must mold the foil tightly to the grid
and cut slits in it just like the grid.
Without the slits, the foil will prevent fat
and meat juices from draining into the
broiler pan. The juices could become
hot enough to catch on fire. If you
do not cut the slits, you are essentially
frying, not broiling.
Do not use aluminum foil on the bottom of
the oven.
Never entirely cover a shelf with
aluminum foil. This will disturb the heat
circulation and result in poor baking.
A smaller sheet of foil may be used to
catch a spillover by placing it on a lower
shelf several inches below the food.
Cut slits in the foil just like the grid.
Center baking pans in the oven
11


