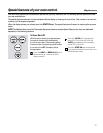
You may find that your new oven cooks differently than the one it replaced. Use your new oven for a few weeks to become
more familiar with it. If you still think your new oven is too hot or too cold, you can adjust the thermostat yourself.
Do not use thermometers, such as those found in grocery stores, to check the temperature setting of your oven.
These thermometers may vary 20–40°F.
NOTE: This adjustment will not affect the broiling or the self-cleaning temperatures (on some models). The adjustment will
be retained in memory after a power failure.
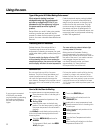
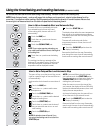
$GMXVWWKHRYHQWKHUPRVWDW³(DV\WRGR\RXUVHOI
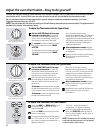
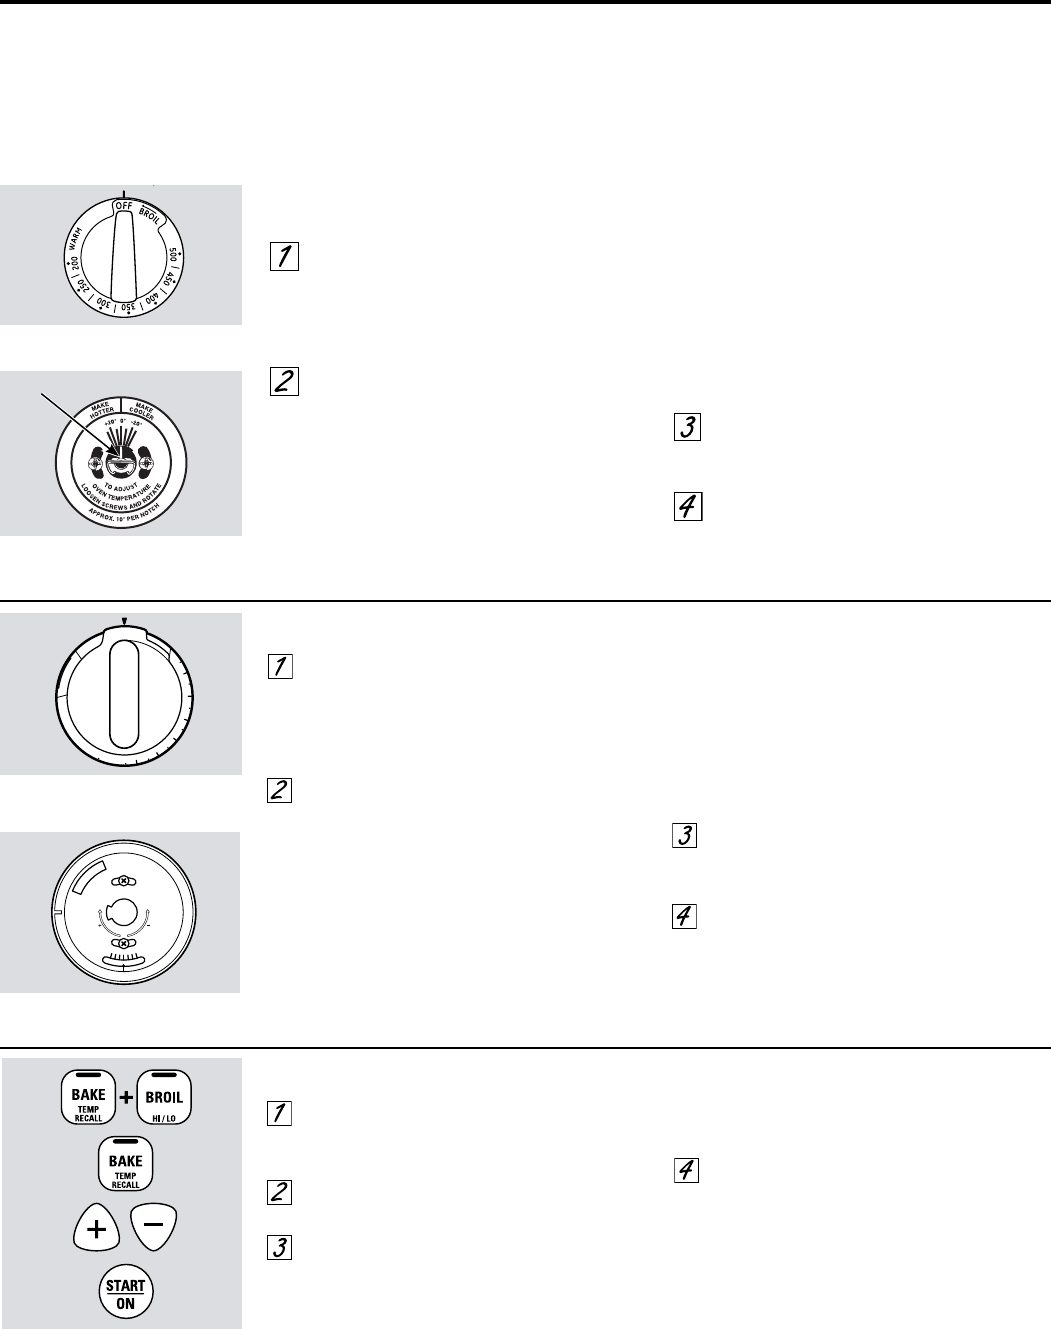
Pull the OVEN TEMP knob off the range
and look at the back side. To make an
adjustment, loosen (approximately one
turn), but do not completely remove, the
two screws on the back of the knob.
To increase the oven tempera ture, move
the pointer toward the words “MAKE
HOTTER.”
To decrease the oven temperature, turn
the pointer toward the words “MAKE
COOLER.”
Each click will change the oven
temperature approximately 10°F. (Range is
plus or minus 60°F from the arrow.) We
suggest that you make the adjustment one
click from the original setting and check
oven performance before making any
additional adjustments.
After the adjustment is made, retighten
screws so they are snug, but be careful not
to overtighten.
Replace the knob, matching the flat area
of the knob to the shaft, and check
performance.
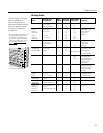
To Adjust the Thermostat with this Type of Knob
Back of OVEN TEMP knob
(knob appearance may vary)
Pointer
Front of OVEN TEMP knob
(knob appearance may vary)
OVEN TEMP
2
0
0
2
5
0
3
0
0
3
5
0
4
0
0
4
5
0
5
0
0
B
R
O
I
L
C
L
E
A
N
O
F
F
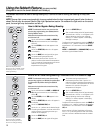
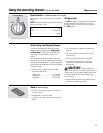
Front of OVEN TEMP knob
(knob appearance may vary)
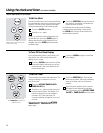
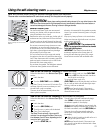
To Adjust the Thermostat on Other Models
Touch the BAKE and BROIL HI/LO pads at
the same time for 3 seconds until the
display shows SF.
Touch the BAKE pad. A two digit number
shows in the display.
The oven temperature can be adjusted up
to (+) 35°F hotter or (–) 35°F cooler. Touch
the + pad to increase the temperature in 1
degree increments.
Touch the – pad to decrease the
temperature in 1 degree increments.
When you have made the adjustment,
touch the START/ON pad to go back to
the time of day display. Use your oven as
you would normally.
NOTE: This adjustment will not affect the broiling
or self-cleaning temperatures. It will be retained
in memory after a power failure.
20
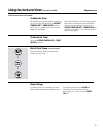
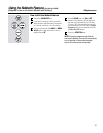
To Adjust the Thermostat with this Type of Knob
Pull the OVEN TEMP knob off the range
and look at the back side. To make an
adjustment, loosen (approximately one
turn), but do not completely remove, the
two screws on the back of the knob.
With the back of the knob facing you, hold
the outer edge of the knob with one hand
and turn the front of the knob with the
other hand.
To increase the oven temperature, move
the top screw toward the right. You’ll hear
a click for each notch you move the knob.
To decrease the oven temperature, move
the top screw toward the left.
Each click will change the oven
temperature approximately 10°F. (Range
is plus or minus 60°F from the arrow.) We
suggest that you make the adjustment
one click from the original setting and
check oven performance before making
any additional adjustments.
After the adjustment is made, retighten
screws so they are snug, but be careful
not to overtighten.
Replace the knob, matching the flat area
of the knob to the shaft, and check
performance.
L
O
O
S
E
N
S
C
R
E
W
S
T
O
R
O
T
A
T
E
M
A
K
E
C
O
O
L
E
R
M
A
K
E
H
O
T
T
E
R
Back of OVEN TEMP knob
(knob appearance may vary)


