13
Installation Instructions
To install a single metal bottom trim assembly (on some models), see Step 11.
To install a metal bottom trim with a plastic bottom trim (on some models), see Steps 11 and 12.
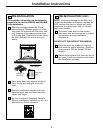
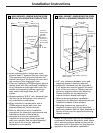
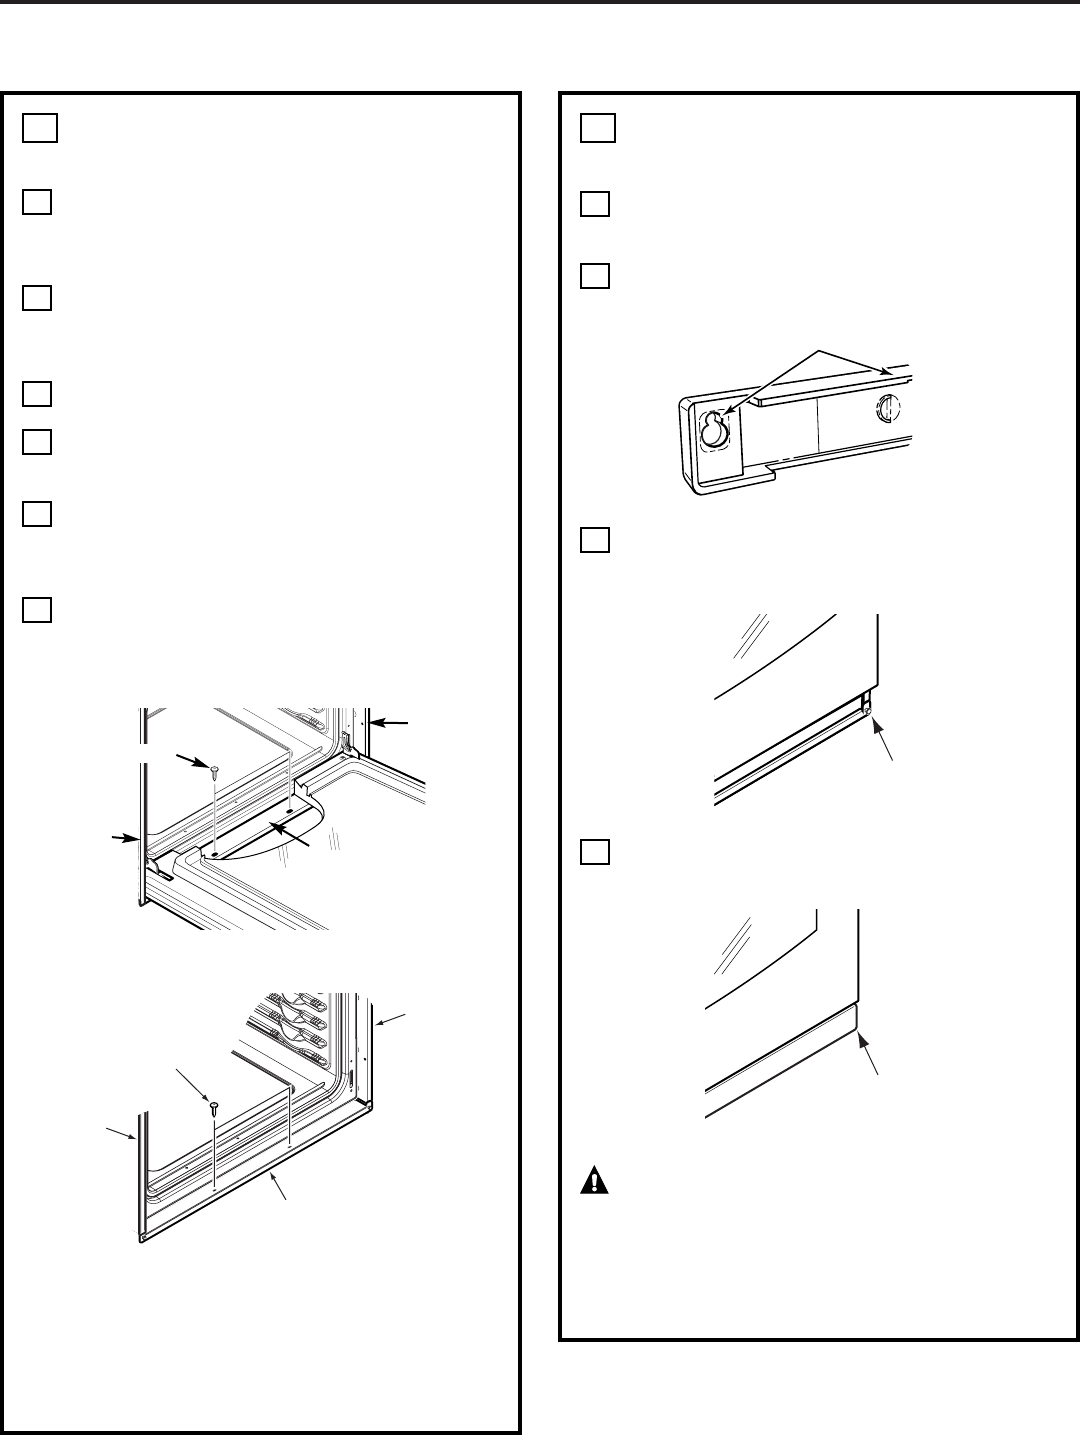
INSTALL THE METAL
BOTTOM TRIM
With oven installed, take the bottom trim
and center it on the bottom front edge of
the cabinet opening.
Using the trim as a template, mark the
center of each slot (two total) where the
mounting holes will be drilled.
Remove the trim.
Drill pilot holes into the center of each
template mark.
Place the bottom metal trim over the
pre-drilled mounting holes, making sure
it is centered.
Using trim screws provided, secure the
bottom trim to the bottom edge of the
cabinet. If a plastic bottom trim is
supplied, proceed to Step 12.
IMPORTANT: If this unit is ever removed from
the cabinet or the oven is ever pulled out for
service, the trim must be removed first or
damage to the trim will occur.
F
E
D
C
B
A
11
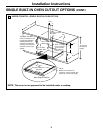
INSTALL THE PLASTIC BOTTOM
TRIM (ON SOME MODELS)
Make sure flat side is up on the plastic
bottom trim.
Find the key slot on the back of the trim.
Match the key slot with the rivet on the
bottom of the side trim, and lower the
trim onto the rivet.
Push the trim down, at both ends, until it
snaps securely into place.
CAUTION: Be sure you do not tip
the oven forward during installation or you
may bend the bottom trim. The bottom trim
provides an opening for cooling air to enter
the cabinet. This opening should never be
blocked.
D
C
B
A
12
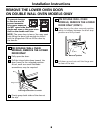
Single Wall Oven – Door may not be removed.
Double Wall Oven – Lower oven door only may be
removed.
Side Trim
Side Trim
Metal Lower Trim
Trim Screws
Key Hole Slot and Wide Flange at Top
Lower Trim Mounting Rivet on
End of Metal Lower Trim
Push Trim Down at Both Ends
Until it Snaps Securely Into Place
Side Trim
Side Trim
Metal Lower Trim
Trim Screws


