Installation Instructions
6
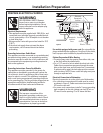
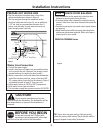
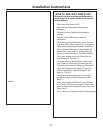
• Do not over tighten 90° elbow, water valve bracket
could bend or water valve fitting could break.
• Position the end of the elbow to face the rear of the
dishwasher.
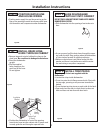
STEP 5 INSTALL 90° ELBOW
• Wrap 90° elbow with thread seal tape.
• Install a 90° elbow onto the water valve.
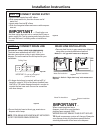
Figure M
Figure K
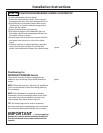
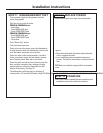
STEP 3 REMOVE TOEKICK
• Remove the two toekick screws.
• Screw leveling legs back into the dishwasher
frame, approximately 1/4" from frame as shown.
Figure J
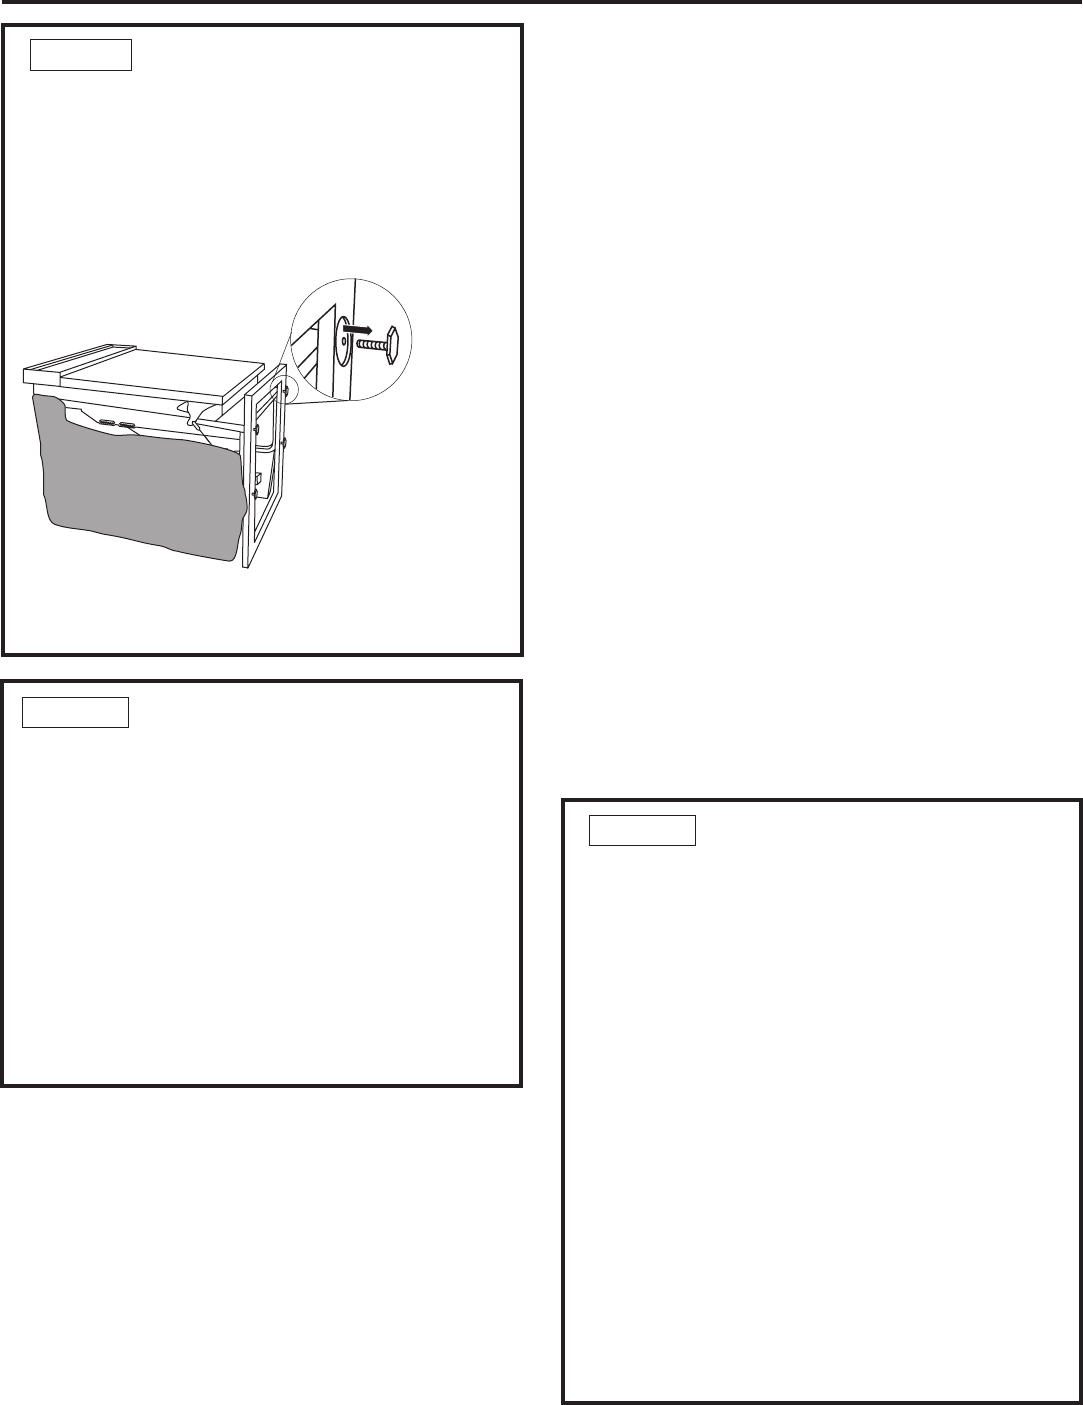
STEP 2 REMOVE WOOD BASE,
INSTALL LEVELING LEGS
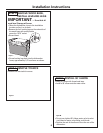
IMPORTANT – Do not kick off
wood base! Damage will occur.
• Move the dishwasher close to the installation
location and lay it on its back.
• Remove the four leveling legs on the underside of
the wood base with an adjustable
wrench or 15/16" socket.
• Discard base.


