


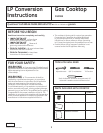
4
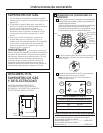
ADJUST THE LOW FLAME (SIMMER)
SETTING
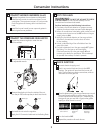
The top burner valves have low flame/simmer
adjustment screws in the center of the control shafts.
A flashlight may be needed to locate the screw. A small,
thin-blade screwdriver (approximately 1/8″ blade width)
is needed to access the screw.
Light two other burners and set the knobs to a
medium to high setting.
Light the burner to be adjusted and turn the knob
to LOW.
B
A
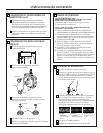
5
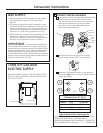
Conversion Instructions
Remove the knob and insert a screwdriver into
the valve shaft.
Turn the adjustment screw until the flame reaches the
desired size.
Perform a flame stability test.
Flame Stability Test
Test 1: With the downdraft vent fan on HI, turn the
burner knob from HI to LOW quickly. If the LOW
flame goes out, increase the flame size and test
again.
Test 2: With the burner on the LOW setting, open
and close the cabinet door under the cooktop. If
the flame is extinguished by the air currents
created by the door movement, increase
the flame height and test again.
Flame Recheck
After the adjustment is made, turn all burners off. Ignite
each burner individually. Observe the flame at the HI
position. Rotate the valve to the LOW position and be
sure the flame size decreases as the valve is rotated
counterclockwise.
E
D
C
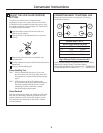
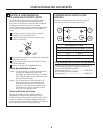
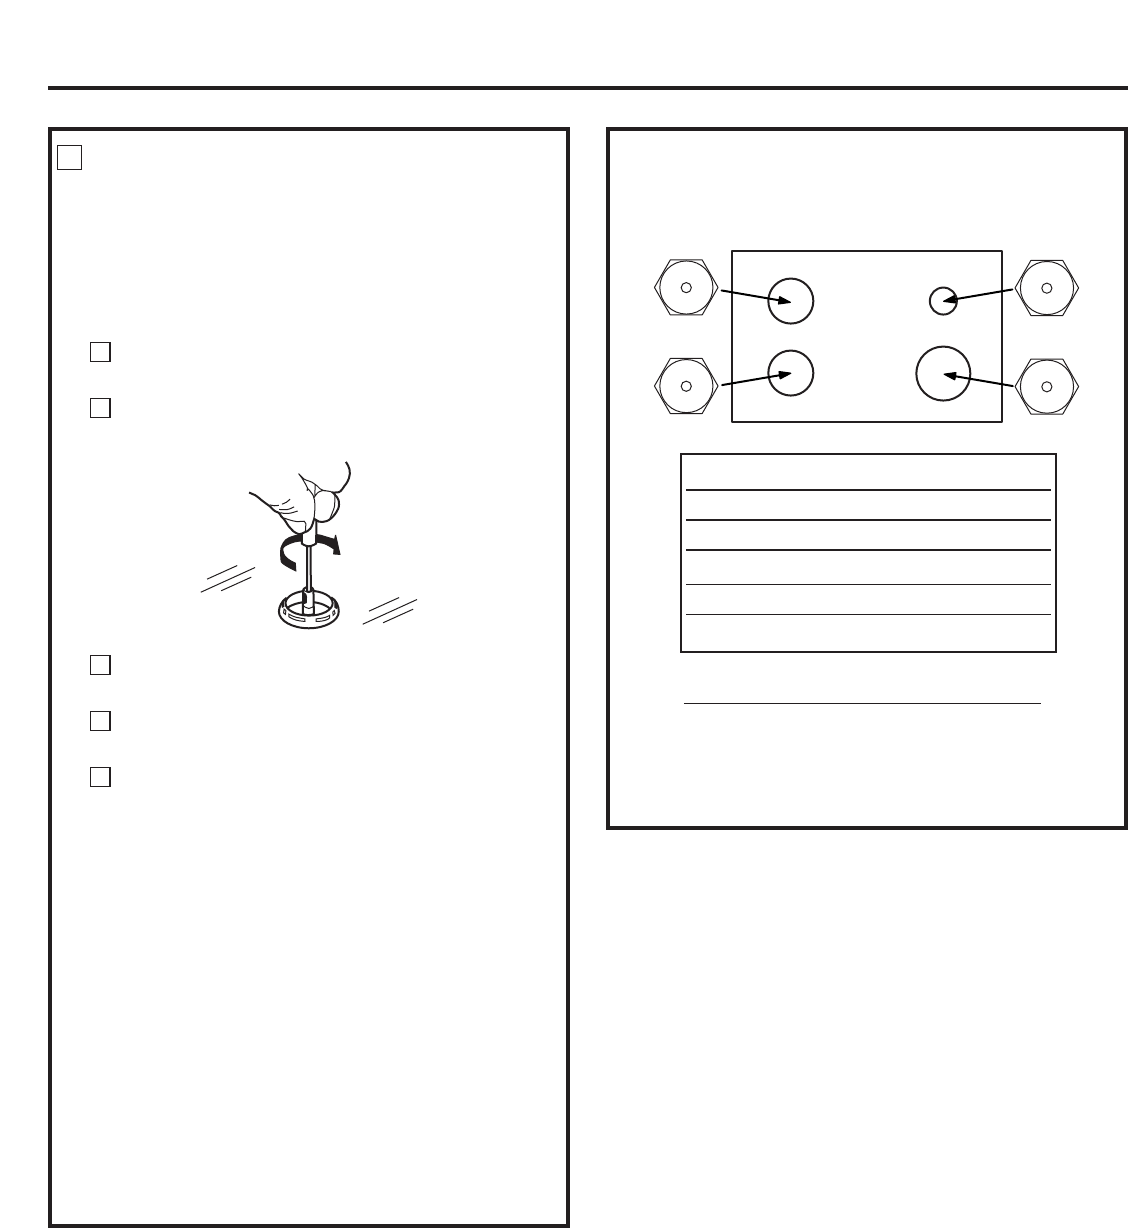
CONVERTING BACK TO NATURAL GAS
Reverse the procedures for converting to LP, locating
the orifices as follows:
N
N
150
150
N
N
122
169
Front
Natural Gas 4″ W. C . P.
Burner Output Rating in BTU/HR
Location BTUs Orifice Size
LF, LR 9,100 1.50 Nmm
RR 5,500 1.22 Nmm
RF 11,500 1.69 Nmm
Use for cooktop operation at elevations above 5000 ft. (1500m).
Specify kit for Natural Gas or LP Gas when ordering:
Natural Gas High Altitude Orifice Conversion Kit.........WB28X10114
LP High Altitude Orifice Conversion Kit..................................WB28X10115
High Altitude Orifice Conversion Kit