


Installation Instructions
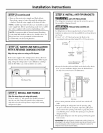
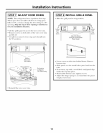
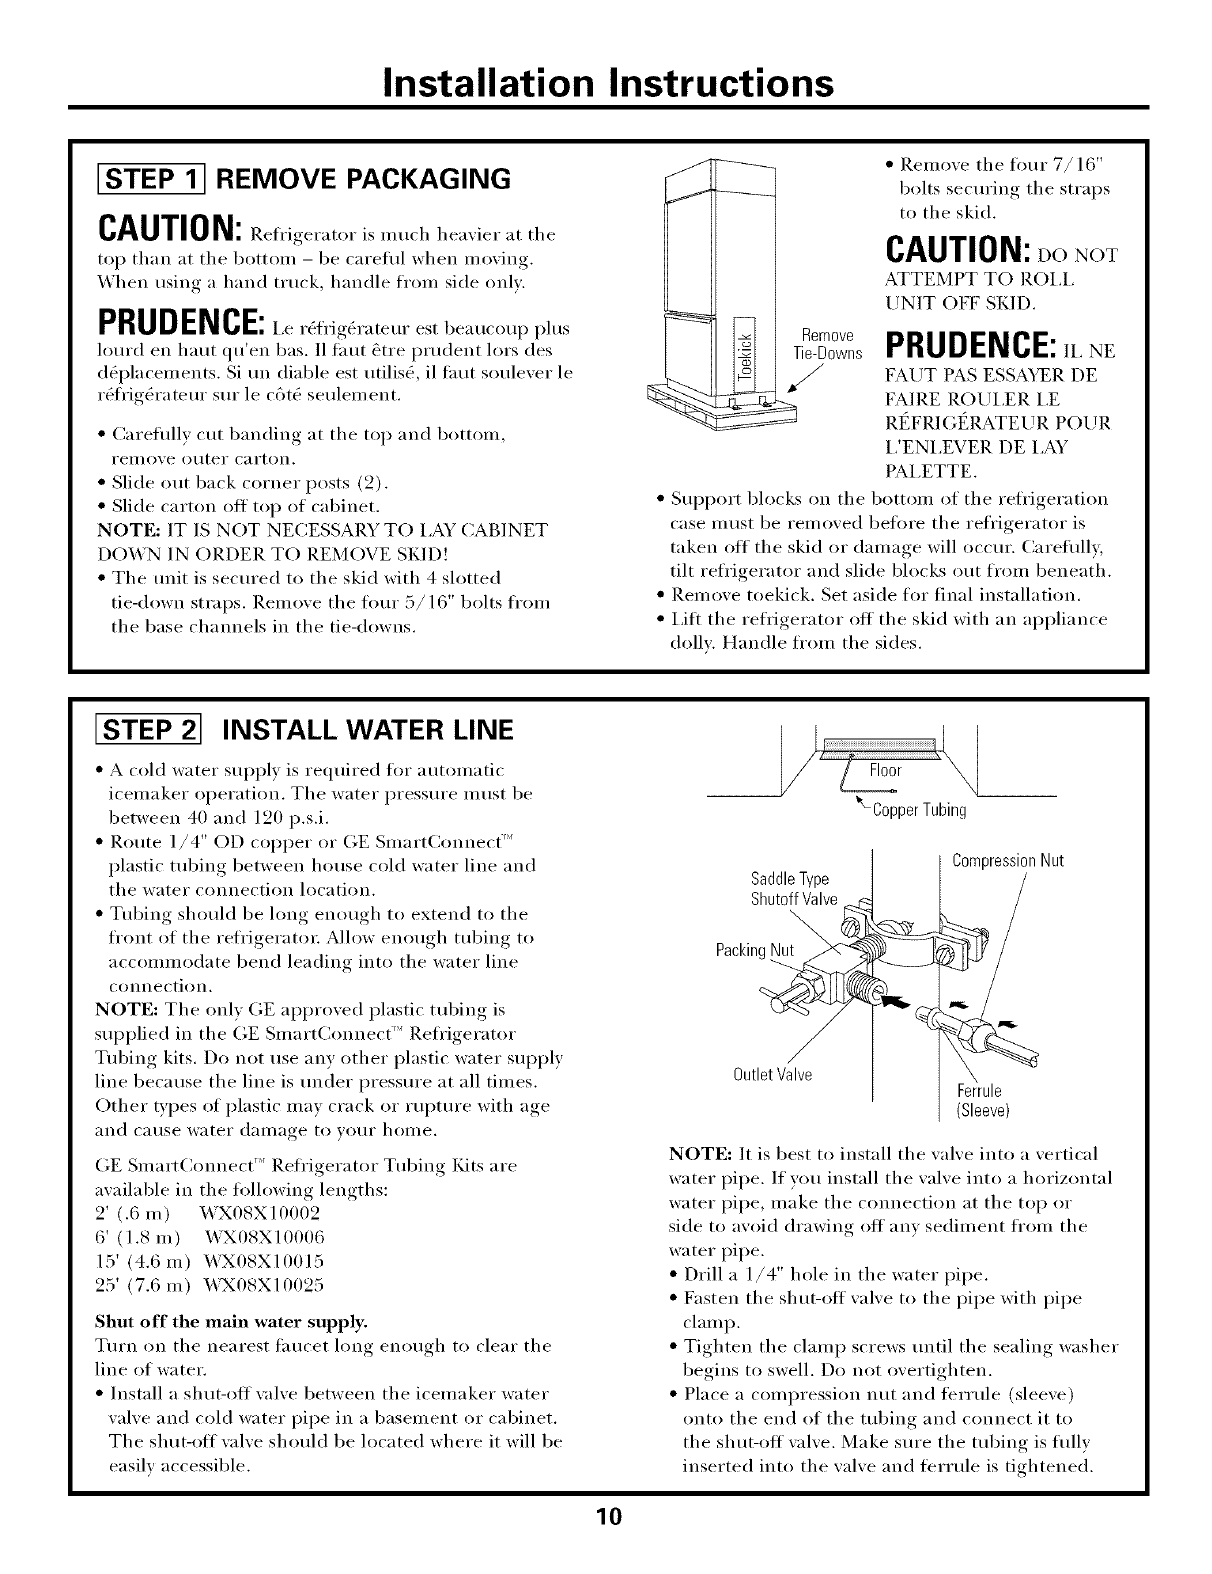
[STEP 1] REMOVE PACKAGING
CAUTION: Refrigerator is much hea, ier at the
top than at the botton/- be careflll when moxing.
X,_hen usim* a hand track, handle fl'om side onE.
PRUDENCE:Ce est pl.s
hmrd en haut qu'en bas. I1 taut 6tre prudent lots des
d@lacements. Si un diable est utilis& il taut soulexer le
r_frig&'ateur stu" le c6t_ seulement.
• Careflflly cut banding at the top and bottom,
relilove otKer carton.
• Slide out back corner posts (2).
• Slide carton ott top of cabinet.
NOTE: IT IS NOT NECESSARY TO I,AY CABINET
DOWN IN ORDER TO P,EMOVE SKID!
• The trait is secured to the skid with 4 slotted
tie-down straps. Remove the tOtu" 5/16" bolts fl'om
the base channels in the tie-downs.
J • Remoxe the four 7/16"
bolts secm'ing the straps
to the skid.
CAUTION:DONOT
ATTEMPT TO ROI,I,
UNIT OFF SKID.
Remove
Tie-Downs
/
PRUDENCE:ICNE
FAUT PAS ESSAYER DE
FAIRE ROUI,ER I,E
Rt_FI)d Gt_RATEUI). POUR
I/ENI,EVER DE lAY
PA1,ETTE.
• Sui)port blocks on the bottom of the refligeration
case must be removed before the refl'igerator is
taken off the skid or damage will occm'. Careflfll>
tilt refligerator and slide blocks out from beneath.
• Remove toekick. Set aside for final installation.
• I,ilt the refligerator off the skid with an appliance
dolly. Handle fl'om the sides.
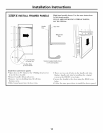
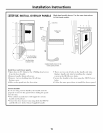
[STEP 2] INSTALL WATER LINE
• A cold water suI)ply is required fin" automatic
icemaker operation. The water pressure must be
between 40 and 120 p.s.i.
• Route l/4" OD COl)per or GE Smart(:onnect '_
plastic tubing between house cold water line and
the water connection location.
• Tubing should be hmg enough to extend to the
fl'ont of the refl'igeratm: Allow enough tubing to
accommodate bend leading into the water line
connection.
NOTE: The only GE approved plastic tubing is
sui)plied in the GE Smart(:onnect '_ Refl'igerator
Tubing kits. Do not use any other plastic water sui)ply
line because the line is trader pressure at all times.
Other types of plastic may crack or Hq)ttu'e with age
and catlse water dalllage to voui" hollle.
GE Smart(]onnect ''_Refl'igerator Tubing Fdts are
available in the following lengths:
2' (.6 m) WX08X10002
6' (1.8 m) WX08X10006
15' (4.6m) WX08X10015
25' (7.6 m) _,\_X08X10025
Shut off the main water supply,
Turn on the nearest fimcet long enough to clear the
line of water.
• Install a shut-off \_d\'e between the icemaker water
valve and cold water pipe in a basement or cabinet.
The shut-off \Mve should be located where it will be
easily accessible,
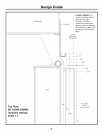
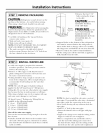
_Copper Tubing
CompressionNut
SaddleType
ShutoffValve
Packing
Outlet Valve
Ferrule
(Sleeve)
NOTE: It is best to install the valve into a vertical
water pipe. If wm install the valve into a horizontal
water pipe, make the connection at the top or
side to avoid drawing off any sediment fl'om the
water pipe.
• Drill a 1/4" hole in the water pipe,
• Fasten the shut-off wdve to the pipe with pipe
clamp.
• Tighten the clamp screws tmtil the sealing washer
begins to swell. Do not overtighten.
• Place a compression nut and terlule (sleeve)
onto the end of the tubing and connect it to
the shut-off wdve, Make sm'e the tubing is fiflly
inserted into the wflve and terrule is tightened,
10