Installation Instructions
11
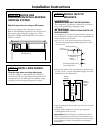
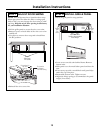
STEP 2A WATER LINE
INSTALLATION WITH A REVERSE
OSMOSIS SYSTEM
Skip this step when not using an RO System
If the water supply to the refrigerator is from a
Reverse Osmosis Water System use the refrigerator’s
filter bypass plug. Using the refrigerator’s water
filtration cartridge with the RO filter can result in
hollow ice cubes.
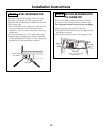
STEP 3 INSTALL SIDE PANELS
Skip this step when not using side panels
If you are using 1/4" side panels, they should be
inserted into the case trim. Fasten the panels to the
refrigerator with the 3M Dual Lock adhesive strips
(provided) before setting refrigerator in place.
STEP 4 INSTALL ANTI-TIP
BRACKETS
WARNING: ANTI-TIP PRECAUTIONS
The refrigerator is top-heavy and must be secured to
prevent the possibility of tipping forward.
ATTENTION: PRECAUTIONS CONTRE LES
BASCULEMENTS
Le réfrigérateur est beaucoup plus lourd en haut et il
faut le maintenir en place pour éviter la possibilité de
son basculement vers l'avant.
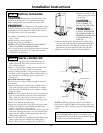
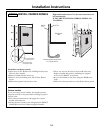
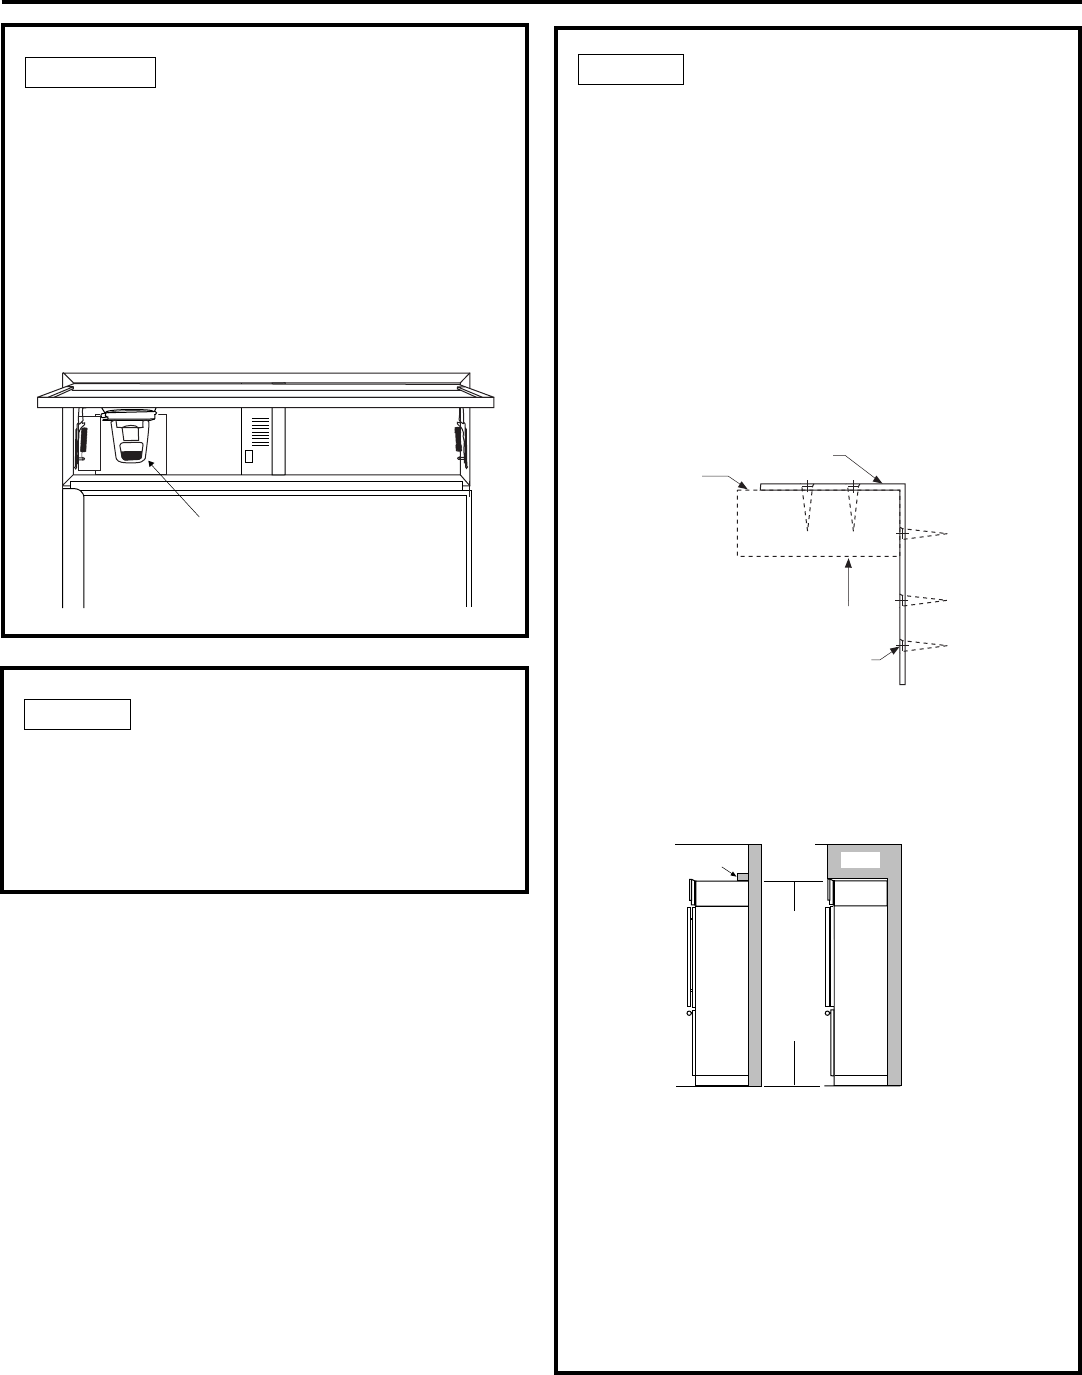
• Cut a 2" x 4" x 35" block and secure the block to
the mounting brackets provided using #12 or #14
wood screws.
• Secure the bracket with wood block to the back wall
so that it is 84" (or your installation height) from the
finished floor. See illustration.
• Screws must penetrate at least one inch into vertical
wall studs.
• Gently push refrigerator into the opening with
hands against front corners.
Important Note: When the refrigerator is installed under a soffit or if
there is not enough height for this method of security, brackets cannot
be used. Proceed to step 5 to level the refrigerator and then to step 6 to
secure refrigerator to cabinets. The refrigerator must be secured to
prevent tipping.
Block
Soffit
Side View
Height
From
Floor
to
Bottom
of Wood
Block
Brackets
Required
Brackets
Not Required
Beneath a
Soffit
Mounting Bracket
2 x 4 Cut
To 35" Length
Installation
Height
From Floor
Wood Screws Mounted into
Vertical Wood Studs
Filter Bypass Plug


