16
Installation Instructions
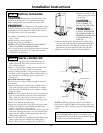
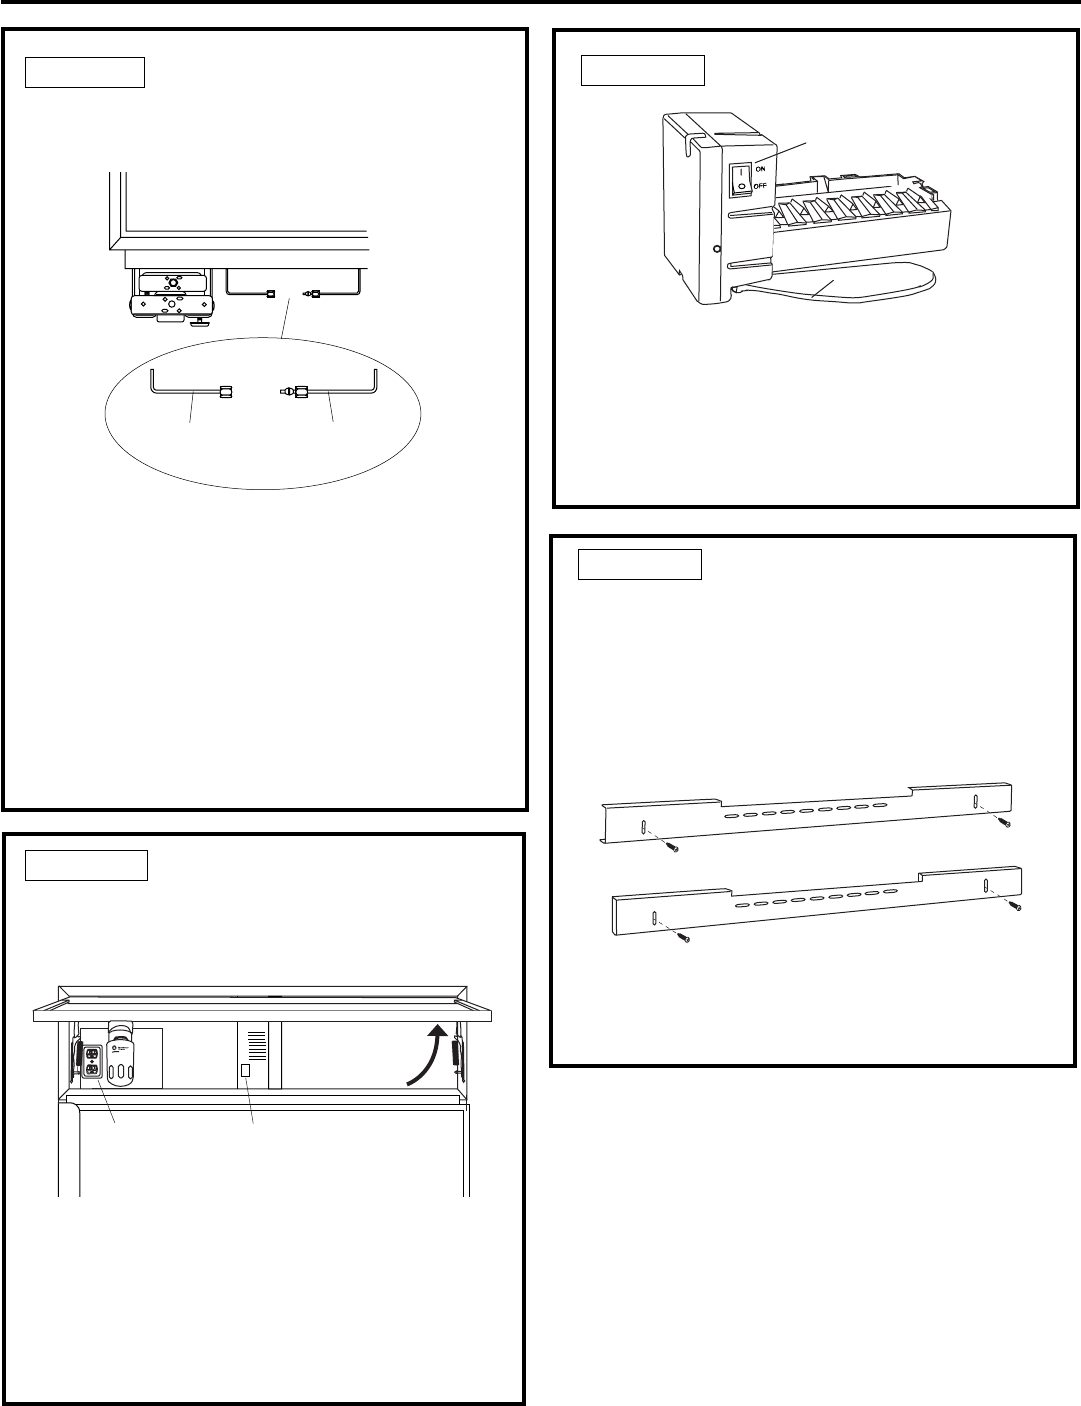
STEP 10 CONNECT WATER SUPPLY
Check to be sure that refrigerator power cord is not
plugged into the wall outlet.
• Locate and bring copper tubing to the front of the
cabinet.
• Turn the water on to flush debris from line. Run
about a quart of water through tubing into a bucket,
then shut-off water.
• Slip a 1/4" nut and ferrule (provided) over both
ends of the copper tubing. Insert tube into the
union fitting on the unit and tighten nut to union.
• Turn on the water to check for leaks.
Note: Make sure excess tubing length does not
interfere with drawer closing or toekick installation.
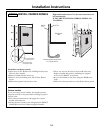
STEP 11 CONNECT POWER
• Connect refrigerator power cord plug to a properly
grounded receptacle, accessible through the top
left side of the grille opening.
• Check to make sure power to refrigerator is on by
opening refrigerator door to see if interior lights
are on.
• The temperature controls are preset at 37°F for the
fresh food section and 0°F for the freezer.
• Allow 24 hours to stabilize before making
adjustments.
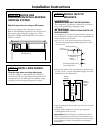
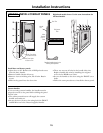
STEP 13 INSTALL TOEKICK
• Locate the supplied toekick (shipped taped to
the side of the refrigerator). Install with 2 screws
provided, adjust to desired height and tighten screws.
• A custom toekick can be installed to match or
complement the surrounding cabinetry. Use the
supplied toekick as a template to cut out the notch
and vent holes.
Important: The vented toekick must remain unob-
structed for proper air circulation and refrigerator
operation.
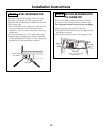
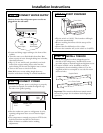
STEP 12 START ICEMAKER
• Flip the switch to I (ON). The icemaker will begin
operation automatically.
• Be sure nothing interferes with the sweep of the
feeler arm.
• Discard the first full bucket of ice cubes.
• To turn the icemaker off, set the switch to O (OFF).
Supplied Toekick
1/4" or Thicker Toekick
Power Switch
Feeler Arm
Raise
Grille
Panel
Electrical
Outlet
Sabbath / Light
Switch
Refrigerator
Water Supply
House
Water Supply


