3
OPERATING INSTRUCTIONS
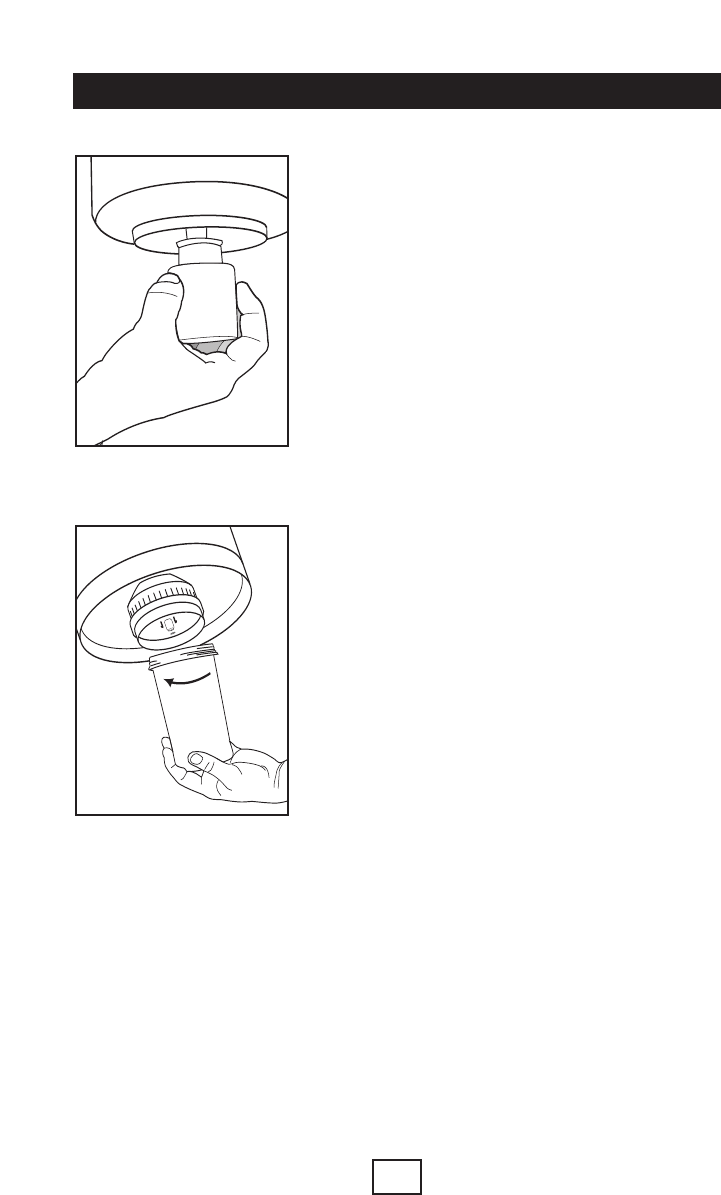
FIGURE A
FIGURE B
Lower Chamber Assembly (FIGURE A)
Attach the float into the threaded float base
at the bottom of the lower chamber
. Place
the assembled lower chamber on the water
dispenser. Place white chamber ring on top
of the lower chamber.
Upper Chamber Assembly (FIGURE B)
1. With clean hands, completely submerge
filter under cold water by holding it down
until the filter no longer r
eleases air
bubbles. Let soak for 30 minutes.
2. Align the two ports at the bottom of the
pr
e-filter with the holes in the upper
chamber of the filtration system and snap
it into place. (Take care to align locking
tabs with the centre hole.)
3. Align the post at the center of the top
scr
een of the filter body with the center
port on the pre-filter and twist the filter
body on the base of the upper chamber of
the filtration system.
4. You can now place your filtration system
on top of your water dispenser and enjoy
cleaner, great-tasting water!
Securely tighten the filter to the housing to make a tight seal for
improved filtration and to reduce the possibility of a leak.


