


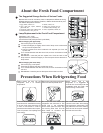


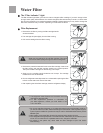
Temporary Stored Food or Frequently Used Foods
Should be Kept in the Fresh Food Compartment.
Although the average fresh food temperatures are between 34 to 46 °F
(1 to 8 °C) food shelf life should be checked periodically.
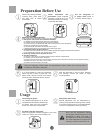
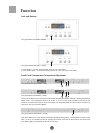
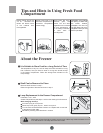
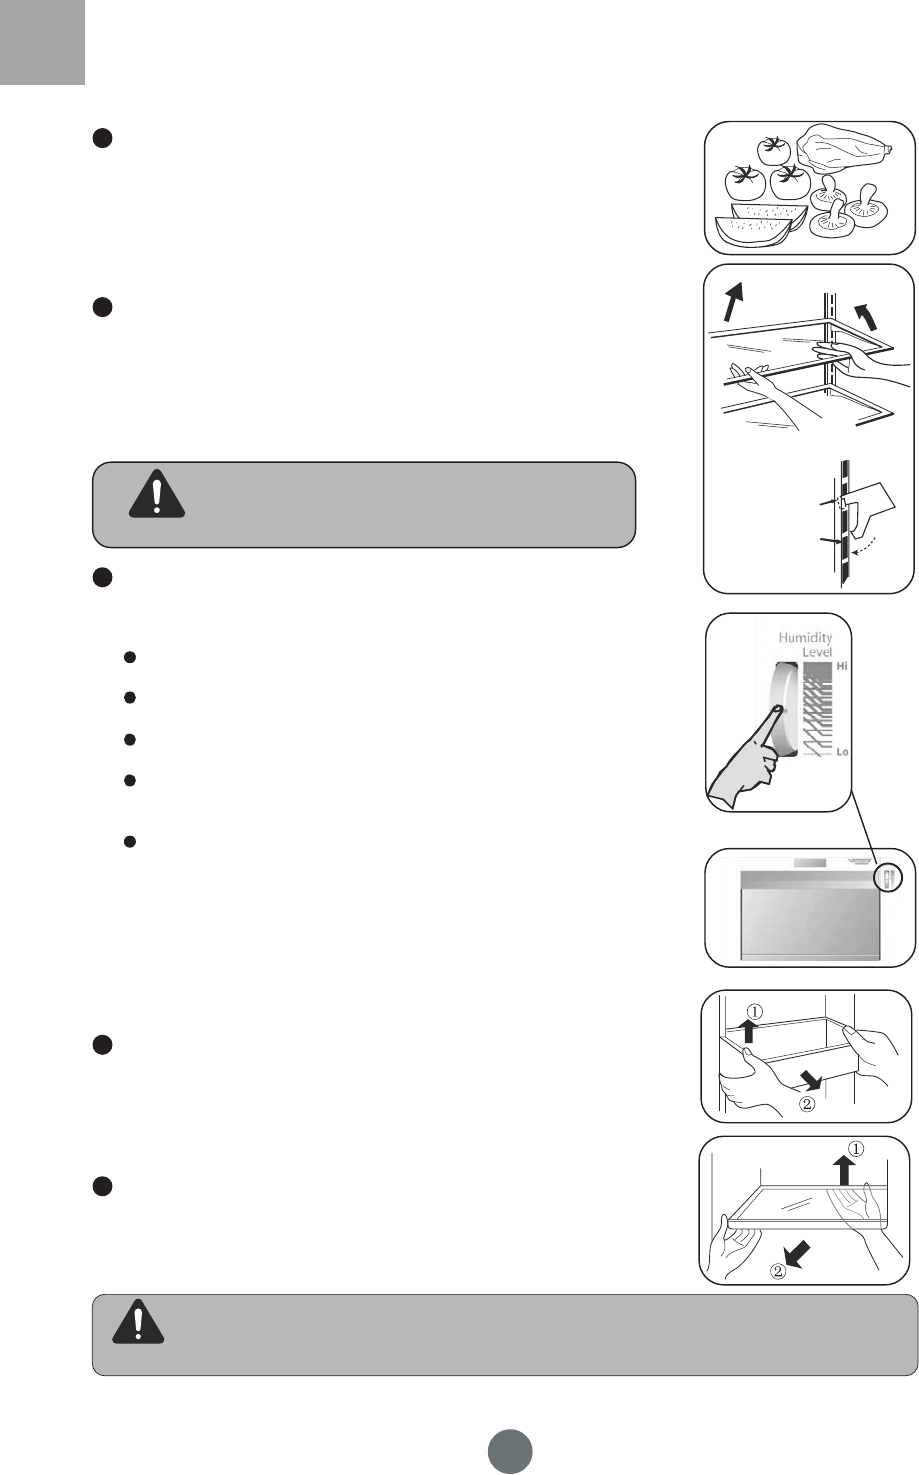
Adjusting Cantilever Shelves
You have the option of adjusting the glass shelves to different locations to
accommodate different stored food heights. Raise the shelf up (as shown)
to disengage the rear hooks in the vertical ladders and pull up and out.
Reverse the order when re-positioning by tilting down into a new slot ladder
location and hooking into place.
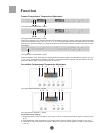
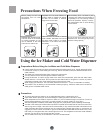
Using the Crispers
The refrigerator comes with 2 crispers which you can adjust using the
humidity control knobs.
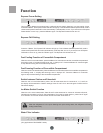
Adjustment and Cleaning of the Door Bottle Bin
Lift the door bottle bin as shown in step 1. Take the two sides and draw it
out according to step 2.
After cleaning, reinstall the bottle bin in the reverse order. The bottle bin
position can be adjusted according to food height.
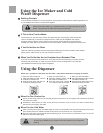
Dismounting the Crisper Cover
Raise the back part of the shelf as shown in step 1 and draw it out according
to step 2.
NOTE
Make sure the shelf is level on both sides of the ladder
slot locations to prevent food from dropping or leaking
out new slot ladder location and hooking into place.
NOTE
When you adjust the bins, do not place gallon bins or dairy bin in the lower door location. This
will prevent interference with the crispers.
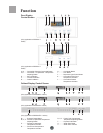
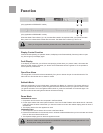
About the Fresh Food Compartment
For high humidity, turn up the knob. This suits storing cucumbers, grapes,
and lettuce.
For low humidity, turn down the knob. This suits meats, cheeses,
strawberries, tomatoes, and fruits.
When removing crispers, make sure to remove the top cover after pulling
out the crispers.
Adjusting and cleaning the door bins: Lift the door bin as shown in step 1.
Take both sides and pull out as shown in step 2. After cleaning, reinstall
the bin in reverse order, and adjust the height as desired.
Removing the crisper cover. Refer to the picture and note it is done similar
to the cantilever shelves.
Raise and
take out
Upper
slant
Insert
top hook
Dismounting
Installation
15