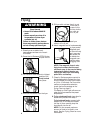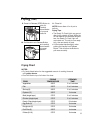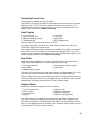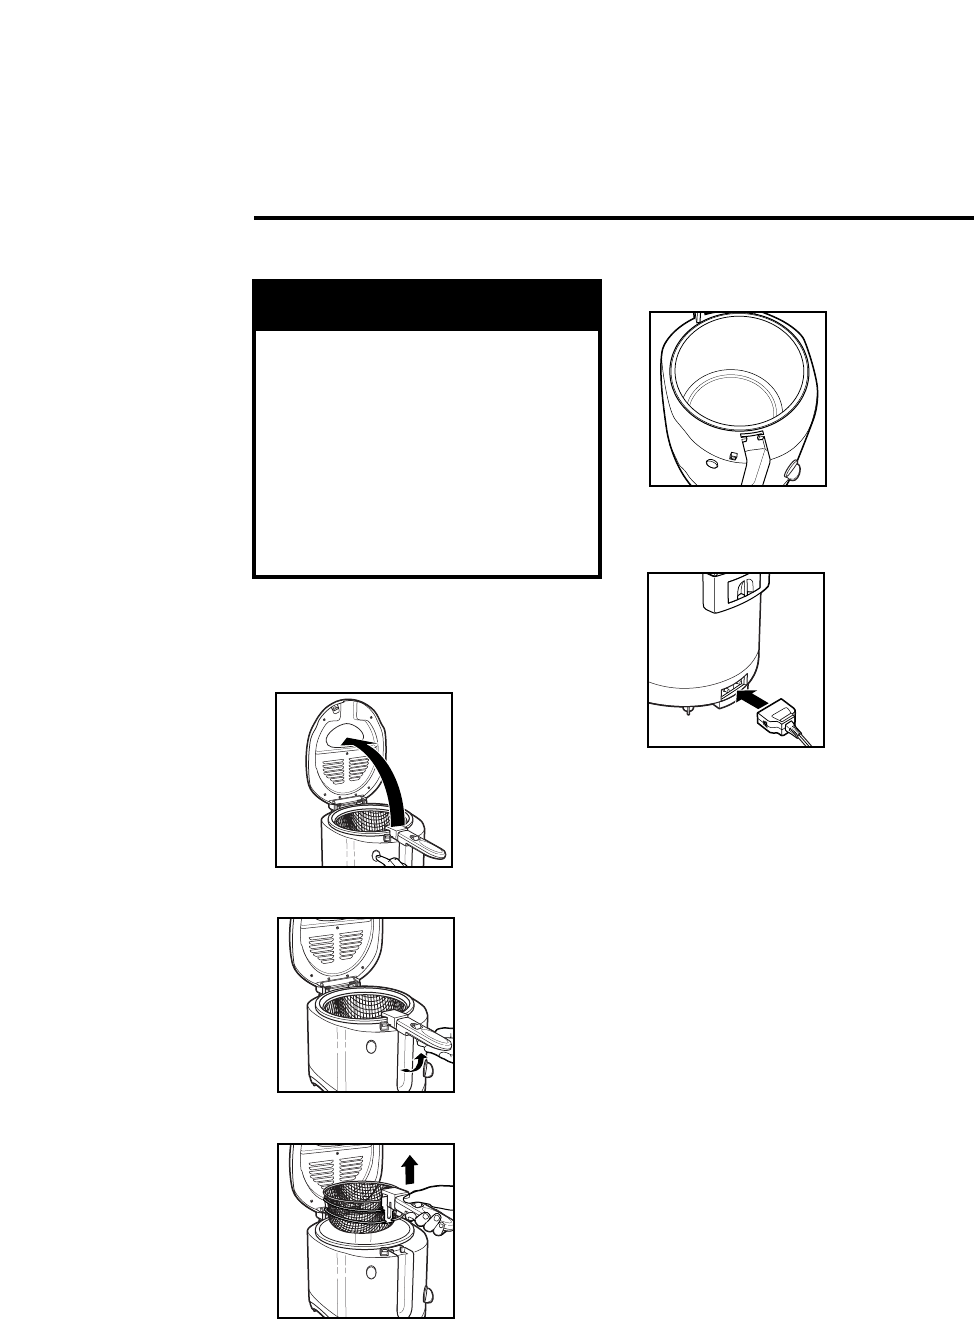
1. Place fryer on a stable, level,
heat-resistant surface out of reach
of children.
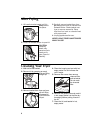
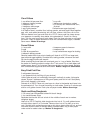
2. Press the Lid Release (OPEN) Button
to open the lid.
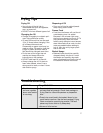
3. Lift handle to raise basket to highest
position until
firmly locked
into place.
4. Remove the basket from the fryer.
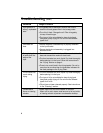
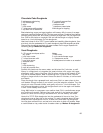
5. Fill fryer with not less than 4 to not
more than 6
cups of oil to
the top indica-
tor mark on
the oil pot.
WARNING: Never operate fryer
without oil in oil pot.
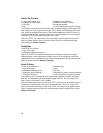
6. Attach magnetic end of cord assembly
to fryer socket.
Magnetic end
of cord will only
go in one way.
Be careful not
to disturb the
magnetic con-
nection when
plugging cord
into electrical outlet.
NOTE: The magnetic force is rela-
tively low to ensure that the cord
will break away in the event of being
inadvertently pulled; thereby, pre-
venting the deep fryer from being
pulled off a countertop.
7. Close lid. Set temperature control to
the desired setting. Preheat the fryer
until the Ready to Cook Light comes
on (10 to 15 minutes). For more infor-
mation on temperature selection,
check the food’s package or the
Frying Chart on page 5.
The Ready to Cook Light will come on
when the oil has reached the preset
temperature.
8. To fry unbattered food, place food in
basket and proceed with step 9.
To fry battered foods, proceed with
steps 9 and 10 to lower the basket
into the oil, then carefully drop the
food directly into the oil.
NOTE: Do not exceed maximum
amount of food to be fried in one
batch. See the Frying Chart for more
information.
Frying
wWARNING
Burn Hazard
• Never fill oil above MAX fill
mark.
• Never move fryer when it is
in operation or when fryer
contains hot oil.
Failure to follow these instruc-
tions may result in serious burns
as hot oil may spill from fryer.
4


