


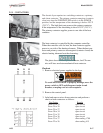
Model 590/592
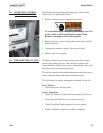
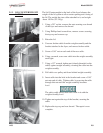
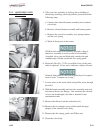
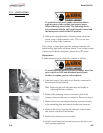
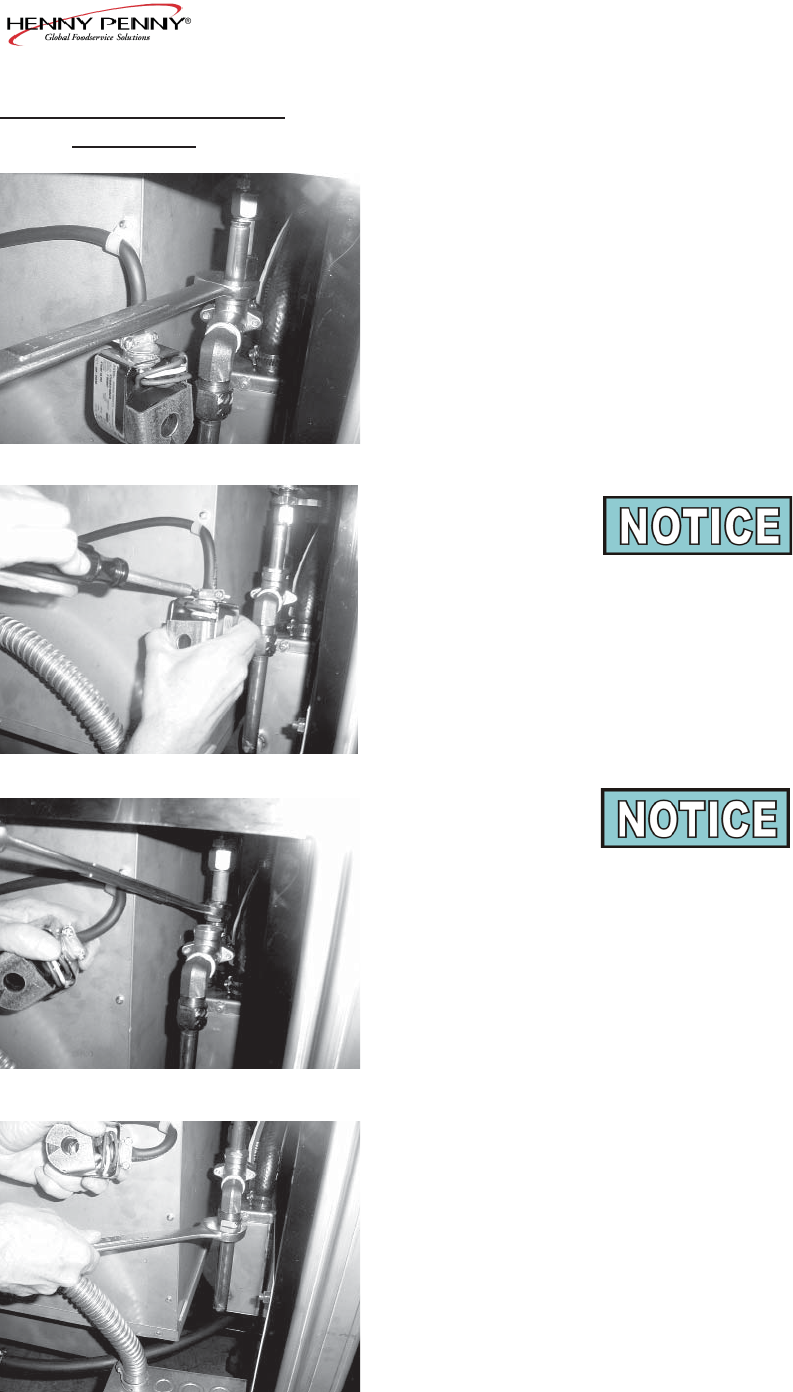
5. If the core-disc assembly is sticking due to buildup of
shortening, breading, and food particles, proceed with the
following steps:
a. Unscrew the solenoid bonnet assembly from solenoid
valve body.
b. Remove solenoid bonnet assembly and bonnet gasket.
c. Remove the core-disc assembly, core spring retainer,
and the core spring.
d. Wash all these parts in hot water.
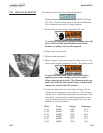
If Tefl on seals need to be replaced, proceed to Step 6;
otherwise, assemble in reverse order of disassembly.
Assemble valve core and blade with smooth side and
rounded edge of blade toward the disc spring guide.
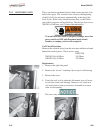
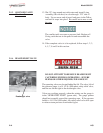
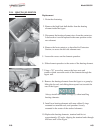
6. Repair kit, Part No. 17120, is available if any of the seals
must be replaced. If one seal is defective, replace all seals.
Solenoid body must be removed from the fryer for replace
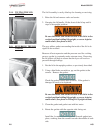
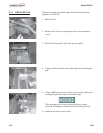
ment of seals. Continue on to step 7.
7. Loosen wires on the strain relief and pull the wires through
the relief.
8. With the bonnet assembly and core-disc assembly removed,
disconnect the two nut fi ttings. One connects the solenoid
valve to the deadweight, the other is attached to the
condensation tank.
9. Remove the elbows from the solenoid valve.
10. Remove the two adapter screws which attach the pipe
adapter to the solenoid valve body.
11. Remove the disc spring, guide, and Tefl on seat.
12. Clean the valve body.
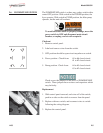
2-15. SOLENOID VALVE
(Continued)
1103 2-13