


Model OFE/OFG/OEA/OGA-341, 342
2-18. HEATING
CONTACTORS
(ELECTRIC)
Continued)
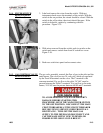
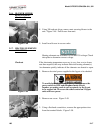
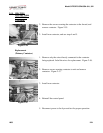
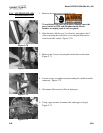
2. Remove the screws securing the contactor to the shroud, and
remove contactor. Figure 2-55.
3. Install new contactor, and see steps 4 and 5.
Figure 2-55
Replacement
(Primary Contactor)
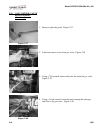
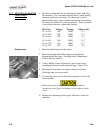
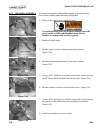
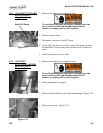
1. Remove only the wires directly connected to the contactor
being replaced. Label the wires for replacement. Figure 2-56.
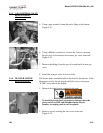
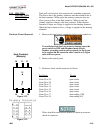
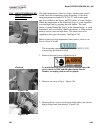
2. Remove screws securing contactor to unit and remove
contactor. Figure 2-57.
Figure 2-56
3. Install new contactor.
4. Reinstall the control panel.
Figure 2-57
5. Reconnect power to the fryer and test for proper operation.
1003 2-21