


– 8 –
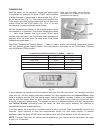
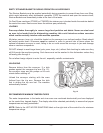
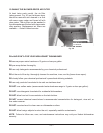
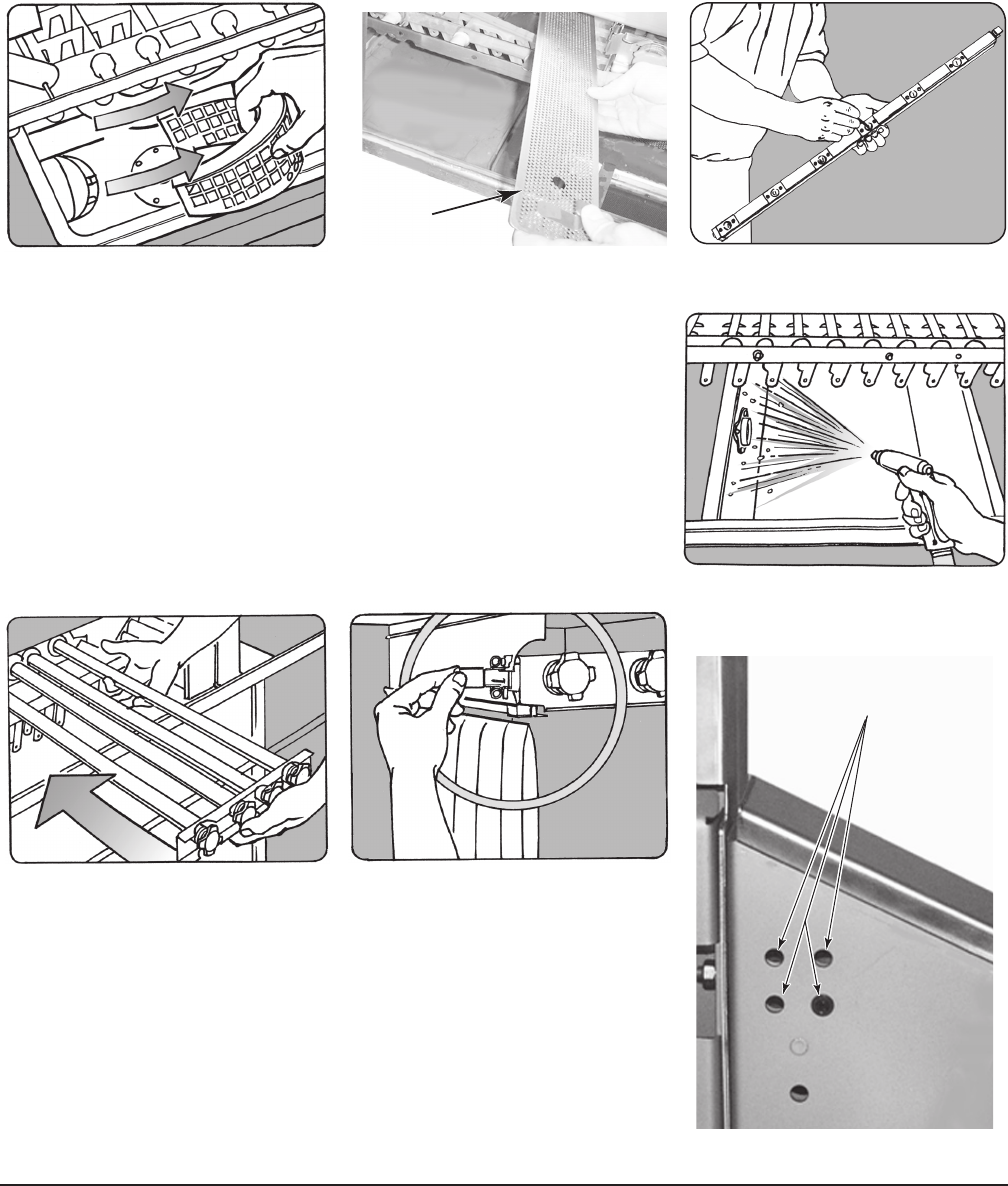
When tanks are empty, remove pump intake screens (Fig. 22) and clean them in a sink. Remove, clean
and replace the strainer(s) from drainback pans in the power rinse and / or wash section(s) where
present (Fig. 23), refer to pages 11–14. Remove the dual rinse arms (FT900D or FT900SD only).
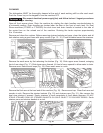
Clean debris from metal dual rinse nozzles and arms using a straightened paper clip (Fig. 24). Do not
attempt to clean Opti-Rinse nal rinse nozzle(s). Opti-Rinse nozzle(s) should be replaced if they
become clogged or if the spray pattern is ineffective. Never use steel wool to clean warewasher
surfaces. Use only products formulated to be safe on stainless steel.
Fig. 22 Fig. 23 Fig. 24
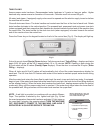
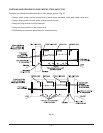
Flush tanks with a water hose, removing any accumulation of food
soil (Fig. 25).
Reinstall all end caps; do not overtighten. Reinstall all arms in
their proper location and orientation. The Flush arm nozzles must
point horizontal toward the prewash tank. Upper arm nozzles
point downward, and lower arm nozzles point upward. Arms in the
prewash chamber each have two tubes (the slightly longer arm
goes below). The arms with ve tubes t in the upper brackets, and
the arms with four tubes t in the lower brackets.
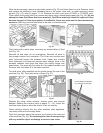
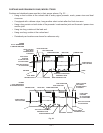
To install arms, slide manifolds on the guides toward the rear of the
machine (Fig. 26). Then latch arms in place (Fig. 27).
Replace the pump intake screens, strainer pans, and strainer
baskets. Rehang the curtains (refer to pages 11 – 14). Leave the
machine doors open to allow the interior to air out and dry.
Clean machine exterior like any other stainless steel appliance.
Use damp cloth and mild soapy water.
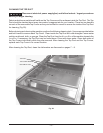
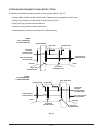
Flush the openings where the sensors are located at the load end
of the machine (Fig. 28). Do not attempt to clean these openings
with any metallic object as damage to sensors can occur.
Fig. 26 Fig. 27
CLEAN SENSOR OPENINGS
AT LOAD END OF MACHINE
Fig. 28
Fig. 25
STRAINER