– 4 –
TANK FILLING
Assure proper water hardness. Recommended water hardness is 3 grains or less per gallon. Higher
hardness may cause excessive formation of lime scale. Chlorides must not exceed 50 ppm.
All water (and steam, if equipped) supply valves must be opened and the electric supply turned on
before the machine will function.
Close all drains and doors. The drain handles are located near the floor at the front of each tank. Rotate
drain handles clockwise to the vertical position. The prewash tank, powerwash tank and power rinse
tank (when equipped) and their respective drain handles are located towards the load end of the
machine from the control box. The drain handle for the dual rinse tank (when equipped) is located
towards the unload end of the machine from the control box.
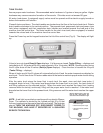
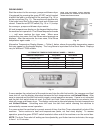
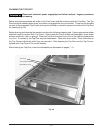
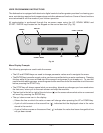
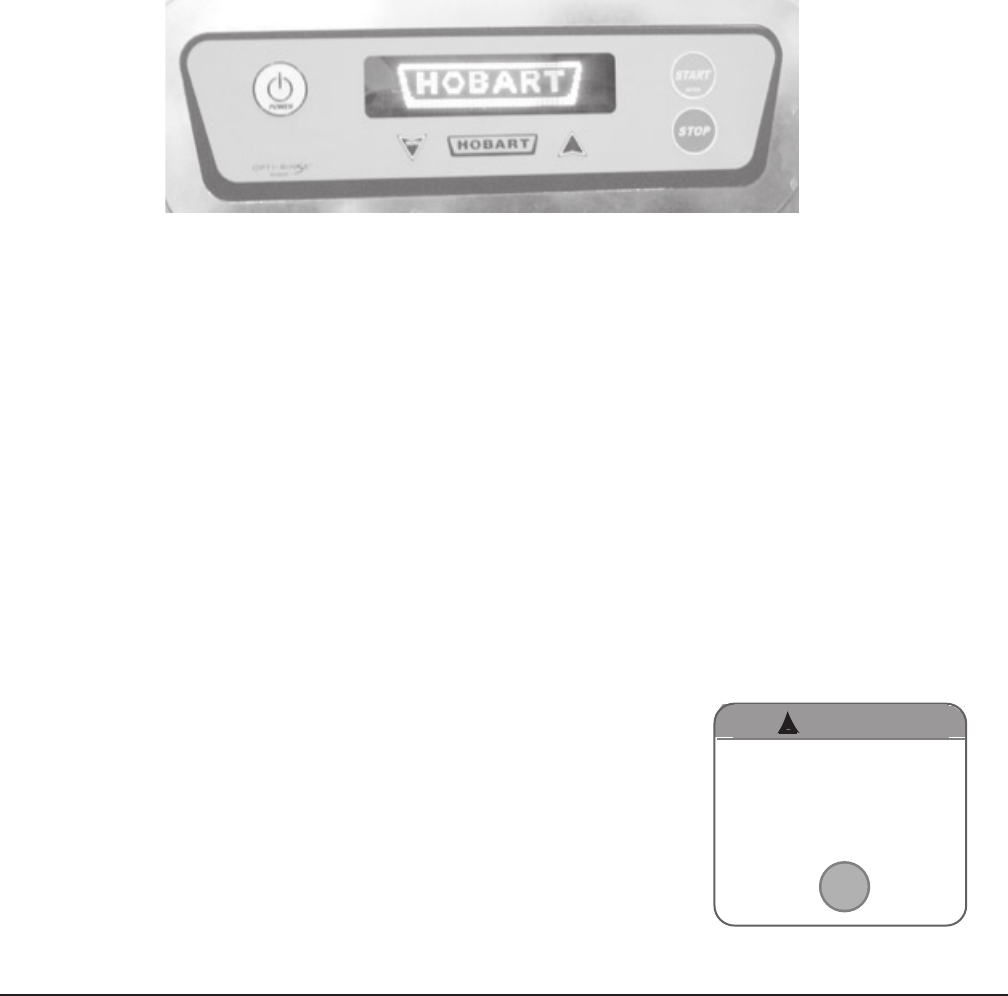
Press the Power key on the keypad located on the lid of the control box (Fig. 8). The display will light
up.
Fig. 8
If door(s) are not closed Door(s) Open displays. If all doors are closed, Tanks Filling ... displays and
tanks begin to fill. All tanks will be full in approximately 10 to 15 minutes. NOTE: Opening a door during
the fill cycle shuts off the fill valves (Door(s) Open displays). Close the door to resume the fill cycle
(Tanks Filling ... displays).
When all tanks are full the fill valves will automatically shut off and the water temperatures display for
each tank. The full time Auto-Fill feature adds water to the tanks to maintain proper water levels during
operation.
After the water level raises the lower float in each tank, the wash, rinse and dual rinse tanks, if
equipped, begin to heat. If the water level drops below the lower float in any tank, the heat shuts off
and filling resumes on the affected tank(s). When the water level reaches the lower float, heating
resumes while the tank(s) continue(s) filling until the proper water level is reached. If the water level
drops below the lower float in the prewash tank, filling resumes until the water level reaches the upper
float.
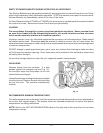
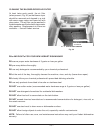
NOTE: A red light is provided on machines with an electric Blower-
Dryer. The operator is alerted by the lighted red light (Fig. 9) that
the over-temperature thermostat has been activated. The operator
should TURN THE MACHINE OFF, DISCONNECT POWER TO
THE MACHINE, AND HAVE IT SERVICED BY A QUALIFIED
SERVICE TECHNICIAN.
Fig. 9
Electric Blower-Dryer, does not
have an ON / OFF Switch, but
does have a Red Indicator Light
If red indicator lights:
• Disconnect from power supply
• Have unit serviced by qualified
technician
! WARNING! WARNING
R
ED
Light O
nly
! WARNING


