– 4 –
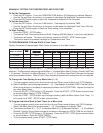
CHIMNEY
PL-52240
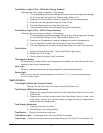
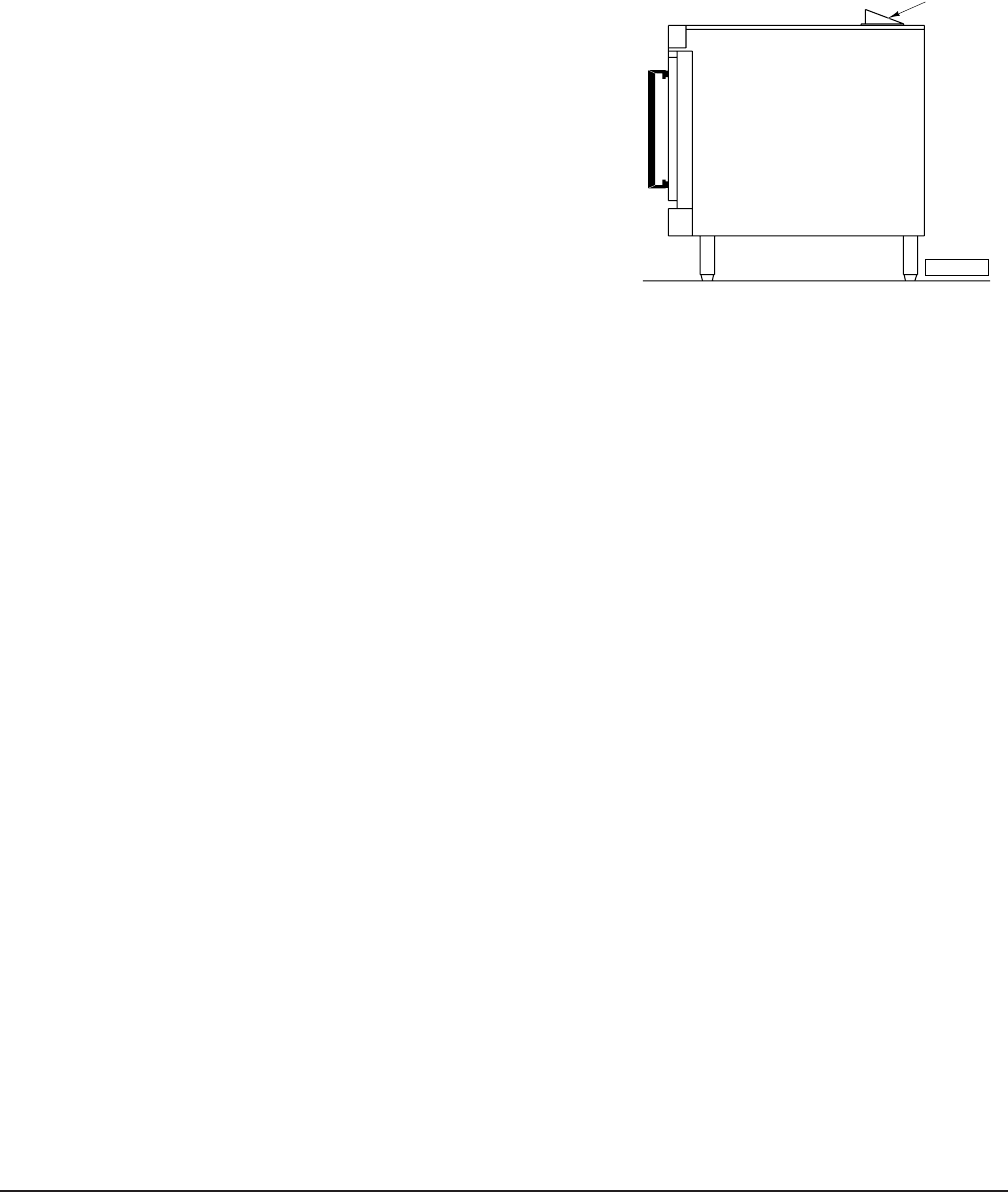
Fig. 1
INSTALLING BASIC OVEN (HEC20 and HEC20D)
The basic oven must be installed on legs or be mounted on a modular stand. Installations on concrete
bases or other supports restricting air circulation underneath the oven are not advisable and may void
the warranty.
Assembling the Legs to the Single Oven
Position the oven on its left side, taking care not to scratch or
damage it.
Thread each of the 4" (
10 cm) leg assemblies into the holes
provided on the bottom corners of the oven.
Carefully raise the oven to its normal upright position.
Assembling the Chimney to the Single Oven
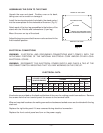
Remove the oven chimney from inside the oven cavity and use
the screws provided to fasten the chimney to the top rear of the
oven (Fig. 1). The flanges on the chimney are to be positioned
over the top cover.
LEVELING
Once the oven is in its permanent position, place a carpenter's level on the oven rack. If the oven is
installed on legs, turn adjustable feet in or out to level oven front-to-back and side-to-side. If the oven
is installed on casters, loosen set screws and turn casters in or out to level oven front-to-back and side-
to-side. Retighten set screws after leveling.
ASSEMBLING STACKED OVENS
Determine which oven will be on the bottom and place it on its left side, being careful to avoid scratching
the finish. Install the four legs, using the 24 bolts and lockwashers provided (6 per leg).
Place lower oven (with legs) on floor. Remove the two
7
⁄16" (1.1 cm) knockouts on each side of the top
cover and the 1
3
⁄32" (2.8 cm) knockout on the right side of the top cover. Move this oven to the installation
position.
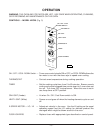
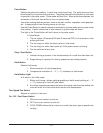
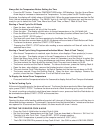
Install the two locating studs (included in leg stack set) into screw plates on underside of upper oven
(Fig. 2), and remove the 1
3
/32" (2.8 cm) knockout that will line up with the one removed from the bottom
oven. Carefully place the top oven in position above the bottom oven.
Level ovens (see LEVELING above).


