6
UNPACKING
Remove all packing materials and accessories. Examine the chiller for any damage such as dents or
broken door. Do not install if chiller is damaged.
NOTE
: Allow the wine chiller to stand upright for approximately 24 hours before
connecting the power source. This will let the compressor settle from being handled
during transportation.
Starting the wine chiller too soon and not allowing the compressor to settle can result
in a lack of cooling.
Please make sure the following parts are included:
1) 6 wire shelves
2) 1 bottle/can wire basket
3) 1 instruction manual
If discarding an old chiller, please see “Important Safety Instructions” on page 3.
LOCATION OF THE CHILLER
Find a suitable area for your wine chiller.
• Do not place the chiller outside and under direct sunlight, or any other place where the
chiller will be exposed to water or other harsh weather conditions.
• Direct sunlight and other heat sources may cause over power consumption.
• Do not placed in environments where the ambient temperature drops below 50°F
(10°C) degrees as the unit will not perform properly.
• Make sure to place the wine chiller on a floor that is strong enough to support it when
fully loaded.
SETTING UP THE WINE CHILLER
INSTALLATION INSTRUCTIONS
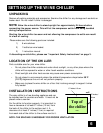
The wine chiller is a free standing appliance and can
be installed next to counters and walls. It must not be
placed under a counter.
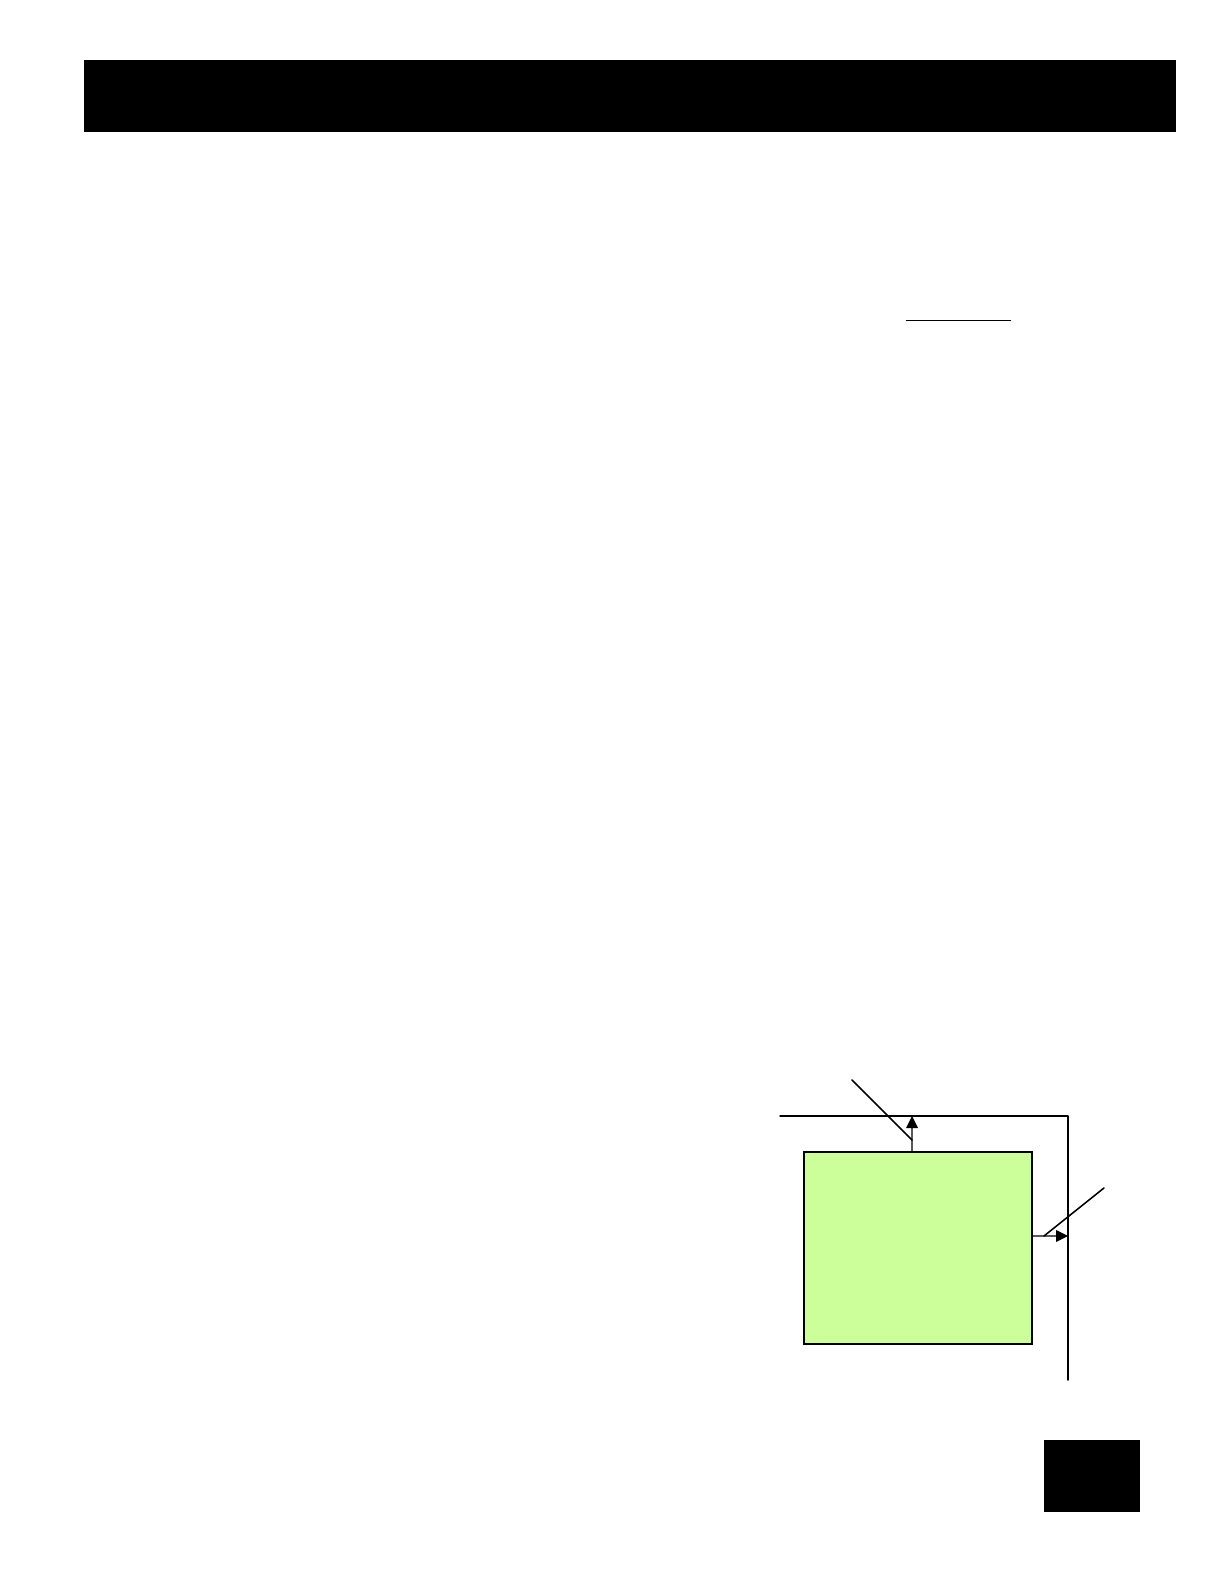
For the chiller to function properly, it is important to
have a clearance of at least 5” inches (13 cm) from
the back of the chiller to the surface next it. A
clearance of at least 5” inches (13 cm) is required
from each side of the chiller to the surface next to it.
Top of
the chiller
back
front
wall
5” inches / 13 cm
5” inches /
13 cm
NOTE: THE SPACING IS NECESSARY FOR PROPER VENTILATION


